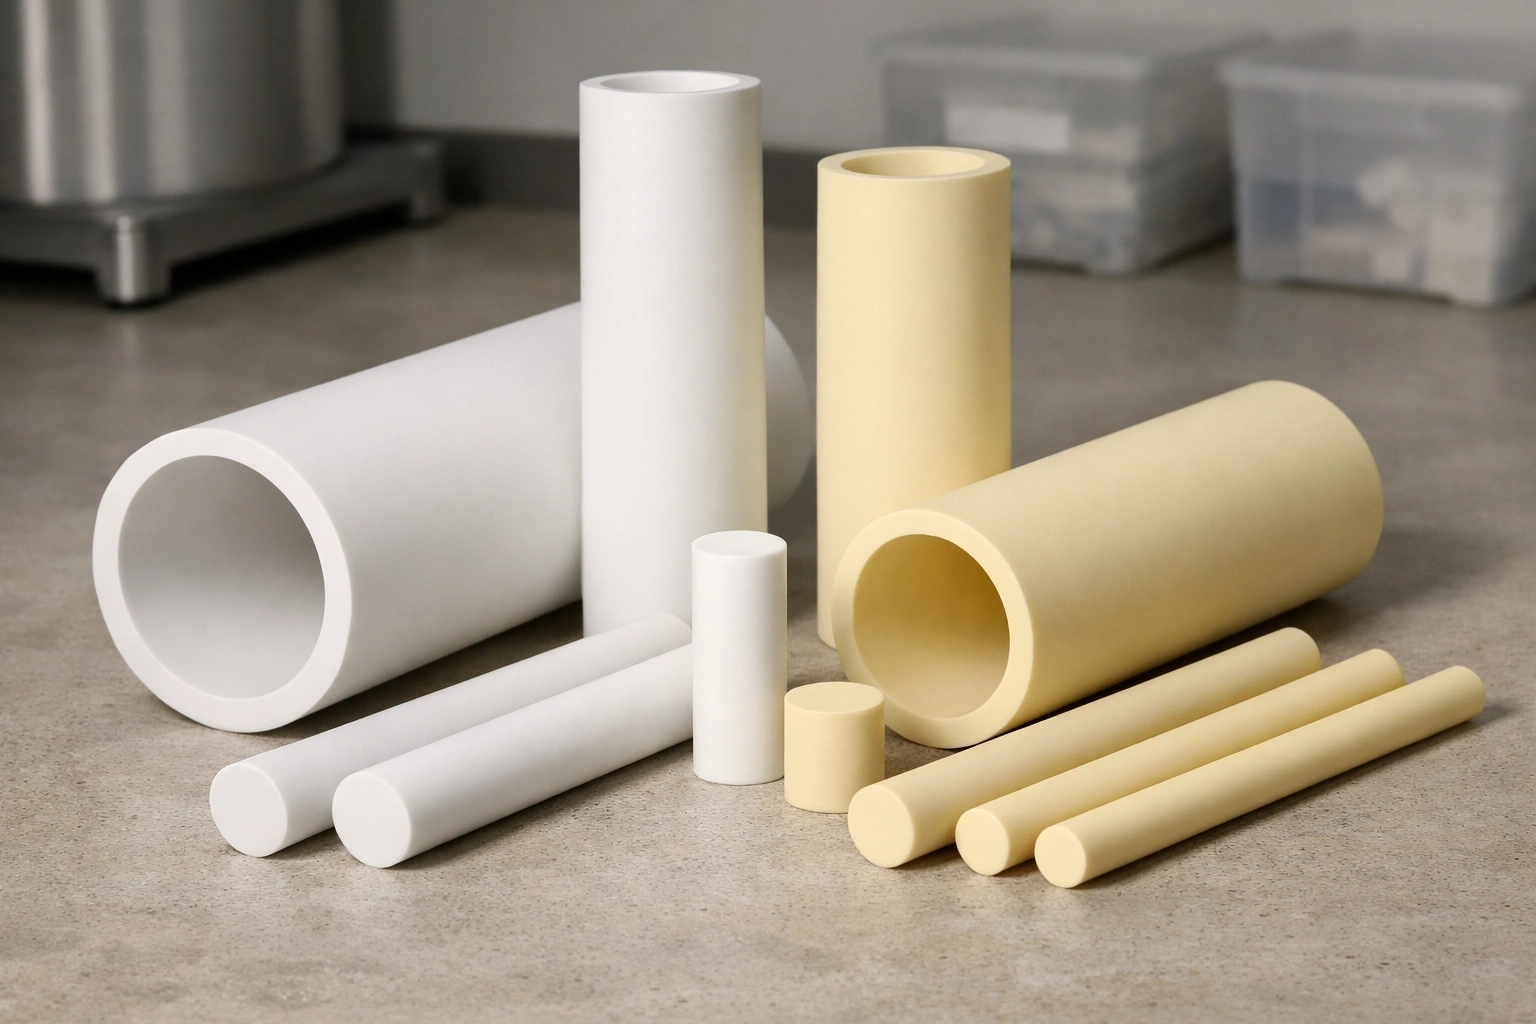
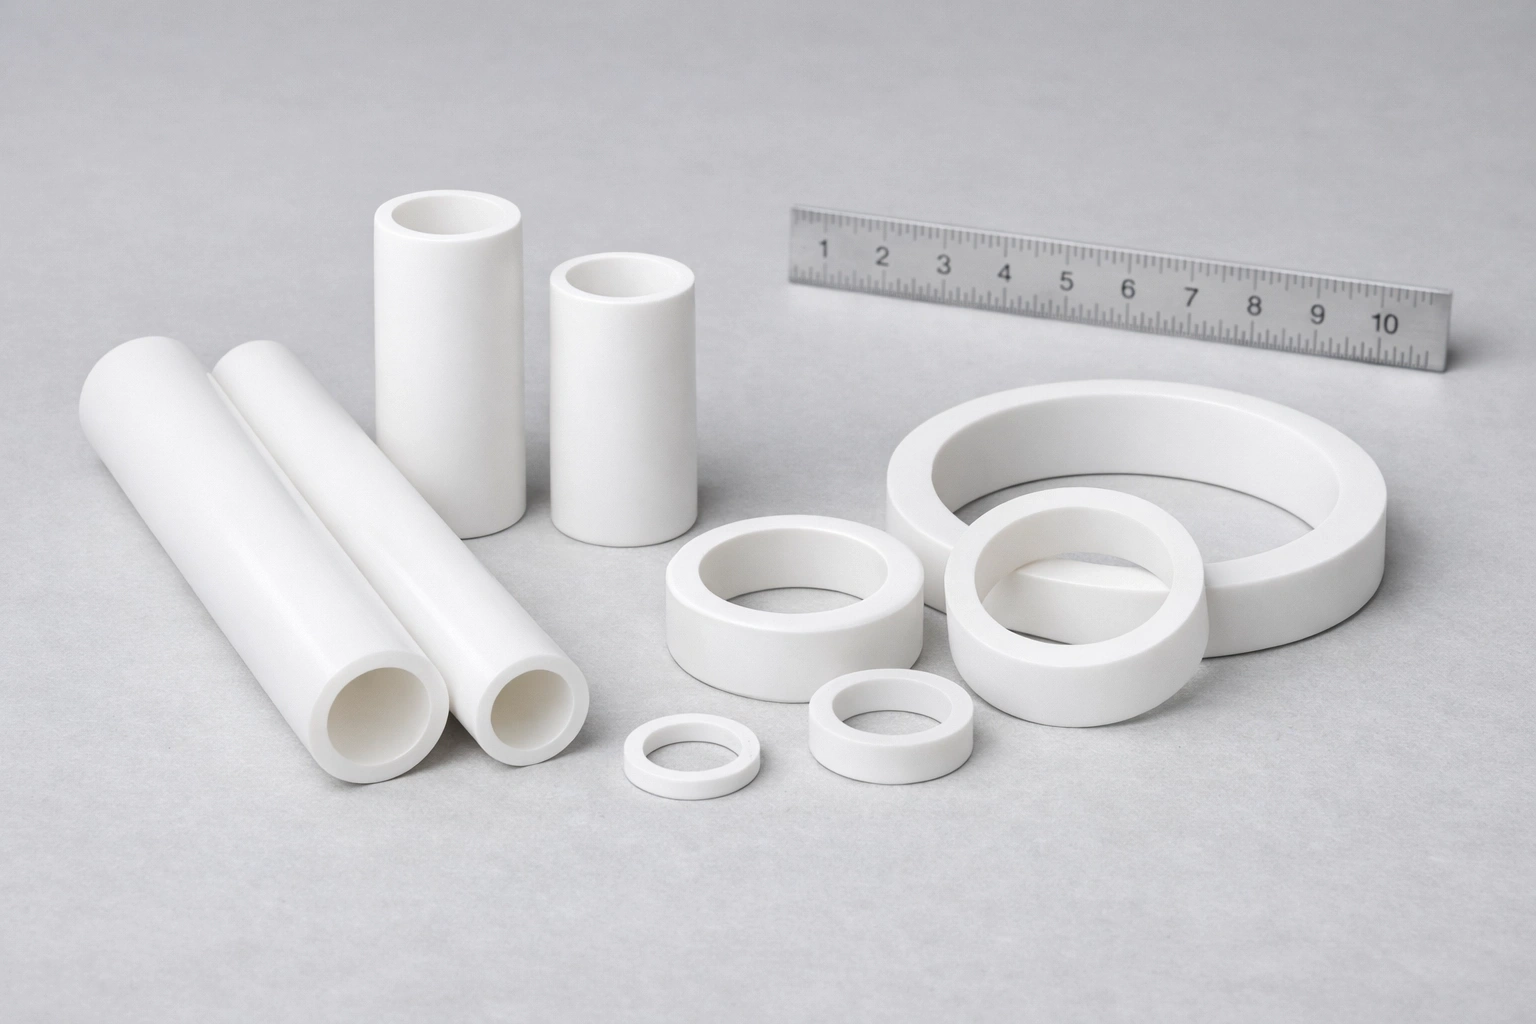
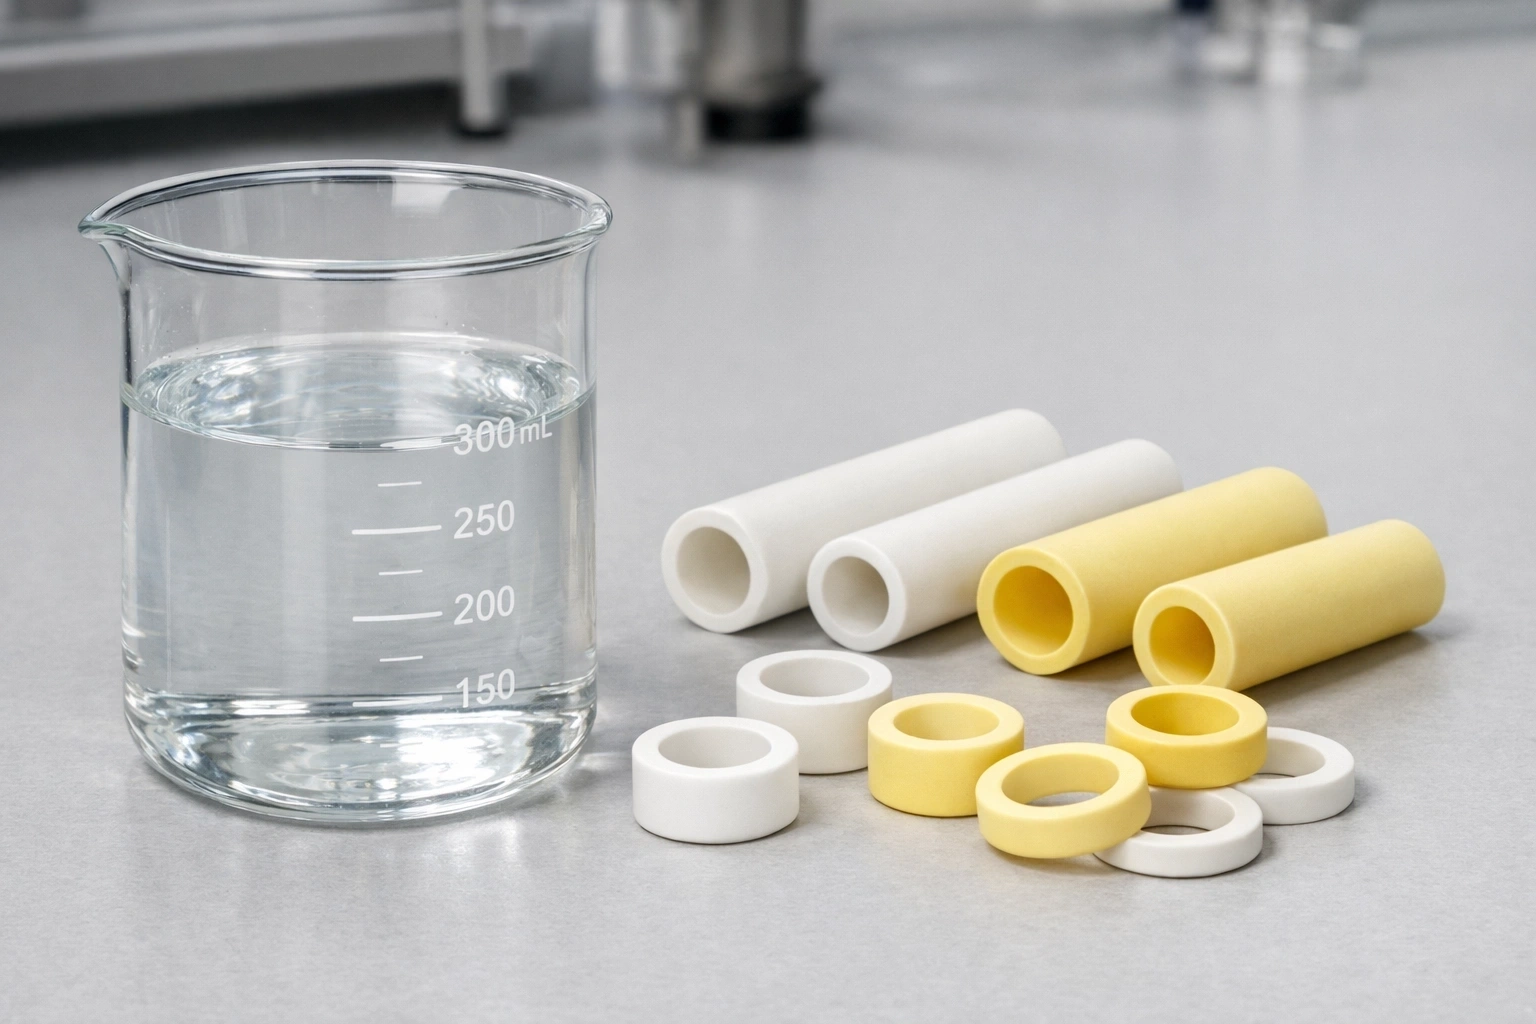
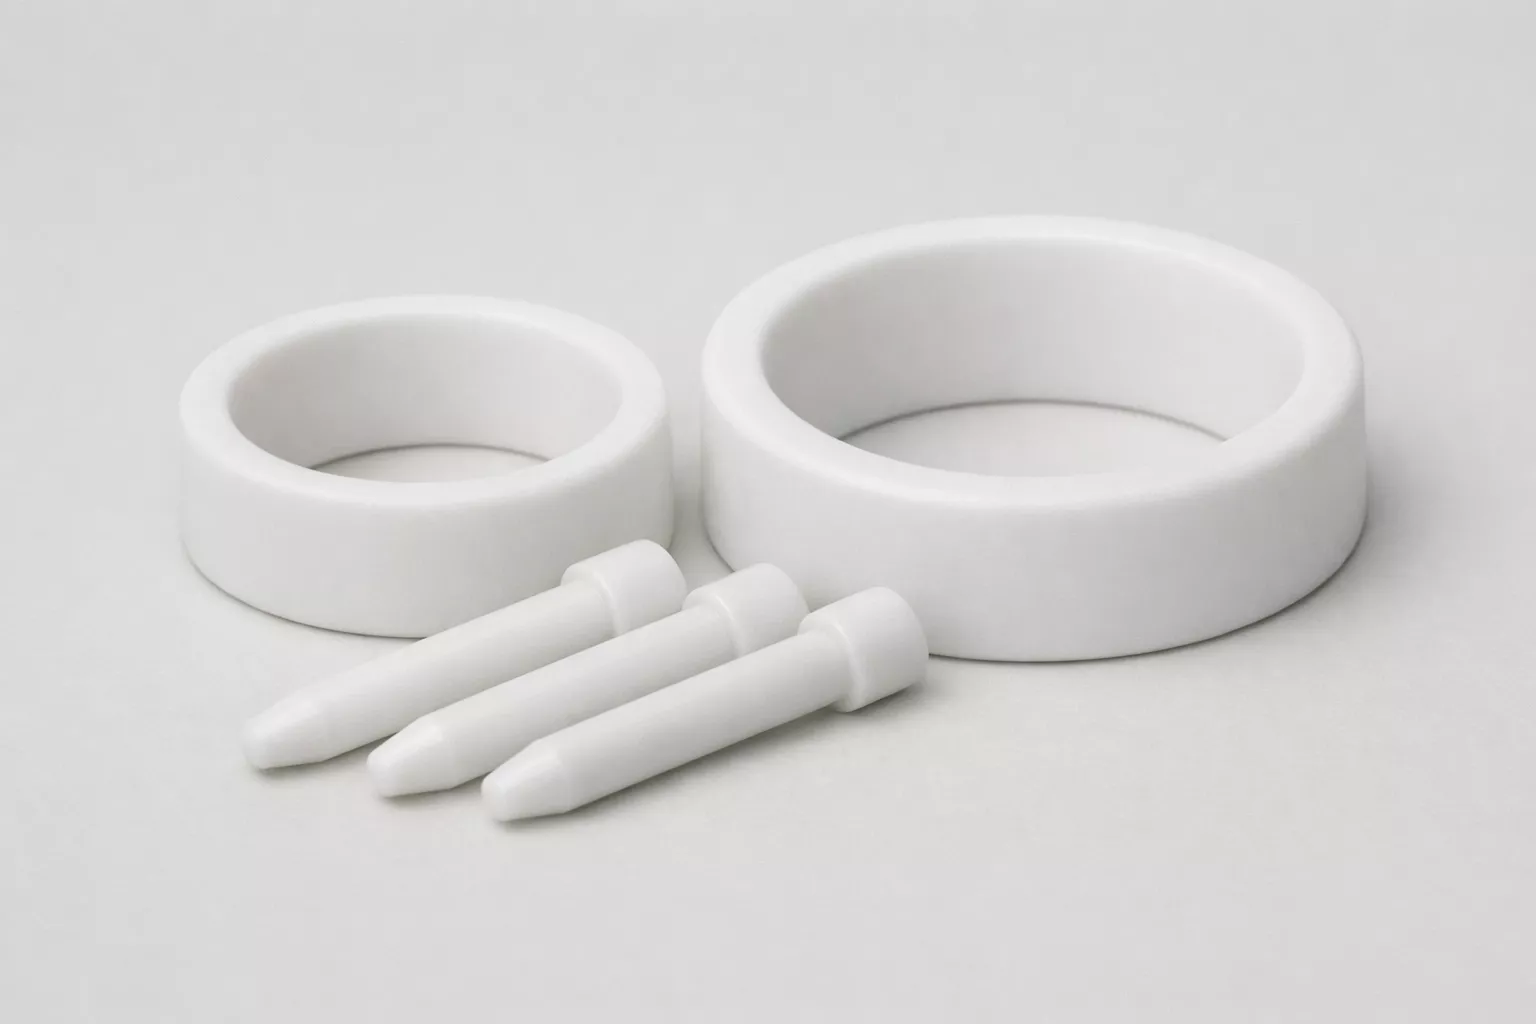
An alumina tube for industrial applications requires complete technical and commercial information before accurate quotations can be prepared.
When specifications are missing or unclear, suppliers must assume production tolerances, often causing 50–100% price variance and multi-week delays.
Precise data on dimensions, material grade, and environment ensures that every alumina tube for industrial applications is priced and manufactured correctly. This article outlines all critical details procurement teams and engineers must provide when submitting RFQs.

Defining Essential Physical Dimensions for Alumina Tube for Industrial Applications
Dimensional accuracy directly determines the production method and cost of an alumina tube for industrial applications. Missing tolerances or unclear datum references cause high variation in quotation accuracy.
Precise measurements of OD, ID, wall thickness, and length are mandatory for consistency and functional compatibility. Each should follow established metrology standards such as ASTM C1161 and ISO 129.
Outer diameter and inner diameter specification with tolerance notation per ASTM C1161
Outer and inner diameters must be listed with exact tolerances (e.g., 25.0 ± 0.1 mm OD and 20.0 ± 0.1 mm ID). ASTM C1161 guides proper definition of mean or point diameter. If no tolerance is specified, the default ±0.2 mm as-sintered assumption leads to inflated cost estimates. Explicit OD/ID data guarantees fit, sealing, and accurate pricing.
Length specification with datum reference and end condition clarification per ISO 129
State total length with measurement datum and end condition (e.g., 500 ± 2 mm, measured center-to-center). Length control is vital in furnace, chemical reactor, and analytical instrument assembly alignment. Unclear datum positions lead to mismatch or sealing distortion during installation.
Geometric tolerance requirements including concentricity and straightness per ISO 1101
Define concentricity, straightness, and perpendicularity for [functional geometry]https://en.wikipedia.org/wiki/Geometric_function_theory)[^1]. These tolerances ensure the alumina tube for industrial applications maintains uniform wall thickness and proper sealing across length. ISO 11011 provides notation for clarity and consistency across global suppliers.
Typical Dimensional Control Parameters
| Parameter | Standard Range | Method Reference | Functional Impact |
|---|---|---|---|
| OD Tolerance (mm) | ±0.1–0.2 | ASTM C1161 | Controls grinding requirement |
| ID Tolerance (mm) | ±0.1–0.2 | ASTM C1161 | Ensures sealing and pressure consistency |
| Concentricity (mm) | ≤ 0.05 | ISO 1101 | Guarantees wall uniformity |
| Straightness (mm/m) | 0.5–2.0 | ISO 1101 | Enables accurate assembly |
| Perpendicularity (mm/100 mm dia) | 0.05–0.20 | ISO 1101 | Maintains even gasket pressure |
Mandatory Material Specifications for Alumina Tube for Industrial Applications
Material selection determines cost, temperature capability, and corrosion performance of any alumina tube for industrial applications. Defining purity, density, and porosity eliminates ambiguity.
Each parameter links directly to manufacturing control and service life. Suppliers rely on ASTM-verified data to confirm compatibility between material and environment.
Alumina purity grade selection based on temperature and chemical resistance requirements
Purity levels (95%, 99%, 99.5%, 99.7%, 99.8%) define performance and pricing. A 99.8% alumina tube for industrial applications supports continuous service at 1750 °C and resists strong acids, while 95% purity limits to 1400 °C and degrades faster under corrosive exposure. Selecting purity aligned with temperature and chemical load minimizes risk.
Density and porosity specifications with test method references per ASTM C20 and C373
Target density ≥ 3.90 g/cm³ and open porosity < 0.2%. These metrics confirm microstructural integrity and impermeability. ASTM C202 and C3733 provide standard testing methods for evaluation, ensuring global traceability.
Microstructural requirements including grain size and secondary phase limits
Typical grain size of 5–15 µm and secondary phases such as SiO₂ ≤ 0.3% guarantee long-term strength and chemical stability. This specification avoids micro-cracking under thermal cycling.
Material Specification Parameters
| Property | Range | Test Method | Engineering Relevance |
|---|---|---|---|
| Al₂O₃ Purity (%) | 99.5–99.8 | XRF / ICP-OES | High-temp and chemical resistance |
| Density (g/cm³) | 3.85–3.95 | ASTM C20 | Strength and load capacity |
| Open Porosity (%) | < 0.2 | ASTM C373 | Sealing and corrosion protection |
| Grain Size (µm) | 5–15 | ASTM E112 | Thermal shock control |
| SiO₂ Impurity (%) | < 0.3 | XRF | Prevents grain boundary attack |

Application Details for Alumina Tube for Industrial Applications
An alumina tube for industrial applications must operate under defined environmental and mechanical conditions. Incomplete data causes manufacturers to assume unrealistic parameters, leading to overdesign or early failure.
Comprehensive operating descriptions reduce ambiguity and improve compatibility between design and material.
Temperature specifications with continuous and intermittent maximum values
Specify both continuous and intermittent limits (e.g., 1650 °C continuous, 1800 °C peak). A 200–300 °C safety margin ensures correct grade selection and sintering performance consistency.
Chemical environment documentation including compounds, concentrations, and exposure duration
List chemical compositions, concentrations, and exposure durations (e.g., 70% H₂SO₄, 160 °C). This defines corrosion exposure and determines appropriate purity grade for reliable service.
Thermal cycling parameters and mechanical loading descriptions
Include heating and cooling rates, cycle frequencies, and load types (pressure, compression, bending). These influence wall thickness and thermal shock risk, ensuring the alumina tube for industrial applications meets endurance expectations.
Required Operational Data for Quotation
| Parameter | Specification Detail | Importance |
|---|---|---|
| Max Continuous Temp (°C) | 1400–1750 | Defines material capability |
| Peak Temp (°C) | 1500–1850 | Ensures safety margin |
| Heating Rate (°C/min) | 3–6 | Evaluates thermal shock |
| Chemical Type & Conc. | Specify | Determines corrosion rate |
| Pressure/Bending Load | Numeric | Ensures structural safety |
Tolerance and Geometry Standards for Alumina Tube for Industrial Applications
Geometric tolerances define performance stability in service.
For an alumina tube for industrial applications, they ensure consistent assembly fit and sealing reliability.
Specify concentricity, straightness, perpendicularity, and surface finish explicitly to avoid miscommunication and post-delivery rework.
Concentricity specifications for wall thickness uniformity and sealing performance
Define concentricity ≤ 0.05 mm between OD and ID datums to maintain wall uniformity within 10%. This prevents binding and ensures even load distribution in pressure vessels or mechanical couplings.
Straightness and cylindricity tolerances for assembly fit requirements per ISO 1101
Set straightness ≤ 1.0 mm/m and cylindricity ≤ 0.10 mm for long tubes. Proper control enables alignment with heating elements or reactors, reducing installation failures.
Surface finish requirements for sealing and contamination-sensitive applications
Surface roughness Ra 0.4–0.8 µm supports standard sealing; Ra < 0.2 µm for high-purity vacuum or analytical use. Define finish areas explicitly to avoid excessive polishing cost.
Geometric and Finish Specifications
| Attribute | Typical Value | Standard | Functional Role |
|---|---|---|---|
| Concentricity (mm) | ≤ 0.05 | ISO 1101 | Wall uniformity |
| Straightness (mm/m) | ≤ 1.0 | ASTM C1161 | Alignment precision |
| Perpendicularity (mm/100 mm) | 0.05–0.20 | ISO 1101 | Gasket compression balance |
| Surface Roughness (Ra µm) | 0.2–0.8 | ASTM B46.1 | Surface cleanliness |
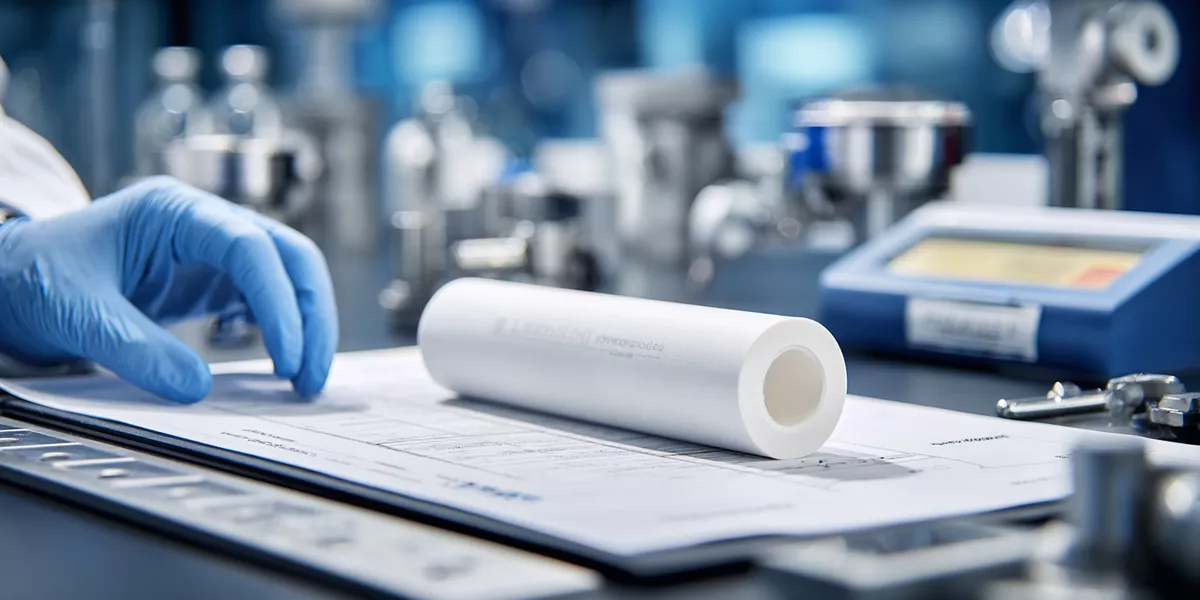
Quantity, Delivery Timelines, and Compliance for Alumina Tube for Industrial Applications
For each alumina tube for industrial applications RFQ, commercial details determine manufacturing feasibility and lead time accuracy.
Provide quantity, delivery schedule, testing, and certification requirements to align with production cycles.
Quantity specification with initial order and annual volume forecast
Define both first-order and yearly demand. Small runs (< 50 pcs) source from stock; 50–200 pcs justify batch runs; 200+ pcs enable cost optimization. Accurate volume data allows suppliers to plan tooling and firing cycles efficiently.
Delivery timeline requirements and flexibility enabling production schedule optimization
Specify target delivery date and flexibility (e.g., “by June 30 ± 7 days”). Clear expectations enable slot optimization and 25–40% faster turnaround using existing firing schedules.
Testing, certification, and regulatory compliance documentation requirements
Request necessary test reports and certifications—ASTM C1161 mechanical test data, XRF material certificates, RoHS/REACH compliance, and FDA documentation if required. This prevents shipment delays due to missing validation records.
Commercial and Quality Framework
| Requirement | Practice | Impact |
|---|---|---|
| Order Quantity | <50 / 50–200 / >200 pcs | Defines MOQ and cost tier |
| Delivery Time | 4–8 weeks | Affects lead time cost |
| Inspection Level | Visual to CMM | Adds 5–35% QA cost |
| Certificates | ISO, RoHS, REACH, FDA | Ensures export compliance |
| Documentation | CoC, MSDS | Guarantees regulatory approval |
Conclusion
Providing complete dimensional, material, and operational data ensures accurate pricing and reliable performance for every alumina tube for industrial applications.
FAQ
Q1: How does purity level affect alumina tube for industrial applications?
Purity above 99.7% enables service up to 1750 °C and strong acid resistance, ensuring minimal corrosion over long durations.
Q2: How do tight tolerances change the price of alumina tube for industrial applications?
Grinding for ±0.05 mm precision raises manufacturing cost 40–80% and increases delivery time by up to four weeks.
Q3: What documentation must accompany an order for alumina tube for industrial applications?
Include full drawings, tolerances, purity data, application temperature, annual volume, and compliance documents for accurate quoting.
Q4: How does alumina tube for industrial applications compare to zirconia or silicon nitride alternatives?
Alumina offers better cost-efficiency and insulation; zirconia provides toughness; silicon nitride performs best under extreme thermal shock.
References:
-
Exploring ISO 1101 will provide insights into global standards for tolerances in manufacturing. ↩
-
Explore this link to understand the ASTM C20 standard, its significance, and how it ensures quality in testing. ↩
-
Discover the details of the C373 standard testing method and its role in ensuring accurate evaluations in various industries. ↩


