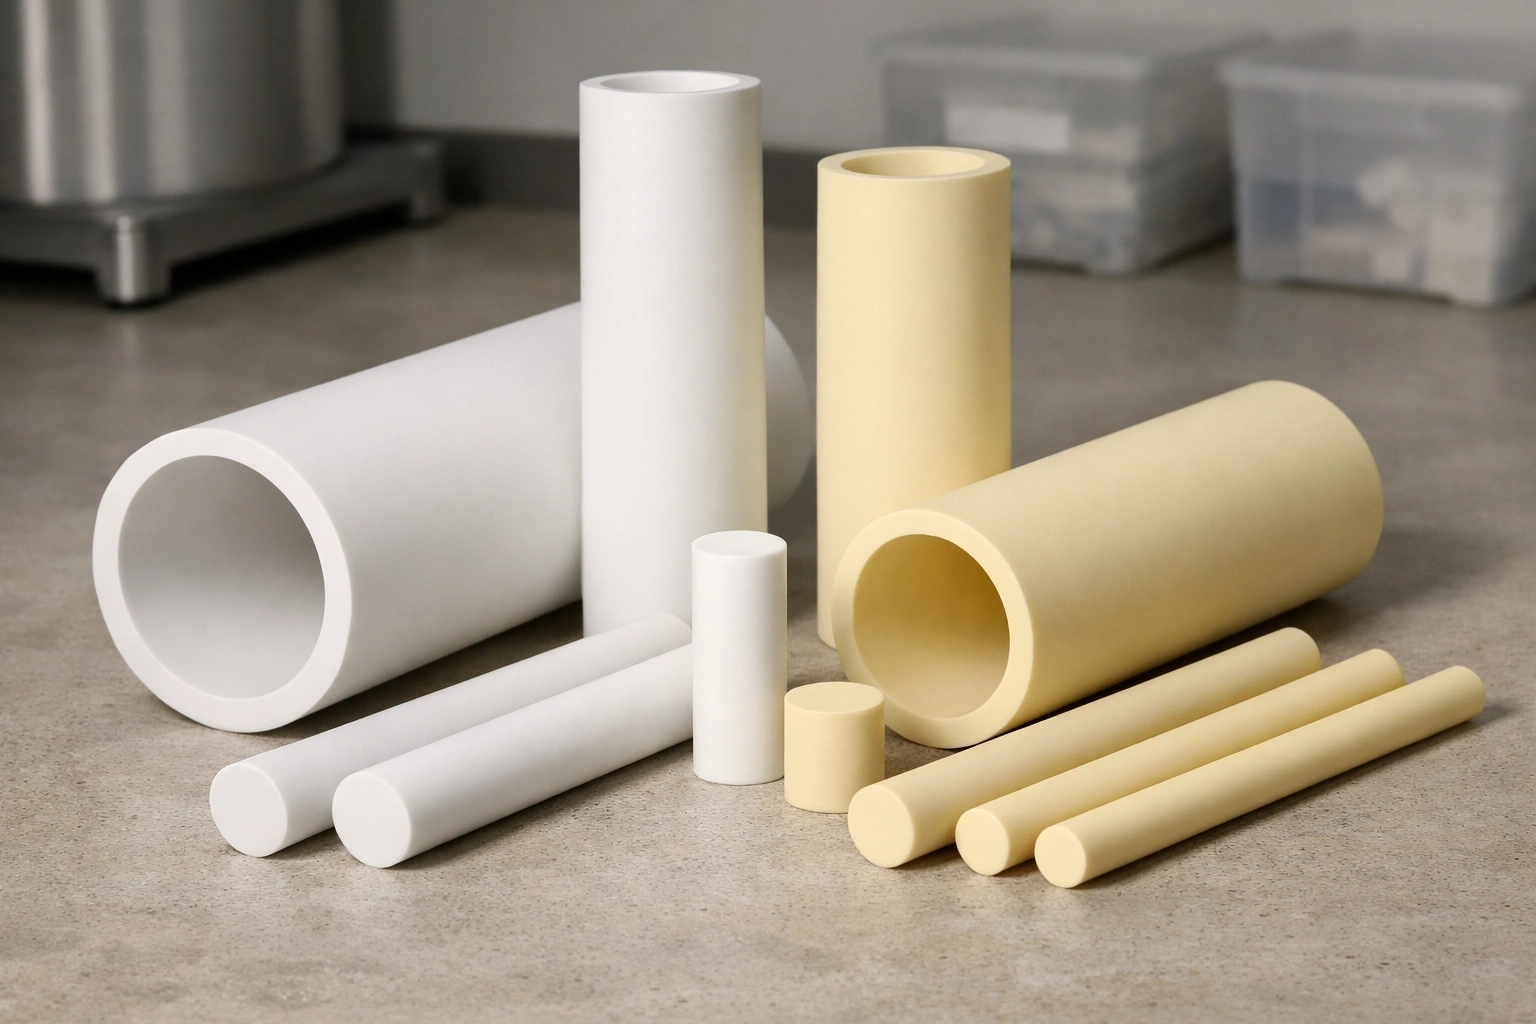
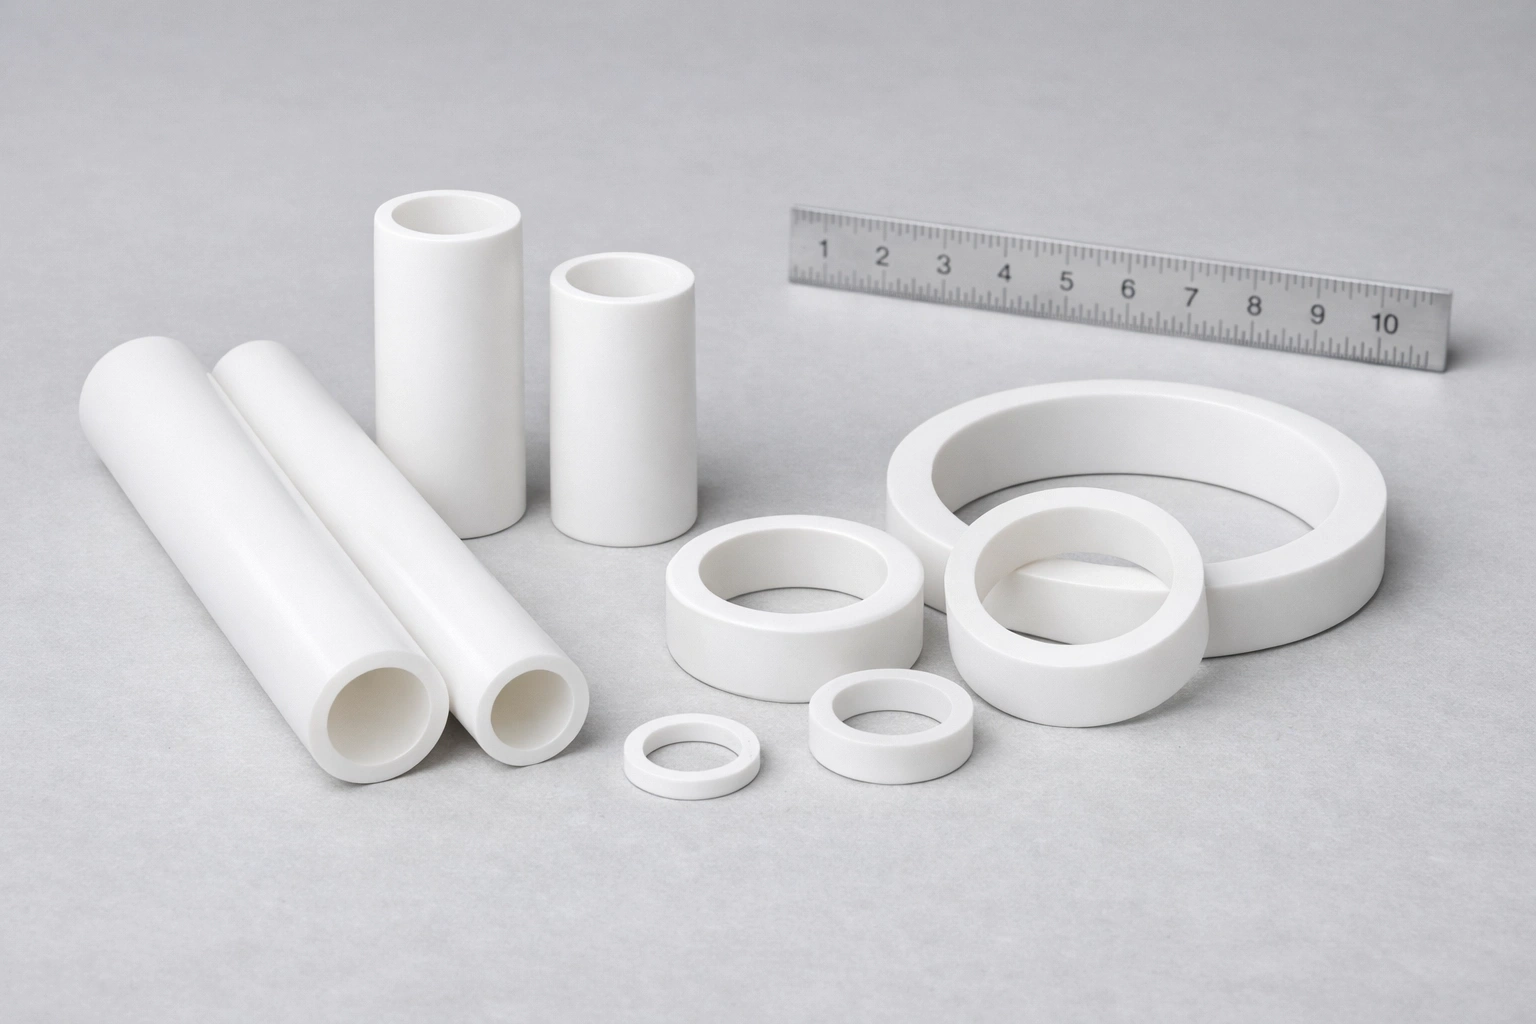
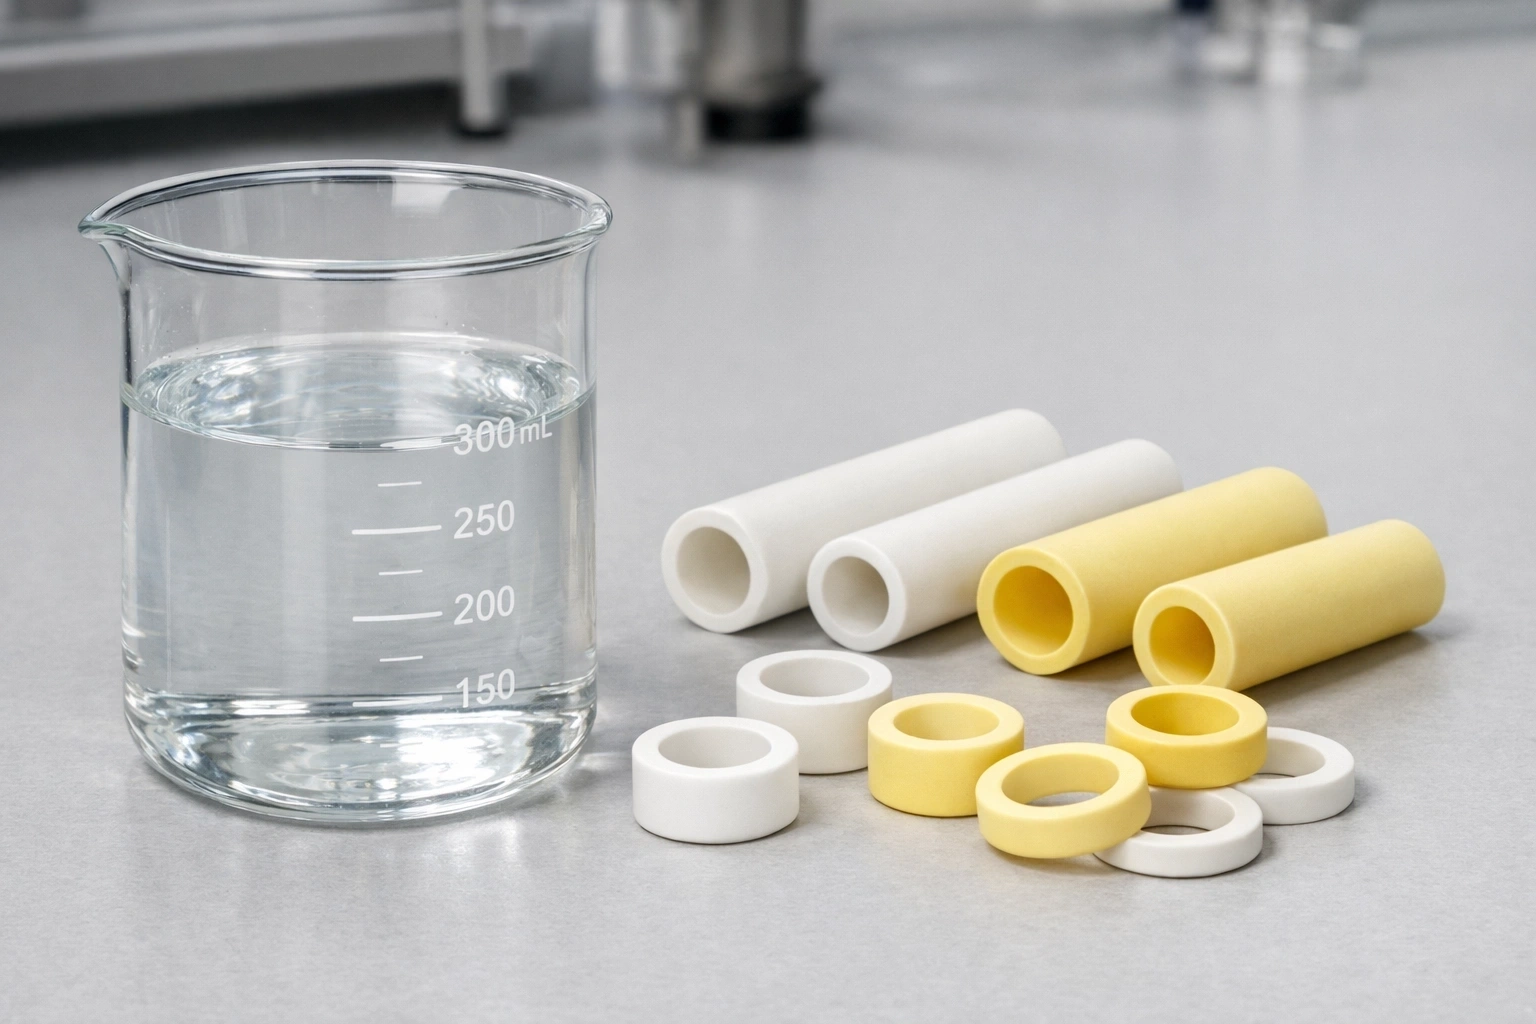
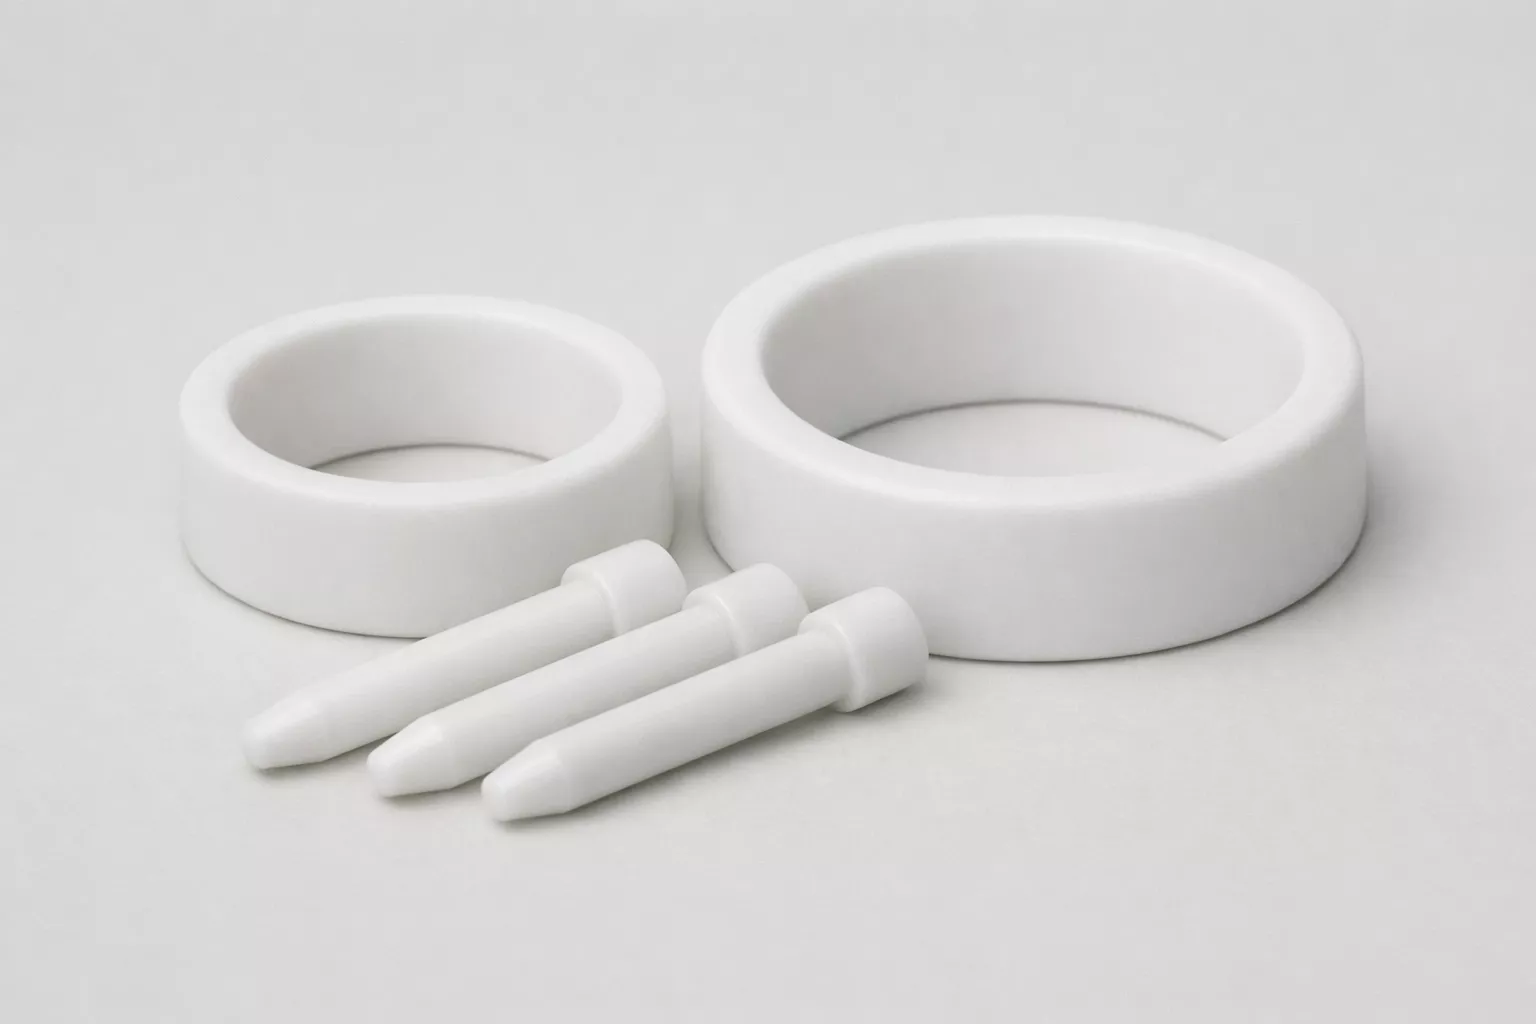
Corundum square tube selection often fails when treated as a simple material choice. As a result, hidden geometric and structural risks emerge during operation, causing instability, drift, or premature degradation.
In brief, corundum square tube performance depends less on nominal material labels and more on how geometry, structure, and process control interact within real industrial systems. Therefore, understanding these interactions becomes essential before evaluating application-specific demands.
Consequently, this article builds a unified engineering framework before examining electrical, thermal, mechanical, and wear-driven systems in detail.
Corundum Square Tubes as Structural Components
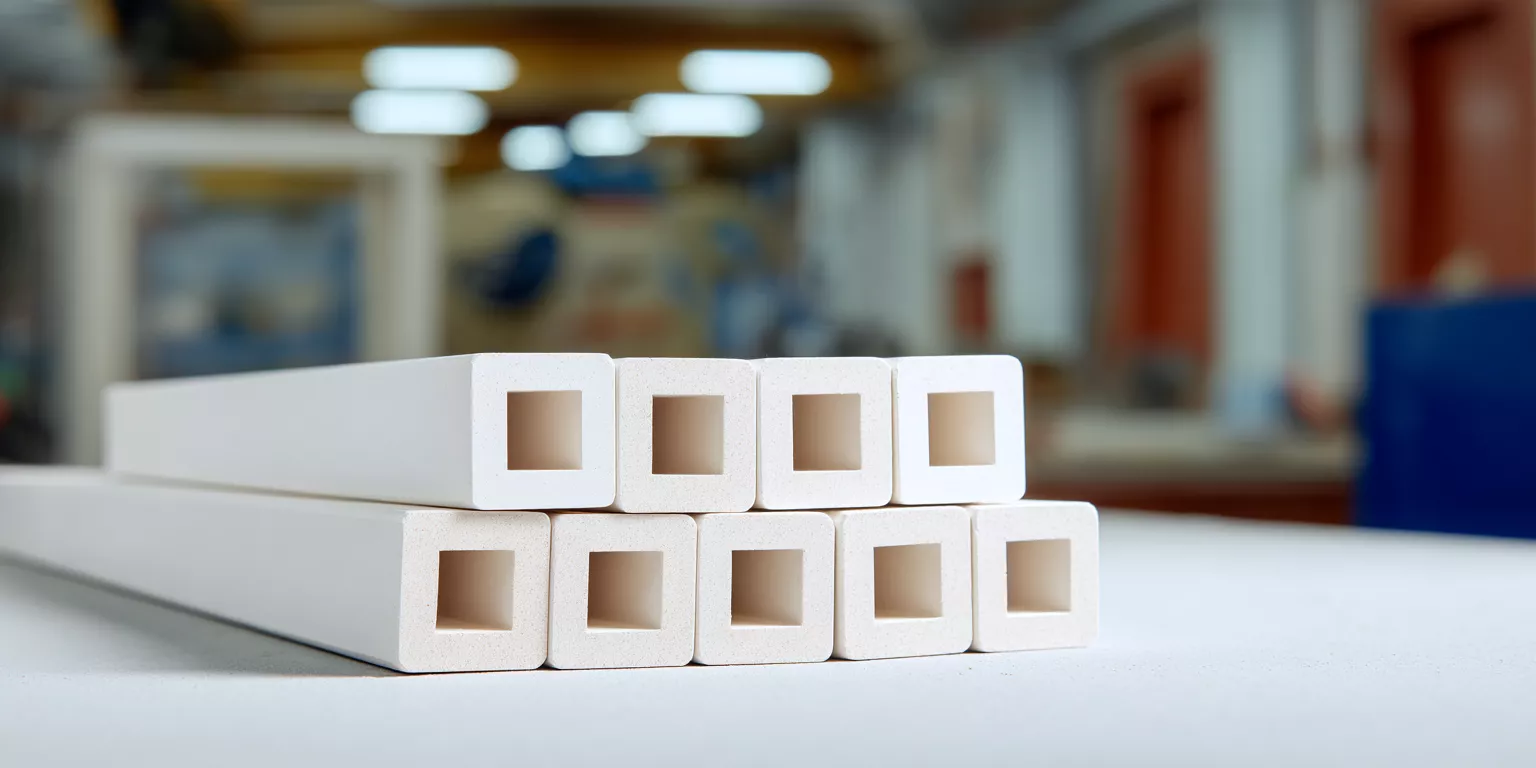
Before application-specific analysis, corundum square tubes must be recognized as load-bearing and field-interacting structural elements rather than interchangeable ceramic materials. Accordingly, this perspective establishes a shared engineering baseline across diverse industrial systems.
-
Square Geometry and System Behavior
Square cross-sections redistribute mechanical load paths and constraint reactions differently from round tubes. In high-voltage, thermal, or wear-intensive systems, these geometric differences alter stress concentration zones and assembly tolerances. As a result, even minor deviations in flatness or corner symmetry can propagate into system-level instability.
In practice, engineers often encounter unexpected deformation or misalignment after installation, despite using high-grade alumina. This outcome occurs because square geometry introduces directional stiffness and localized stress amplification, especially at edges and corners. Therefore, geometry becomes an active structural variable rather than a passive shape choice.
Consequently, square tubes must be evaluated as engineered profiles whose behavior directly affects surrounding components.
-
Corundum Alumina and Long-Cycle Structural Stability
Corundum alumina differs from general alumina primarily in its long-cycle stability under sustained thermal, electrical, or mechanical loading. Although short-term tests may show similar performance, extended service reveals clear divergence in creep resistance and microstructural stability.
Field experience indicates that corundum-based square tubes maintain dimensional integrity over thousands of operational hours, whereas lower-grade alumina often exhibits gradual warping or edge softening. As a result, systems relying on tight alignment or fixed clearances experience cumulative drift. Therefore, material selection must be tied to expected service duration rather than initial strength values alone.
Ultimately, long-cycle behavior defines whether a square tube remains a structural asset or becomes a maintenance liability.
-
Geometry Control Beyond Nominal Purity
Nominal alumina purity is frequently overemphasized during specification, while geometry control receives insufficient attention. However, system failures rarely originate from chemical composition alone when purity already exceeds functional thresholds.
In many installations, tubes with marginally lower purity but superior straightness and wall uniformity outperform higher-purity alternatives. This occurs because consistent geometry preserves load balance, field symmetry, and assembly alignment throughout service life. Hence, geometry control often outweighs incremental purity gains in real operating conditions.
For this reason, structural reliability emerges from controlled form rather than isolated material metrics.
Electrical Discharge and Plasma Systems in High-Voltage Operating Conditions
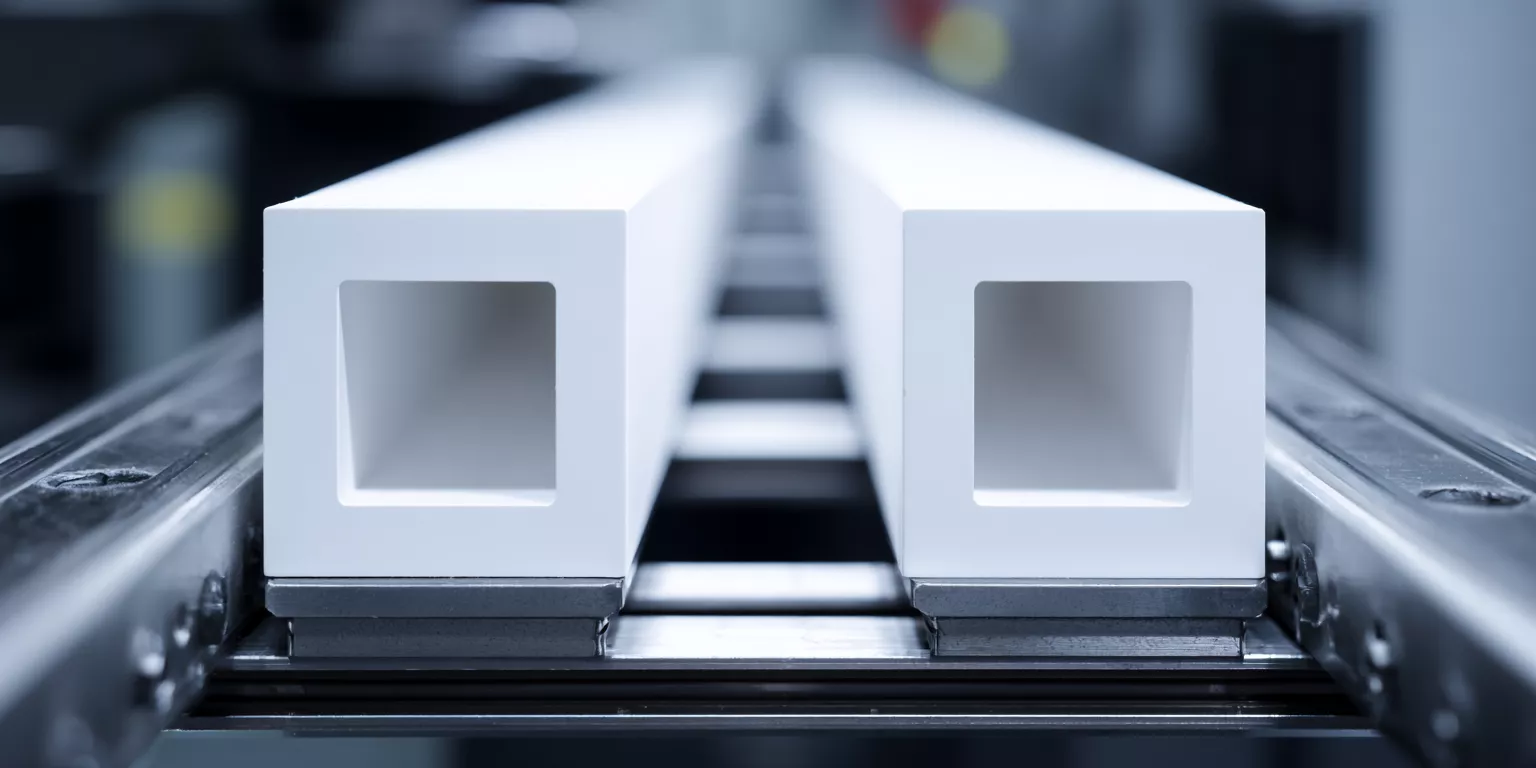
Moreover, electrical discharge and plasma-based systems impose combined electrical, thermal, and mechanical stresses on ceramic components. Consequently, corundum square tubes in these environments must maintain geometric and structural stability under sustained high-voltage exposure. Therefore, performance evaluation must focus on discharge behavior1, alignment tolerance, and long-term degradation rather than short-term dielectric strength alone.
Dimensional Straightness and Discharge Uniformity
Dimensional straightness directly governs electric field distribution in corona and plasma systems. Even slight bowing along the tube length can distort local field intensity, leading to uneven discharge patterns and localized overheating.
In practical equipment operation, deviations as small as 0.15–0.25 mm over a 500 mm length have been observed to shift discharge concentration toward corners. As a result, plasma density becomes asymmetric, accelerating erosion at specific edges rather than uniformly across the surface. Consequently, service life shortens not because of bulk material failure, but because geometric imbalance amplifies electrical stress.
Therefore, straightness control functions as a primary electrical stability parameter, not merely a dimensional preference.
End-Face Geometry and Assembly Alignment
End-face geometry determines how corundum square tubes integrate with electrode holders and insulating fixtures. Non-parallel or chipped end faces introduce angular misalignment that propagates through the entire discharge assembly.
During long-term field use, technicians frequently report that assemblies requiring repeated adjustment trace back to end-face deviation exceeding 0.1°. This misalignment alters electrode spacing, thereby changing breakdown voltage thresholds across the discharge gap. Consequently, system calibration drifts despite unchanged electrical input settings.
Thus, end-face flatness and perpendicularity serve as foundational conditions for stable electrical operation.
Structural Degradation After Repeated Service Cycles
Repeated discharge cycles subject corundum square tubes to alternating thermal gradients and ion bombardment. Over time, these factors interact with residual stresses embedded during forming and sintering.
Operational data from continuous-duty corona systems indicate that tubes exposed to more than 8,000 on–off cycles experience measurable corner microcracking when residual stress is uneven. These microcracks rarely cause immediate fracture; however, they progressively reduce dielectric margin at stressed locations. As a consequence, unexpected discharge instability emerges late in the service cycle rather than at initial commissioning.
Accordingly, structural integrity must be assessed across cyclic exposure rather than single-pass testing.
Design Practices That Support Long-Term Stability
Design practices that prioritize geometry consistency significantly improve long-term discharge stability. Specifically, uniform wall thickness and controlled corner radii reduce local field intensification.
In engineering evaluations, square tubes with wall thickness variation controlled within ±3% demonstrate up to 30% lower discharge fluctuation compared with tubes exceeding ±7% variation. Additionally, maintaining consistent corner geometry minimizes ion accumulation zones that otherwise accelerate surface degradation. Therefore, design intent must explicitly address geometry-driven electrical behavior.
Ultimately, stable plasma performance results from coordinated control of geometry, structure, and process rather than isolated material properties.
Electrical Discharge Performance Factors in Corundum Square Tubes
| Parameter | Typical Controlled Range | System-Level Impact |
|---|---|---|
| Straightness deviation (mm/500 mm) | ≤0.15 | Uniform electric field distribution |
| End-face perpendicularity (°) | ≤0.1 | Stable electrode alignment |
| Wall thickness variation (%) | ≤3 | Reduced discharge fluctuation |
| Corner radius consistency (mm) | ±0.05 | Lower field concentration |
| Cyclic endurance (cycles) | >8,000 | Sustained dielectric reliability |
Thermal Measurement and Protection Assemblies in Harsh Environments
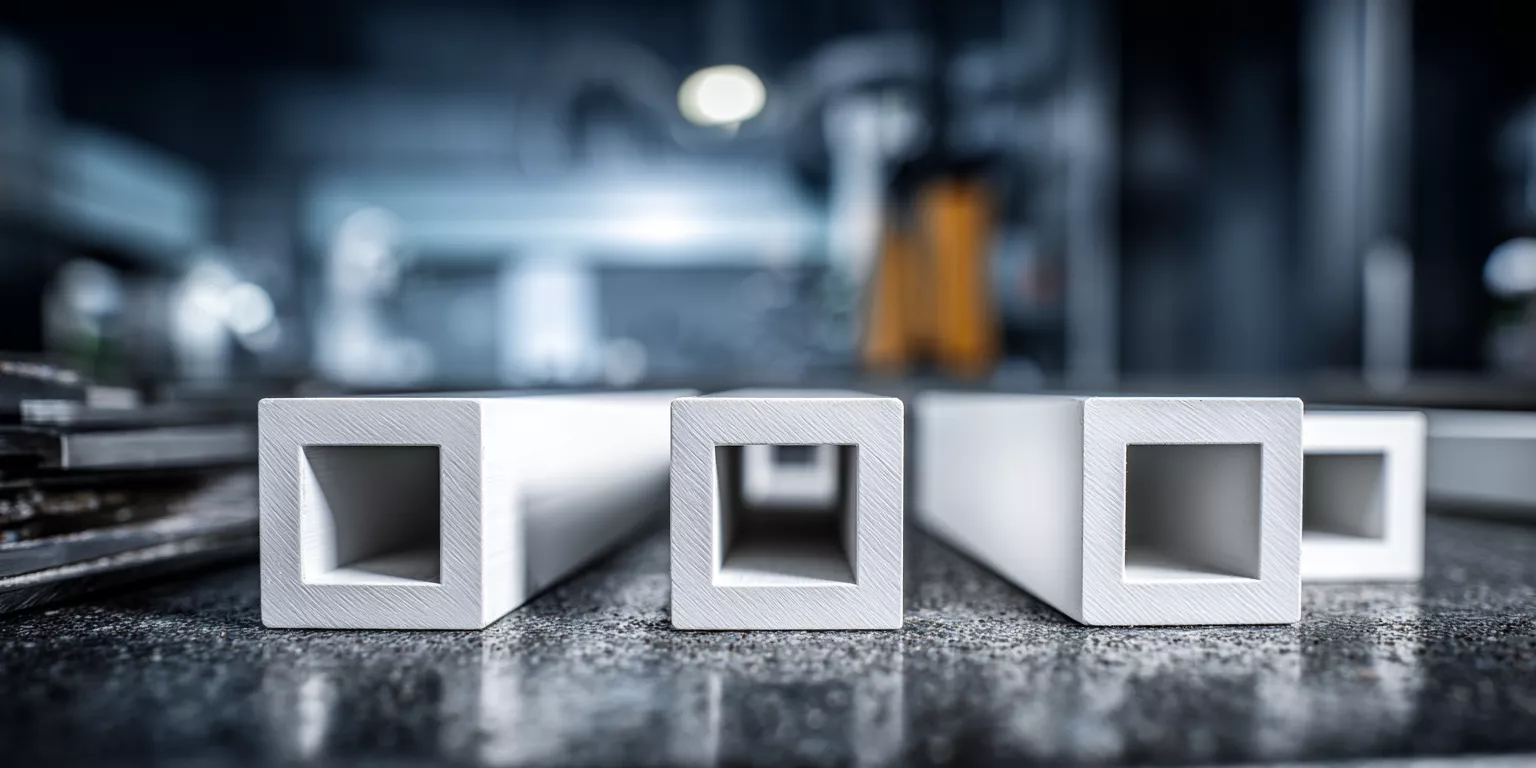
Furthermore, thermal measurement systems rely on structural stability to preserve signal accuracy under continuous exposure. Consequently, corundum square tubes used as protective and insulating elements must maintain geometry, alignment, and material integrity across prolonged heating cycles. Therefore, evaluation criteria extend beyond temperature rating to include dimensional drift, thermal gradients, and long-term reliability.
Thermal Stability Under Continuous Exposure
Thermal stability determines whether a protection tube preserves its original geometry during sustained operation. Even when bulk material withstands high temperatures, uneven thermal expansion can gradually distort square profiles.
In continuous-service furnaces operating between 900–1,200 °C, dimensional monitoring shows that lower-grade alumina square tubes can accumulate up to 0.3 mm edge deviation after 1,500 hours. By contrast, corundum-based square tubes typically limit comparable deformation to below 0.1 mm under identical conditions. As a result, thermal stability directly influences the predictability of sensor positioning.
Thus, thermal exposure time becomes as critical as peak temperature in structural assessment.
Geometric Consistency and Measurement Accuracy
Measurement accuracy depends on maintaining fixed spatial relationships between sensors and their surroundings. Square tubes that gradually warp or twist introduce positional error that cannot be corrected electronically.
In industrial calibration records, positional drift of only 0.2 mm has been correlated with temperature reading deviations of 2–4 °C in high-gradient zones. This deviation emerges not from sensor malfunction but from mechanical displacement inside the protection assembly. Consequently, geometric consistency functions as an indirect yet decisive accuracy factor.
Therefore, dimensional control must be treated as part of the measurement system rather than a passive enclosure feature.
Dimensional Drift Across Heating Cycles
Repeated heating and cooling cycles impose cyclic stress that accumulates differently in square geometries. Corners and flat faces experience non-uniform expansion and contraction, especially when heating rates fluctuate.
Field observations indicate that square tubes subjected to more than 5,000 thermal cycles exhibit corner-specific drift when residual stress is uneven. This drift often remains undetected during early operation; however, it gradually alters sensor immersion depth and response time. Hence, dimensional drift manifests as a delayed performance issue rather than an immediate failure.
Accordingly, cycle count must be included in reliability assessment alongside temperature limits.
Structural Considerations for Long-Term Measurement Integrity
Long-term measurement integrity depends on harmonizing material choice with geometric stability. Corundum square tubes provide higher resistance to creep and microstructural relaxation over extended exposure.
Comparative endurance testing shows that corundum-based assemblies retain over 95% of their initial geometric conformity after 2,000 hours at elevated temperature, whereas general alumina alternatives often drop below 85%. Consequently, stable geometry reduces recalibration frequency and maintenance intervention. Therefore, structural considerations directly support measurement continuity.
Ultimately, reliable thermal data stems from mechanically stable protection structures.
Thermal Performance Factors in Corundum Square Tubes
| Parameter | Typical Controlled Range | Measurement Impact |
|---|---|---|
| Continuous service temperature (°C) | 1,200–1,600 | Stable long-term exposure |
| Dimensional drift (mm/1,000 h) | ≤0.05 | Preserved sensor position |
| Thermal cycle endurance (cycles) | >5,000 | Consistent response behavior |
| Positional deviation tolerance (mm) | ≤0.2 | Accurate temperature readings |
| Geometry retention (%) | ≥95 | Reduced recalibration needs |
Furnace, Kiln, and Heat-Treatment Structures
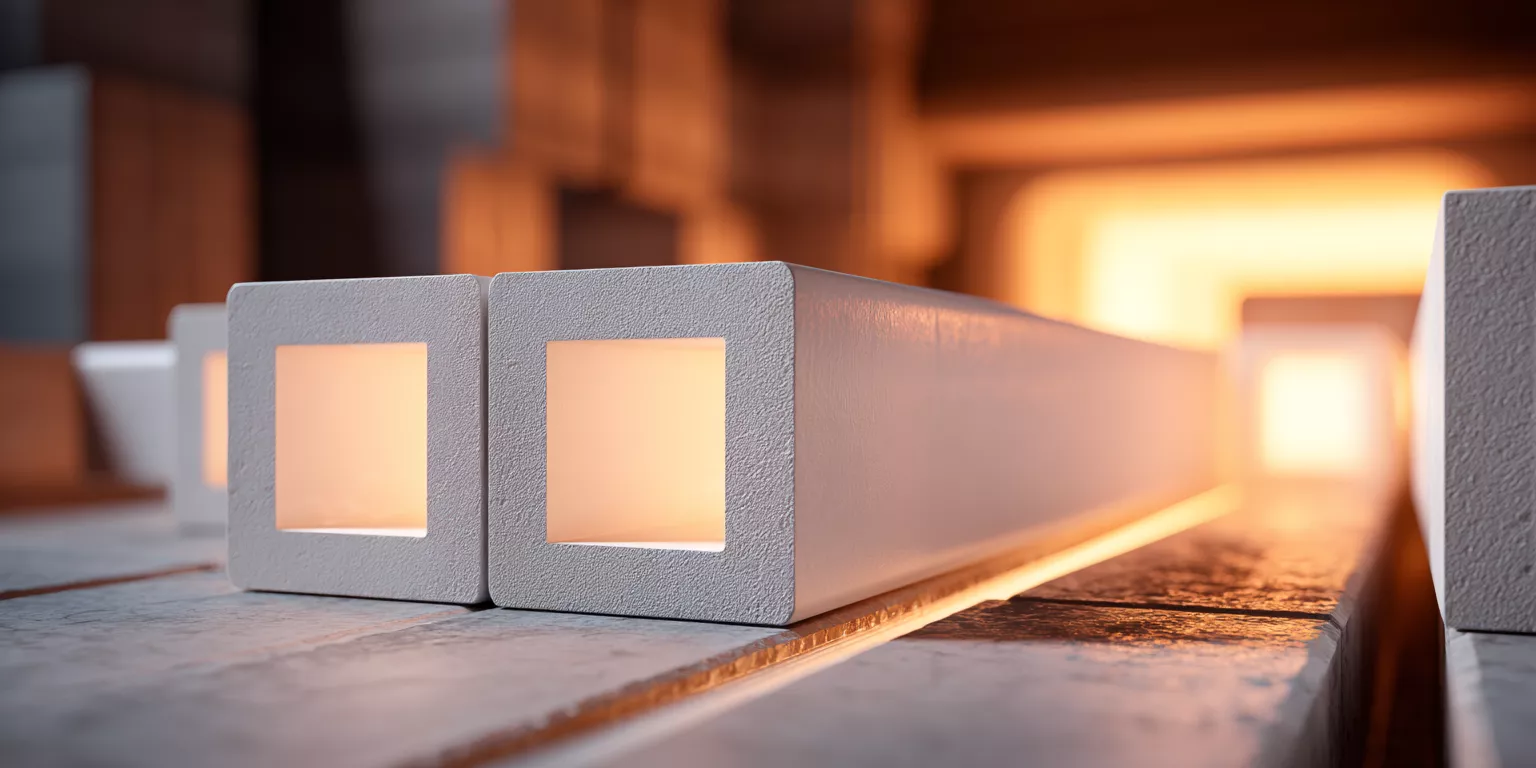
Moreover, furnace and kiln systems impose sustained thermal loads combined with mechanical constraint and installation tolerances. Consequently, corundum square tubes serving as structural or guiding elements must preserve geometry under both heat and load. Therefore, evaluation must focus on deformation behavior, load distribution, and installation stability throughout the operating cycle.
Structural Functions of Square Ceramic Tubes in Thermal Systems
Square ceramic tubes often function as guides, supports, or separators within furnace assemblies. Their flat faces provide predictable contact surfaces, which can improve positional stability when aligned correctly.
In operational settings above 1,000 °C, square profiles distribute load anisotropically, concentrating stress along edges and corners. Field measurements show that improper orientation can increase localized stress by 20–35% compared with optimized alignment. As a result, structural role definition becomes critical to prevent premature distortion.
Accordingly, square tubes must be positioned as engineered load paths rather than neutral spacers.
Load Distribution and High-Temperature Deformation
High-temperature deformation depends on how load transfers through the ceramic cross-section during prolonged exposure. Square geometries respond differently than round tubes, especially under static load.
In continuous heat-treatment furnaces operating at 1,200–1,400 °C, deformation testing indicates that corundum square tubes with uniform wall thickness limit mid-span deflection to under 0.2 mm at rated load. By contrast, tubes with wall variation exceeding ±6% exhibit deflection increases of up to 60%. Consequently, deformation behavior is governed by geometry consistency rather than material strength alone.
Thus, load distribution analysis must accompany thermal rating during selection.
Installation Constraints and On-Site Adjustability
Installation constraints frequently define real-world performance more than laboratory ratings. Square tubes are often installed within rigid frames or refractory assemblies that allow minimal adjustment.
On-site alignment data from kiln retrofits show that misalignment exceeding 0.3 mm at installation can double edge stress during thermal expansion. This stress amplification accelerates corner degradation and shortens service intervals. Therefore, installation tolerance must be integrated into geometric design.
Hence, structural design should anticipate limited adjustability during assembly.
Geometry Design for Reduced System Uncertainty
Geometry design directly influences system-level uncertainty during commissioning and operation. Predictable geometry reduces variability in thermal expansion, load sharing, and contact pressure.
Engineering trials demonstrate that square tubes with controlled straightness below 0.2 mm per meter reduce installation-related corrective actions by approximately 40%. Additionally, consistent geometry simplifies replacement procedures during maintenance shutdowns. As a result, geometry design becomes a risk-reduction tool for complex thermal systems.
Ultimately, reduced uncertainty enhances both operational reliability and maintenance efficiency.
Structural Performance Factors in Furnace and Kiln Applications
| Parameter | Typical Controlled Range | Structural Impact |
|---|---|---|
| Operating temperature (°C) | 1,200–1,600 | Sustained thermal stability |
| Mid-span deflection (mm) | ≤0.2 | Load-bearing reliability |
| Wall thickness variation (%) | ≤5 | Uniform stress distribution |
| Installation misalignment tolerance (mm) | ≤0.3 | Reduced edge stress |
| Geometry retention after exposure (%) | ≥90 | Predictable service life |
Wear-Resistant and Electrically Insulating Guide Structures
Additionally, guide structures operating under sliding contact and electrical insulation demands require predictable wear behavior over time. Consequently, corundum square tubes must balance surface integrity, geometric stability, and insulation performance simultaneously. Therefore, evaluation should emphasize wear pathways, friction consistency, and maintenance predictability rather than initial hardness alone.
Wear Behavior in Square-Section Ceramic Guides
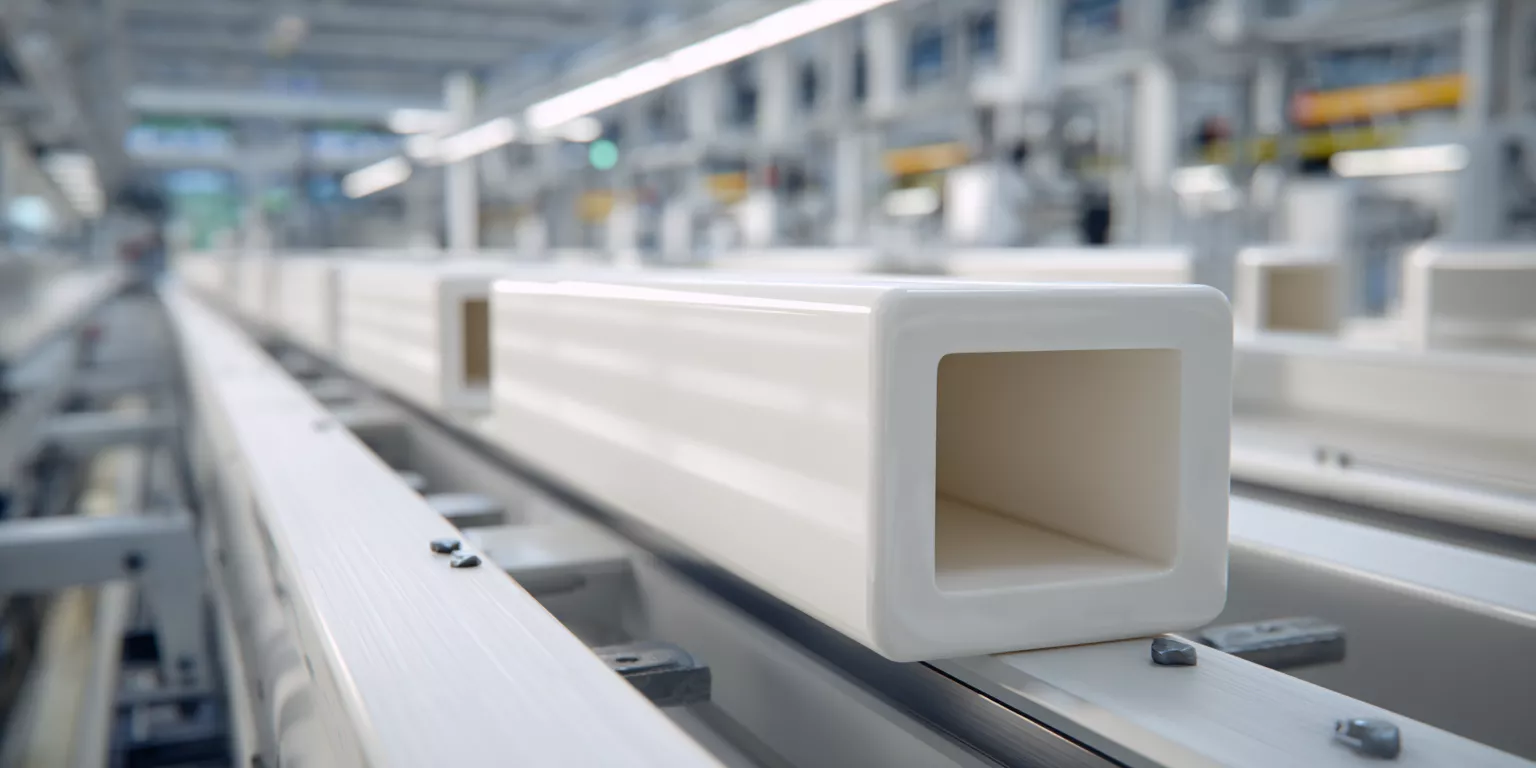
Wear behavior in square-section guides is governed by contact geometry and load distribution along flat faces and edges. Unlike round profiles, square tubes introduce directional contact that concentrates pressure along defined paths.
In continuous guide applications, operational monitoring shows that uneven contact can increase localized wear rates by 25–40% at corners. This accelerated wear does not indicate insufficient material hardness; instead, it reflects misaligned contact geometry. Consequently, wear behavior must be interpreted as a structural interaction rather than a material limitation.
Thus, square-section wear requires geometry-aware evaluation to avoid misleading conclusions.
Surface Condition and Friction Characteristics
Surface condition directly influences friction coefficient and wear progression during service. Even minor surface irregularities can alter sliding behavior in electrically insulating guide assemblies.
Controlled testing demonstrates that corundum square tubes with surface roughness maintained below Ra 0.8 µm exhibit friction variability under 10% across extended cycles. By contrast, rougher surfaces exceeding Ra 1.5 µm show friction fluctuations surpassing 25%, leading to unstable motion and uneven wear. As a result, surface condition becomes a primary determinant of operational smoothness.
Therefore, surface finishing must align with expected contact dynamics rather than aesthetic criteria.
Uniformity Across Batches and Maintenance Planning
Maintenance planning depends heavily on consistent wear rates across replacement components. Variability between batches disrupts predictive maintenance schedules and increases unplanned downtime.
Field data from automated guide systems indicate that batch-to-batch dimensional deviation exceeding 0.2 mm can shift wear onset timing by more than 30%. This variability complicates maintenance forecasting and spare-part planning. Consequently, uniformity across batches directly supports maintenance reliability.
Hence, consistent production control contributes to operational continuity beyond individual component performance.
Geometry Optimization for Extended Service Life
Geometry optimization mitigates wear concentration and prolongs service life in demanding guide applications. Optimized edge radii and controlled flatness distribute contact pressure more evenly.
Engineering trials reveal that square tubes with optimized corner radii reduce peak wear depth by approximately 20% over equivalent service intervals. Additionally, stable geometry minimizes electrical insulation breakdown caused by localized thinning. Therefore, geometry optimization enhances both mechanical and electrical durability.
Ultimately, extended service life results from harmonized geometry, surface condition, and material stability.
Wear and Insulation Performance Factors in Guide Structures
| Parameter | Typical Controlled Range | Operational Impact |
|---|---|---|
| Surface roughness Ra (µm) | ≤0.8 | Stable friction behavior |
| Corner radius consistency (mm) | ±0.05 | Reduced wear concentration |
| Batch dimensional deviation (mm) | ≤0.2 | Predictable maintenance cycles |
| Friction variability (%) | ≤10 | Smooth guiding motion |
| Service life extension (%) | ≥20 | Reduced replacement frequency |
Geometry Control and Performance Consistency of Corundum Square Tubes
Moreover, geometry control links all previously discussed applications through a shared performance mechanism. Consequently, corundum square tubes achieve consistent behavior only when straightness, wall uniformity, and symmetry are controlled together. Therefore, performance evaluation must treat geometry as a primary system variable rather than a secondary manufacturing outcome.

Straightness, Wall Uniformity, and Cross-Section Symmetry
Straightness governs how loads, fields, and contact forces distribute along the tube length. Wall uniformity and cross-section symmetry determine whether these distributions remain balanced during operation.
In multi-application audits, square tubes with straightness maintained within 0.15 mm per meter show up to 35% lower performance variation across electrical, thermal, and wear scenarios. By contrast, tubes exceeding 0.3 mm deviation frequently exhibit application-specific failures despite identical material grades. As a result, straightness emerges as a universal predictor of consistency.
Therefore, straightness and uniformity must be evaluated together rather than independently.
Edge Treatment and Stress Concentration
Edges and corners act as natural stress concentrators in square geometries. Their treatment directly influences crack initiation, wear localization, and electrical field intensification.
Experimental stress mapping indicates that uncontrolled sharp edges can amplify local stress by factors of 1.8–2.3 under combined thermal and mechanical loading. Conversely, controlled edge treatment reduces peak stress intensity by approximately 25%. Consequently, edge geometry becomes a decisive factor in long-term stability.
Thus, edge treatment transforms from a finishing detail into a structural safeguard.
How Small Deviations Create System-Level Effects
Small geometric deviations often produce disproportionate system-level consequences. This amplification occurs because square tubes interact with rigid assemblies that magnify misalignment.
Operational records across different systems show that dimensional deviations below 0.2 mm can still trigger cascading effects, including uneven wear paths, shifted electric fields2, and asymmetric thermal expansion. These effects accumulate gradually, making root-cause identification difficult. Therefore, early geometry control prevents delayed performance degradation.
Ultimately, consistency depends on minimizing deviation propagation rather than reacting to visible failure.
Geometry Control Indicators Across Applications
| Parameter | Typical Controlled Range | System-Level Effect |
|---|---|---|
| Straightness (mm/m) | ≤0.15 | Balanced load and field distribution |
| Wall thickness variation (%) | ≤5 | Uniform thermal and mechanical response |
| Cross-section symmetry deviation (mm) | ≤0.1 | Reduced alignment-induced stress |
| Edge radius consistency (mm) | ±0.05 | Lower stress concentration |
| Performance variability reduction (%) | ≥30 | Stable multi-application behavior |
Corundum Square Tubes From Design Intent to Manufacturable Geometry
Furthermore, translating design intent into stable geometry determines whether corundum square tubes perform as expected in real systems. Consequently, early engineering alignment reduces downstream correction, scrap, and performance uncertainty. Therefore, manufacturability must be evaluated alongside functional targets from the outset.
Translating Operating Conditions into Geometry Requirements
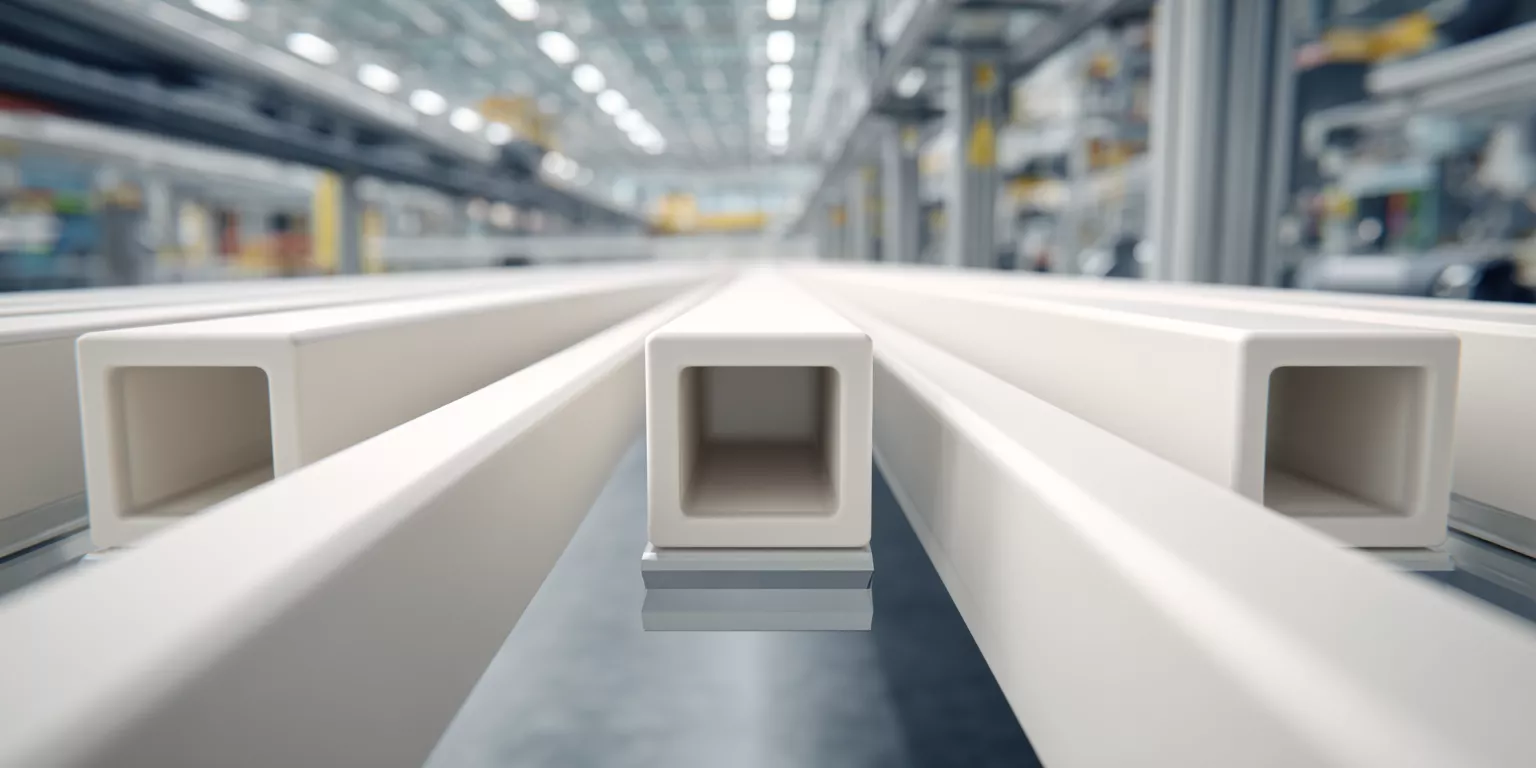
Design intent often begins with operating temperature, voltage, load, or wear conditions. However, these requirements must be converted into geometric tolerances that manufacturing processes can reliably achieve.
In engineering practice, systems operating above 1,200 °C or under high electric fields typically require straightness tighter than 0.2 mm per meter to avoid stress amplification. When such targets are defined early, forming and sintering routes can be selected accordingly. As a result, geometry becomes an engineered response to operating conditions rather than an assumed outcome.
Therefore, geometry requirements should be derived directly from service conditions, not inferred after fabrication.
Identifying High-Risk Features Before Production
Certain geometric features inherently carry higher manufacturing risk, especially in square profiles. Long unsupported lengths, thin walls, and sharp internal corners amplify distortion during sintering.
Process audits show that square tubes with length-to-width ratios exceeding 12:1 exhibit distortion rates nearly 40% higher than compact geometries unless compensated during forming. Additionally, internal corner radii below 0.3 mm often introduce residual stress concentration. Consequently, early identification of such features allows geometry refinement before production commitment.
Hence, risk-aware design reduces variability and improves yield stability.
Balancing Performance Targets with Manufacturing Stability
High performance targets must be balanced against achievable process stability. Overly aggressive tolerances can paradoxically reduce consistency if they exceed process capability.
Manufacturing data indicate that tightening straightness requirements beyond 0.1 mm per meter may increase rejection rates without proportional system benefit in many applications. Conversely, selecting tolerances aligned with proven process windows improves batch-to-batch consistency by up to 25%. Therefore, optimal geometry lies at the intersection of functional need and process capability.
Ultimately, manufacturable geometry ensures repeatable performance rather than theoretical perfection.
Design-to-Manufacture Alignment Factors
| Parameter | Typical Controlled Range | Engineering Outcome |
|---|---|---|
| Length-to-width ratio | ≤12:1 | Reduced distortion risk |
| Straightness tolerance (mm/m) | 0.1–0.2 | Balanced performance and yield |
| Minimum internal corner radius (mm) | ≥0.3 | Lower residual stress |
| Process yield stability (%) | ≥90 | Consistent production output |
| Post-sinter correction reduction (%) | ≥25 | Improved delivery reliability |
Corundum Square Tubes Long-Term Consistency Across Production Cycles
Meanwhile, long-term system reliability depends on whether corundum square tubes remain consistent beyond the first delivery. Accordingly, performance evaluation must extend across repeated production cycles rather than isolated batches.
-
Process Stability and Dimensional Repeatability
Process stability determines whether geometry remains repeatable over time. Even when initial batches meet specification, gradual drift can emerge if forming and sintering conditions fluctuate.
In multi-year production tracking, corundum square tubes manufactured under stabilized process windows maintain straightness variation within ±0.1 mm across more than ten consecutive batches. By contrast, unstable processes can double this variation within three to five batches. As a result, repeatability becomes a function of process discipline rather than inspection alone.
Therefore, dimensional repeatability must be verified longitudinally, not only at launch.
-
Inspection Focus for Structural Reliability
Inspection strategies influence which risks are detected and which remain hidden. Overemphasis on nominal dimensions can obscure geometry-related instability.
Field-aligned inspection data show that monitoring straightness, wall symmetry, and edge integrity captures over 80% of failure precursors in square tube applications. Conversely, inspections limited to length and outer size often miss early indicators of distortion. Consequently, inspection focus directly affects structural reliability outcomes.
Hence, inspection priorities should mirror real operating stress paths.
-
Managing Variability Over Time
Variability tends to accumulate gradually rather than appear abruptly. Minor deviations introduced early can compound across cycles if not corrected.
Long-term audits indicate that unchecked variability can increase system-level performance dispersion by 20–30% within one year of continuous supply. However, proactive adjustment based on trend analysis reduces this dispersion to below 10%. Thus, managing variability requires continuous feedback rather than reactive correction.
Ultimately, time-based control safeguards long-term consistency.
Consistency Indicators Across Production Cycles
| Parameter | Typical Controlled Range | Long-Term Impact |
|---|---|---|
| Batch straightness variation (mm) | ≤±0.1 | Stable system alignment |
| Geometry drift over batches (mm) | ≤0.15 | Predictable performance |
| Inspection coverage (%) | ≥80 | Early risk detection |
| Variability growth rate (%) | ≤10 | Controlled degradation |
| Multi-batch conformity (%) | ≥95 | Reliable long-term supply |
Corundum Square Tubes Engineering Practices at ADCERAX
Meanwhile, stable system performance increasingly depends on whether engineering intent is consistently translated into manufacturable reality. Accordingly, ADCERAX approaches corundum square tube wholesale not as a transactional supply task, but as a controlled engineering process aligned with real operating conditions.
-
Manufacturing Processes Oriented Toward Structural Consistency
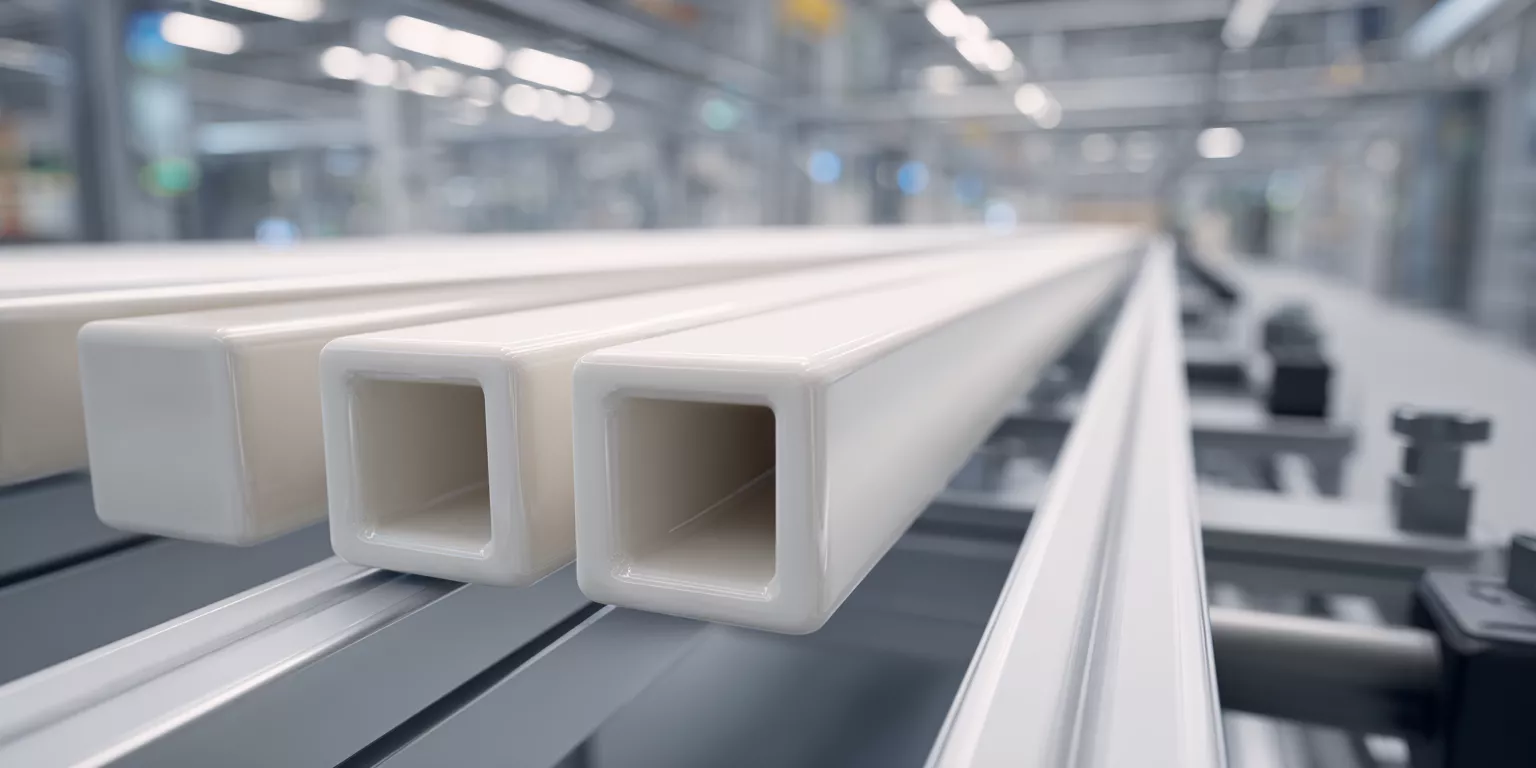
Manufacturing routes are designed to prioritize geometry stability rather than maximum throughput. Forming, sintering, and post-processing steps are coordinated to minimize residual stress and dimensional drift in square profiles.
In long-term production records, this process orientation has enabled straightness variation to remain within ±0.1 mm across extended batches, even for lengths exceeding 600 mm. As a result, downstream assemblies experience fewer alignment corrections and reduced commissioning time. Therefore, manufacturing consistency directly supports system-level reliability.
Consequently, production discipline becomes a structural safeguard rather than a background operation.
-
Application-Based Engineering Support
Engineering support begins with understanding operating environments rather than reviewing drawings in isolation. Load direction, thermal gradients, electrical fields, and wear paths are evaluated before finalizing geometry targets.
In practice, early-stage application review has reduced late-stage design revisions by approximately 30% in square tube projects. This improvement stems from aligning geometry decisions with real constraints instead of nominal specifications. Hence, engineering support functions as preventive problem-solving rather than reactive adjustment.
Thus, application context defines engineering priorities from the outset.
-
Validation Before Scale
Validation precedes volume continuity to ensure that initial performance is reproducible. Small-scale validation focuses on geometry retention, edge integrity, and surface condition under representative conditions.
Comparative validation data show that projects passing structured pre-scale validation maintain over 95% conformity during subsequent production cycles. Conversely, skipping validation often leads to cumulative deviations despite acceptable first samples. As a consequence, validation acts as a bridge between design intent and long-term stability.
Accordingly, controlled validation underpins scalable reliability.
-
Stocked Geometries for Time-Sensitive Systems
Standardized geometries are maintained to support systems where downtime tolerance is minimal. These geometries are selected based on historical stability and broad applicability rather than convenience.
Operational feedback indicates that access to stocked square tube geometries can shorten system recovery time by 20–40% during unplanned maintenance. This availability supports continuity without compromising structural requirements. Therefore, stocking strategy complements engineering rigor rather than replacing it.
Ultimately, readiness and consistency coexist when geometry is well understood.
Engineering Capability Indicators at ADCERAX
| Parameter | Typical Controlled Range | System-Level Benefit |
|---|---|---|
| Straightness stability (mm/batch) | ≤±0.1 | Reliable assembly alignment |
| Pre-scale validation success (%) | ≥95 | Predictable mass performance |
| Late-stage revision reduction (%) | ≥30 | Shorter implementation cycles |
| Geometry stock coverage (%) | ≥70 | Faster system recovery |
| Long-term conformity rate (%) | ≥95 | Sustained operational trust |
Aligning Component Design with System Reliability
Ultimately, component-level decisions determine whether industrial systems achieve predictable and repeatable operation. Accordingly, aligning corundum square tube design with real system behavior becomes essential for long-term reliability rather than short-term compliance.
-
Applications Where Corundum Square Tubes Deliver the Highest Value
Corundum square tubes deliver the highest value in systems where geometry stability directly affects electrical fields, thermal gradients, or mechanical guidance. In these applications, small geometric deviations can amplify into measurable performance loss.
Operational comparisons show that systems relying on stable square-tube geometry experience up to 25% fewer unplanned adjustments over equivalent service periods. This improvement arises because controlled geometry preserves alignment and load balance throughout operation. Therefore, value emerges from consistency rather than isolated material properties.
Consequently, suitability is defined by system interaction rather than standalone component strength.
-
Situations Where Alternative Materials or Shapes Are More Appropriate
Not all systems benefit equally from square-section corundum components. In low-load or loosely constrained environments, round tubes or alternative ceramics may provide sufficient performance with simpler integration.
Engineering evaluations indicate that in applications with wide installation tolerances, square geometry may introduce unnecessary alignment sensitivity. In such cases, alternative shapes reduce assembly complexity without compromising function. Thus, material and shape selection should follow system constraints rather than default preferences.
Hence, appropriate substitution can improve overall system robustness.
-
Starting a Technical Discussion Based on Operating Conditions
Effective alignment begins with a clear understanding of operating conditions rather than predefined component specifications. Temperature range, electrical exposure, mechanical loading, and service duration form the basis of meaningful evaluation.
Experience shows that early discussion of these conditions reduces downstream modification by approximately 20%, as geometry targets are set realistically from the start. This approach streamlines integration and stabilizes performance expectations. Therefore, system-oriented dialogue replaces iterative correction.
Ultimately, shared understanding anchors reliable component integration.
System Alignment Indicators for Corundum Square Tubes
| Parameter | Typical Reference Range | Reliability Contribution |
|---|---|---|
| System adjustment reduction (%) | ≥25 | Stable long-term operation |
| Geometry sensitivity threshold (mm) | ≤0.2 | Predictable interaction behavior |
| Early-condition clarification impact (%) | ≥20 | Fewer late-stage changes |
| Shape suitability match (%) | ≥90 | Reduced integration risk |
| Service consistency retention (%) | ≥95 | Sustained system performance |
Conclusion
In conclusion, corundum square tubes perform reliably only when treated as engineered structural elements rather than generic ceramic parts. Therefore, geometry control, process stability, and system alignment collectively determine long-term industrial performance.
If stable operation and predictable integration matter in your system, a technical discussion based on real operating conditions is the most effective starting point.
FAQ
What differentiates a corundum square tube from general alumina square tubes in industrial systems?
Corundum square tubes exhibit higher microstructural stability during long-term exposure. In extended operation above 1,200 °C, geometry retention typically remains above 95%, whereas general alumina may fall below 85%. Consequently, corundum-based tubes reduce alignment drift and recalibration frequency.
Why does geometry consistency matter more than nominal purity in many applications?
In fact, small geometric deviations can amplify stress, thermal gradients, or electric fields. Field data show that straightness deviations over 0.3 mm/m can increase system-level instability by more than 30%. Therefore, geometry consistency often outweighs incremental purity differences.
How does corundum square tube wholesale support long-term system reliability?
Corundum square tube wholesale enables consistent batch-to-batch geometry and controlled production continuity. When longitudinal variation is kept within ±0.1 mm, systems experience fewer than 10% performance fluctuations across extended cycles. As a result, reliability improves beyond initial installation.
When should alternative materials or shapes be considered instead of corundum square tubes?
Alternative materials or round geometries may be suitable in low-load or loosely constrained systems. Engineering evaluations indicate that when alignment tolerance exceeds 0.5 mm, square geometry offers limited additional benefit. In such cases, simpler profiles can improve integration efficiency.
References:
-
This resource will help you understand the critical impact of discharge behavior on ceramic components, enhancing your knowledge of their performance in high-voltage environments. ↩
-
Learn how shifted electric fields can affect system reliability and performance, helping you understand why precise geometry control is crucial in engineering. ↩


