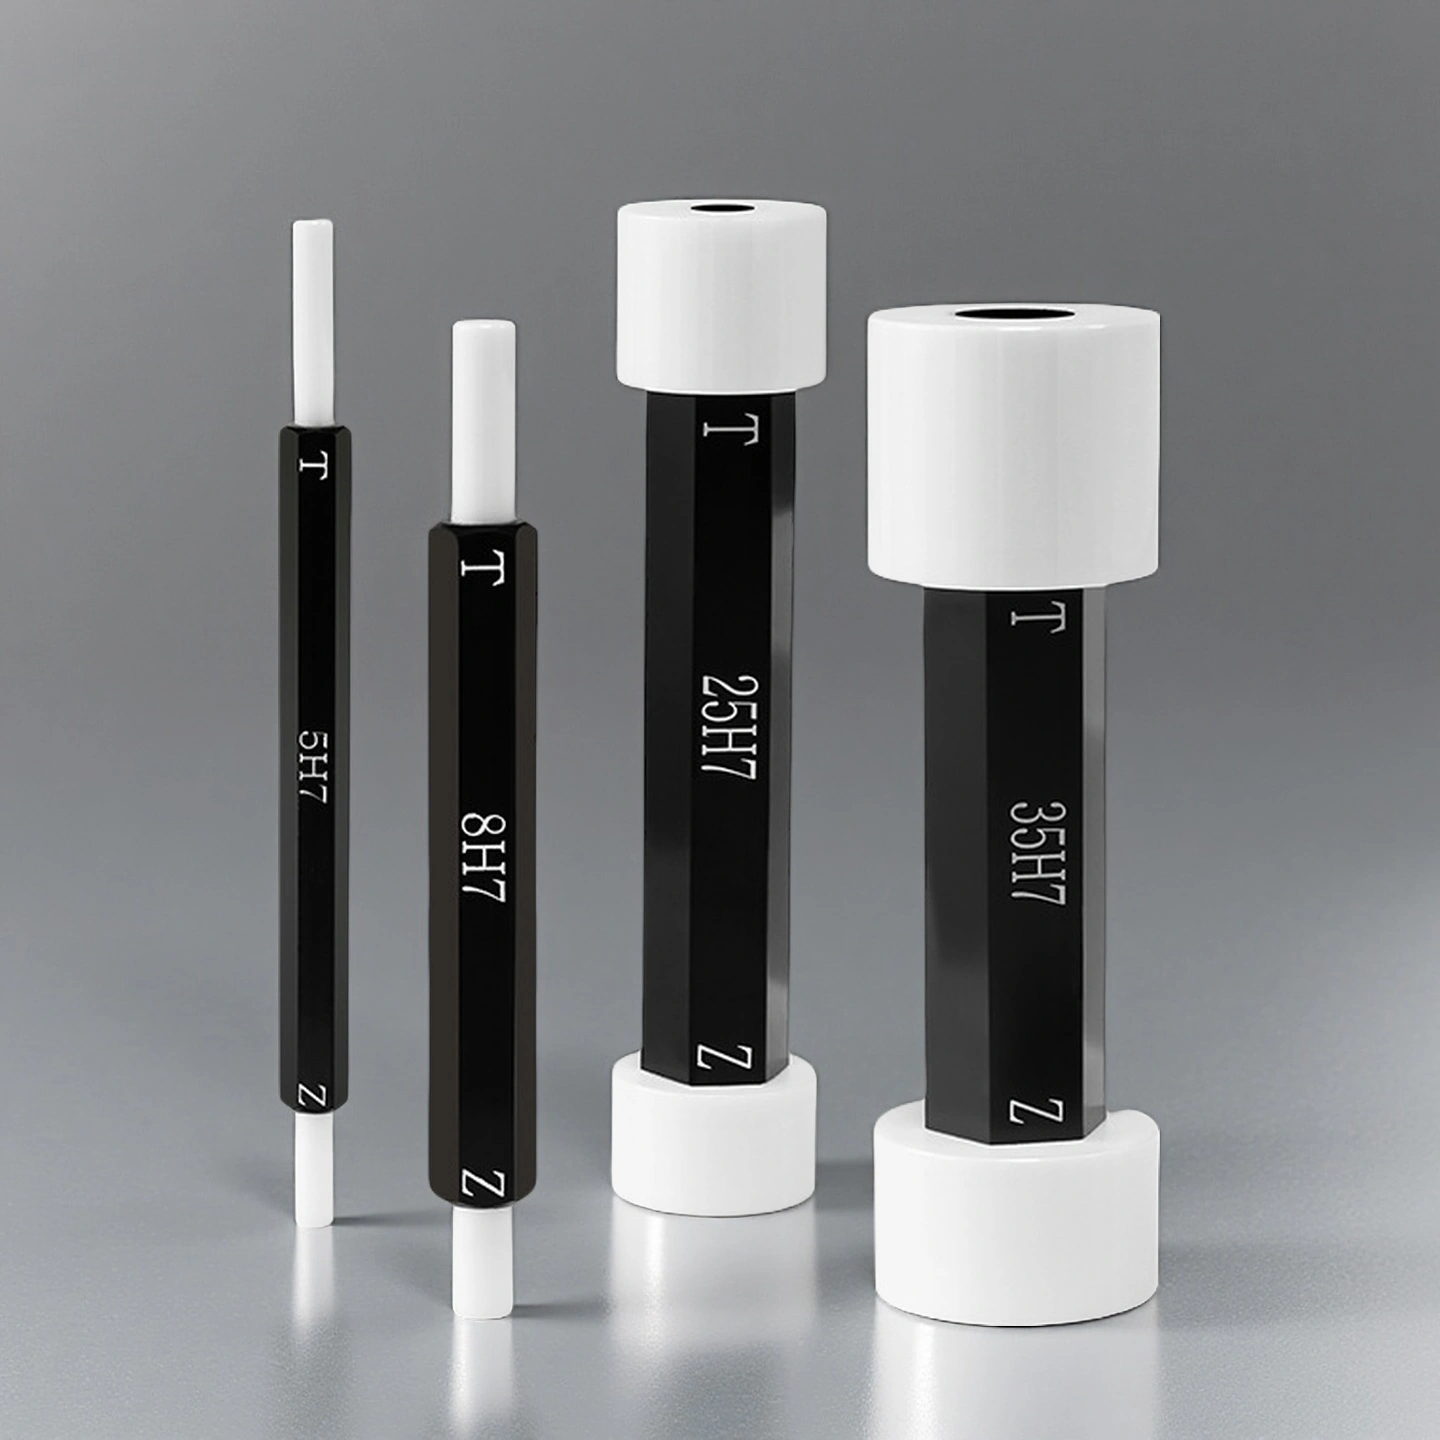
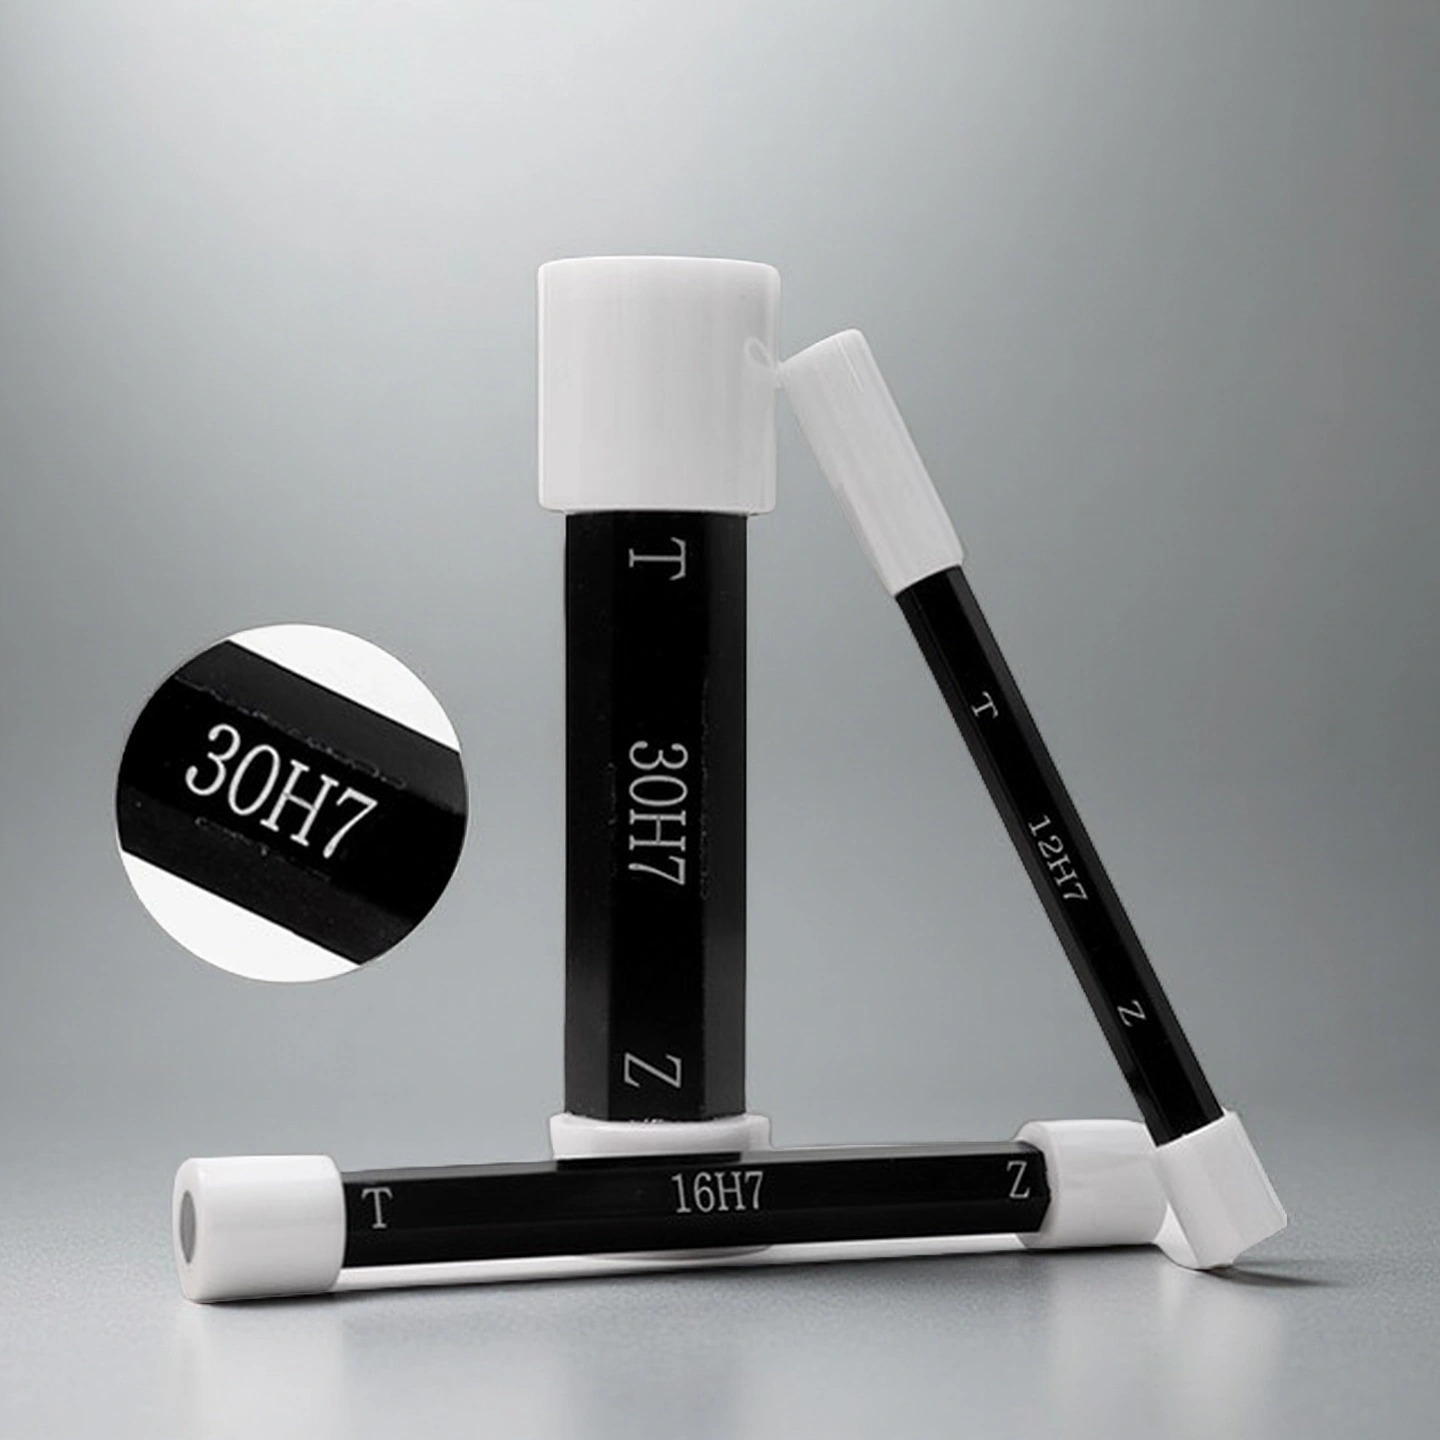
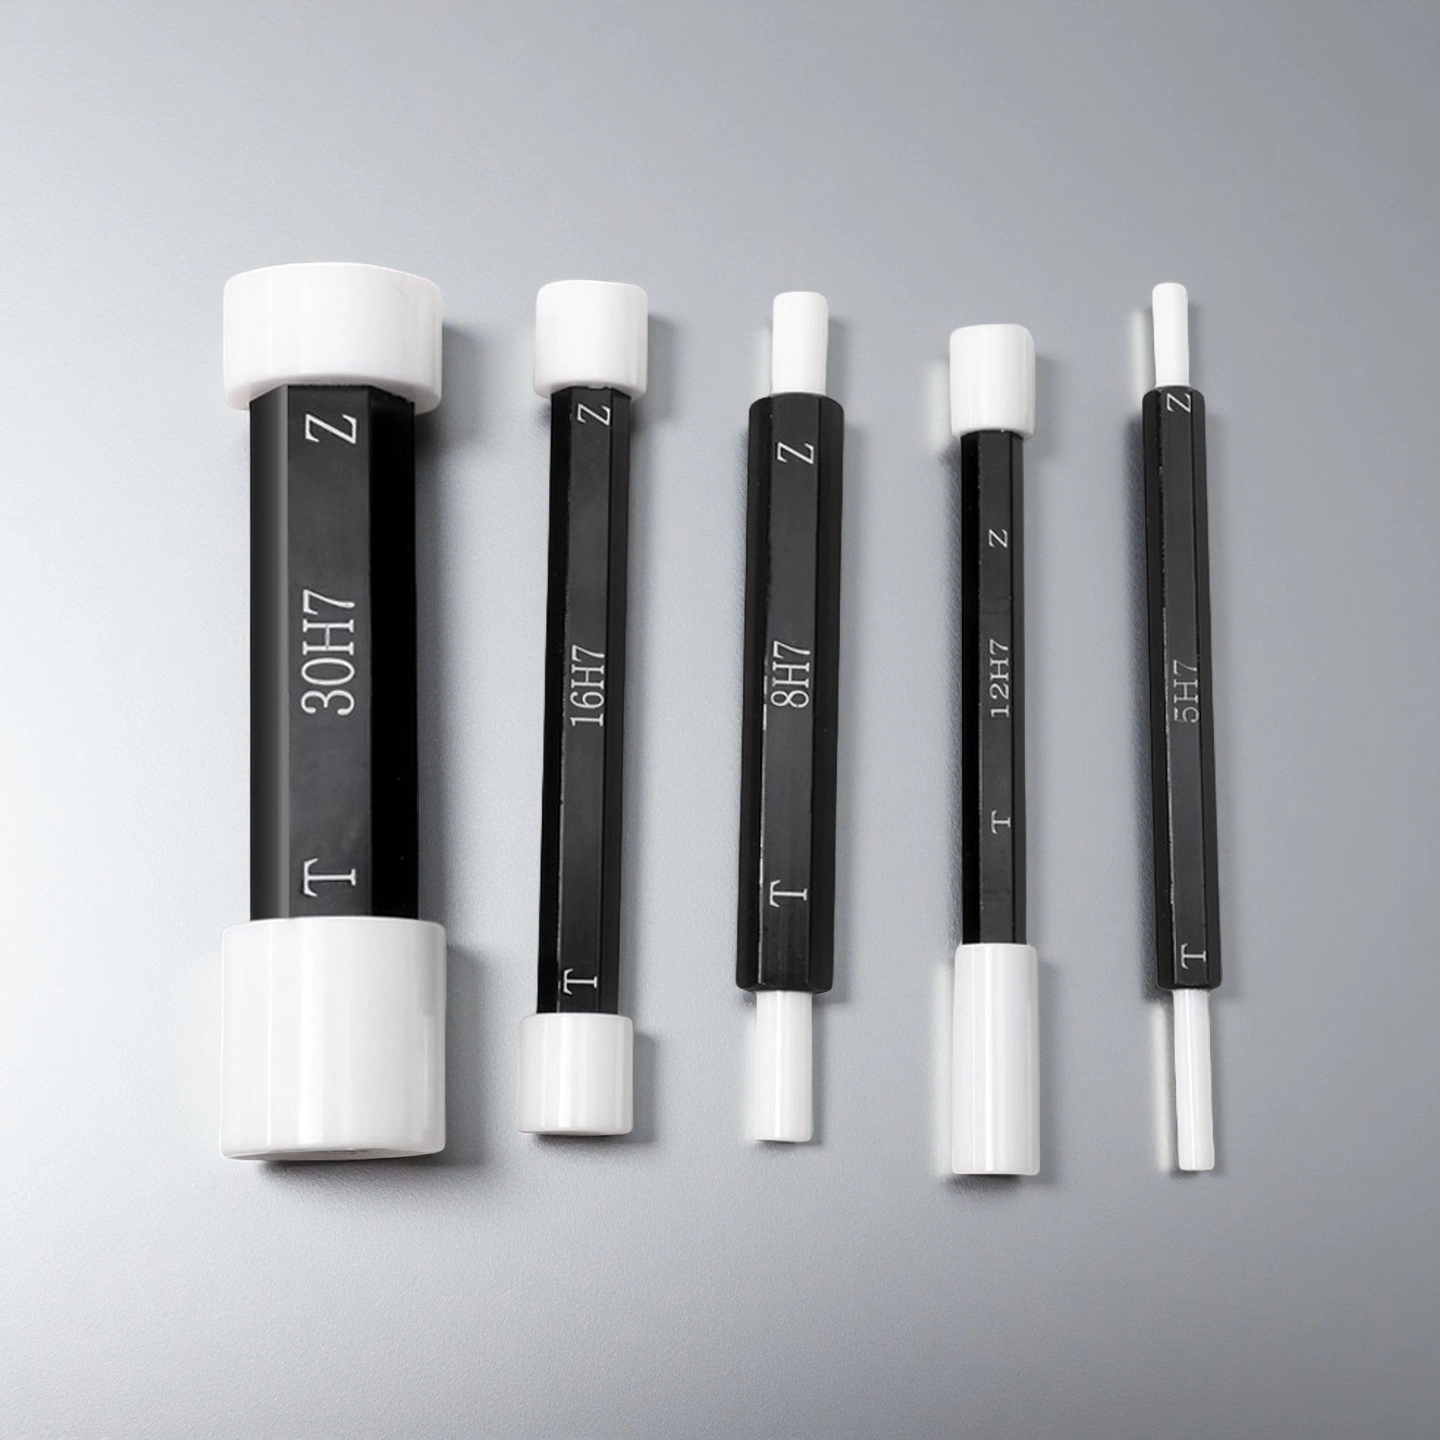
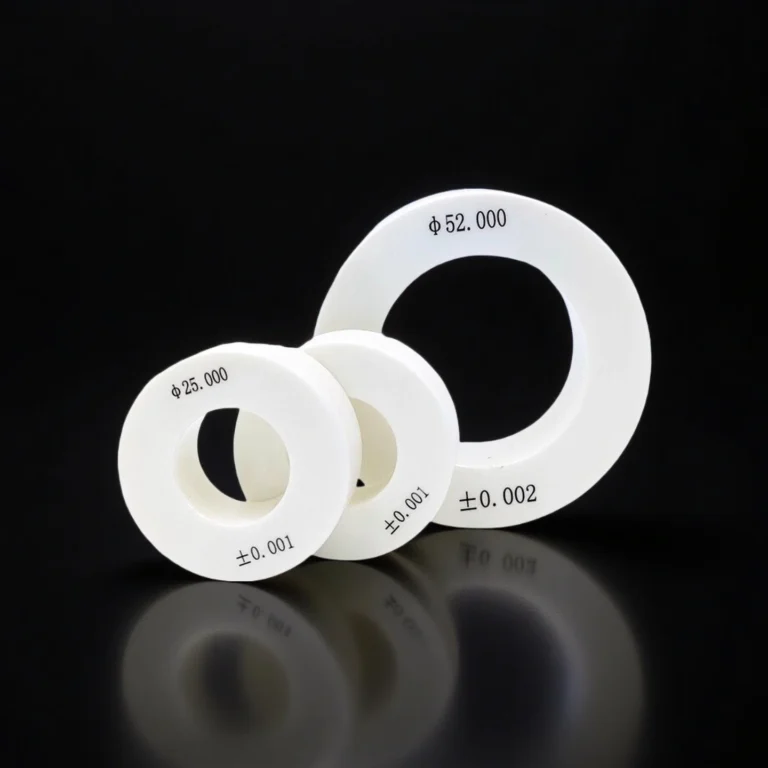
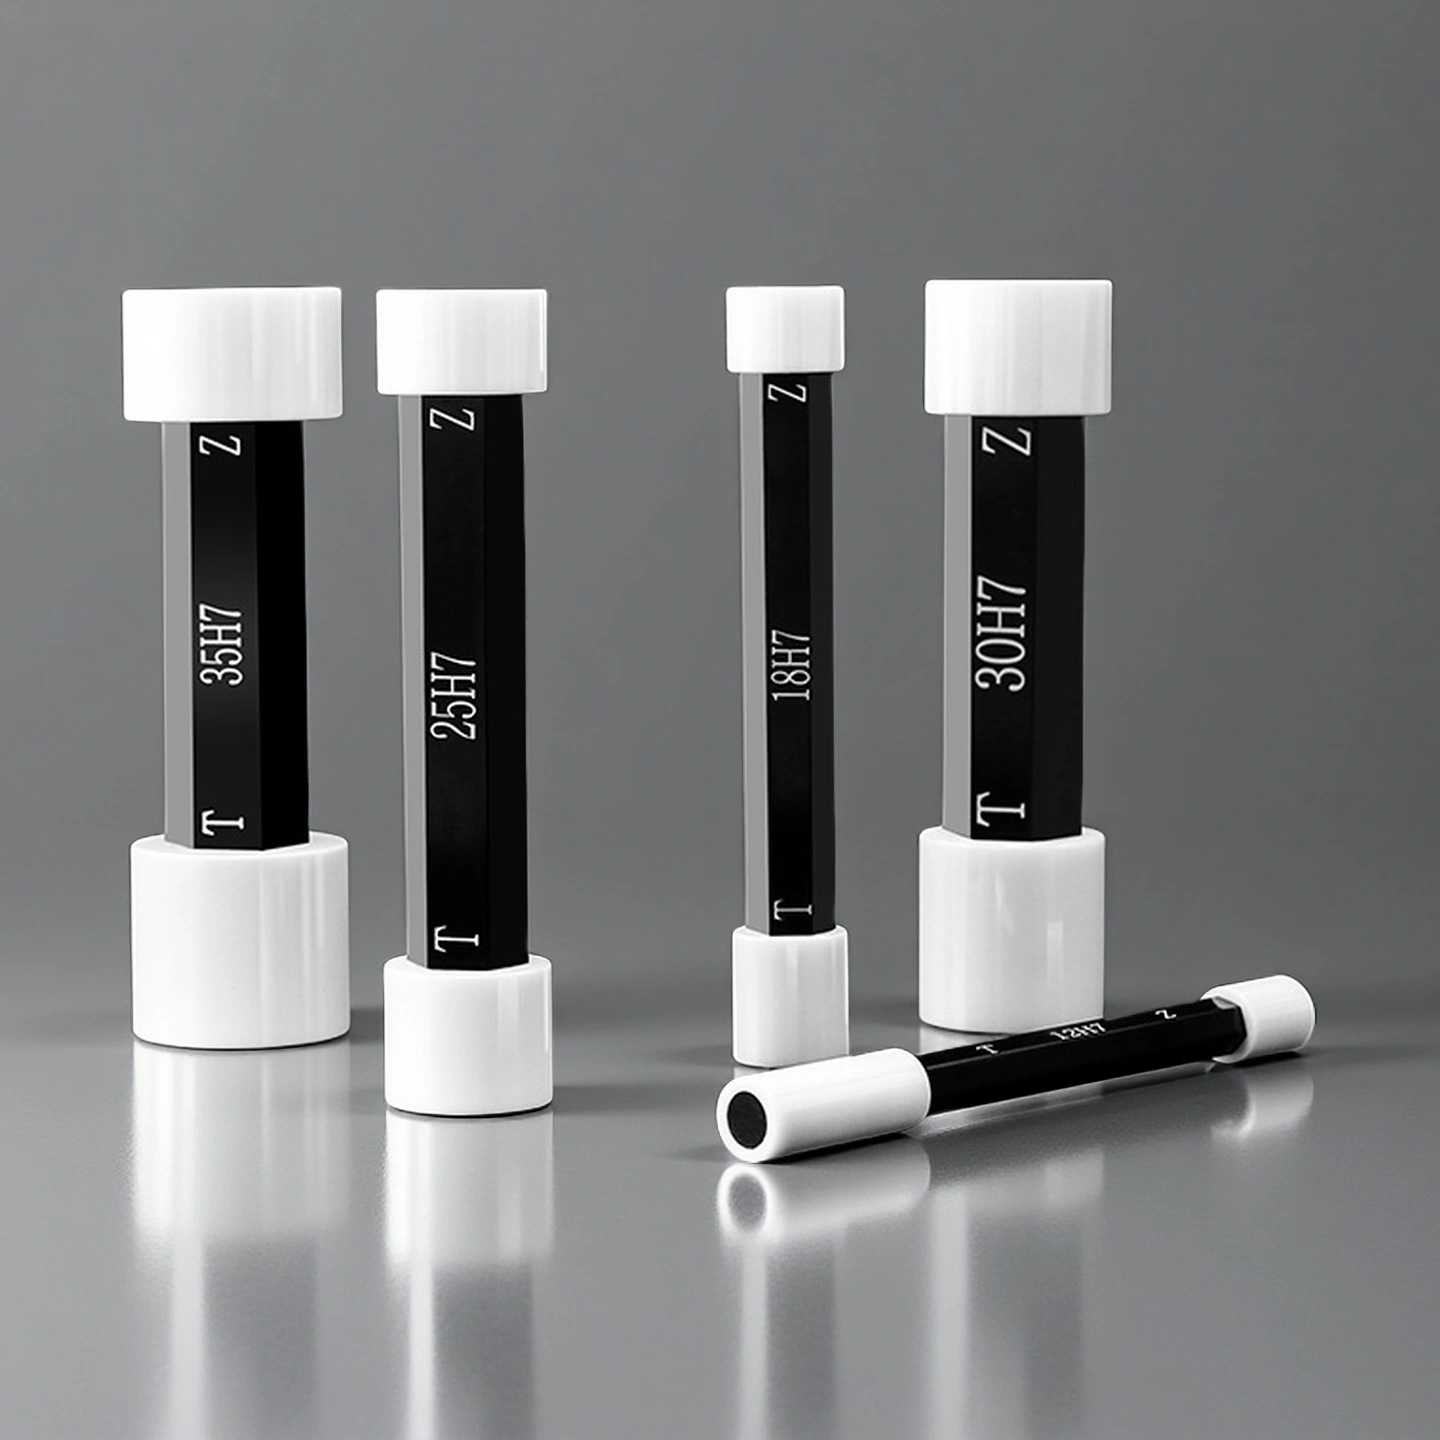
Chip-Resistant Zirconia Ceramic Plug Gauge for Rough-Finish Part Inspection

Zirconia Ceramic Plug Gauge combines material stability, metrological precision, and operational resilience to meet inspection demands across machining, automotive, and aerospace sectors. The following features are optimized for repeatable dimension control, even under coolant, vibration, and temperature drift.

Catalog No. AT-YHG-TZG001
Material Yttria-Stabilized Zirconia (Y-TZP)
Thermal Expansion ~9.2 × 10⁻⁶/K (20–800 °C)
Surface Finish (Ra) ≤ 0.02 µm mirror-polished GO face
Wear Life vs Steel 8–12× longer lifespan under 120,000-cycle inspection routines
24H Standard Dispatch
Small Batch Support OEM
Factory Direct
Expert Engineering Support

ADCERAX® Zirconia Ceramic Plug Gauge is used for GO/NO‑GO bore verification in machining, automotive, and aerospace production cells where uptime and repeatable results matter. It supports stable bore decisions under water‑based coolants and electromagnetic noise due to its non‑magnetic and corrosion‑resistant Y‑TZP ceramic. Zirconia Ceramic Plug Gauge helps quality teams reduce CMM load and maintain takt time while keeping consistent readings in daily inspection routines.

Features of Zirconia Ceramic Plug Gauge

  • The Y-TZP body of Zirconia Ceramic Plug Gauge maintains form with a thermal expansion rate of ~9.2 × 10⁻⁶/K between 20–800 °C. This enables tight dimensional stability in temperature-variable shop floors.
  • Its ceramic structure resists corrosion in >98% of common water-based coolants and pH 4–10 fluids used in automotive wet lines. This allows use without oiling or protective coatings.
  • Zirconia’s fracture toughness reaches 9.1 MPa·m½, reducing the risk of micro-chipping even after >10,000 insertions in comparator setups. This ensures gauge face integrity over long inspection cycles.
  • Zirconia Ceramic Plug Gauge offers a wear life 8–12× longer than hardened steel, based on 120,000-cycle durability test in GO stations. This directly reduces recalibration and replacement frequency.
  • Surface finish of Ra ≤ 0.02 µm minimizes seating variation, improving GO/NO-GO judgment consistency by >95% in repeat trials. It supports high confidence in operator-based inspection loops.
  • Less than 0.0015 mm cylindricity deviation was measured in over 85% of ADCERAX plug gauges after 12 months of use. This supports extended certification intervals in line-side programs.
  • The ceramic core is 100% non-magnetic and exhibits resistivity >10¹² Ω·cm at room temperature. This eliminates coupling errors near probes and servo-driven spindles.
  • In aerospace and lab cells, Zirconia Ceramic Plug Gauge showed 0% EMI distortion across 50+ calibration runs under active instrumentation. It ensures compatibility with high-sensitivity setups.
  • Field reports confirm zero conductivity-induced misreads in precision inspection stations with static-sensitive electronics. This removes grounding or shielding needs during gauge handling.

Technical Properties for Zirconia Ceramic Plug Gauge

Zirconia Ceramic Plug Gauge delivers consistent dimensional performance under demanding inspection environments due to its advanced ceramic composition. Its physical integrity, chemical inertness, and electrical insulation support long-term usage in calibration laboratories, machining stations, and precision quality control applications.

Property Specification
Material Composition Yttria-Stabilized Zirconia (Y-TZP)
Density 6.05 ± 0.05 g/cm³
Hardness ≥ 1300 HV
Fracture Toughness 8–10 MPa·m¹ᐟ²
Flexural Strength ≥ 1000 MPa
Thermal Expansion Coefficient ~9.2 × 10⁻⁶/K (20–800 °C)
Maximum Operating Temperature 800 °C (stable performance)
Electrical Resistivity >10¹² Ω·cm @ 20 °C
Magnetic Susceptibility Zero (non-magnetic)
Surface Roughness (GO face) ≤ 0.02 µm Ra
Roundness Deviation ≤ 0.0015 mm
Corrosion Resistance Stable in pH 4–10 coolants and acids
Moisture Absorption < 0.01%
Color Ivory white
Typical Calibration Interval >12 months (under standard usage)

Specifications of Zirconia Ceramic Plug Gauge


Zirconia Ceramic Plug Gauge
Item No. Specification Interval Accuracy
AT-YHG-TZG001 1~3.999mm 0.001mm ±0.001mm
AT-YHG-TZG002 4~5.999mm 0.001mm ±0.001mm
AT-YHG-TZG003 6~6.999mm 0.001mm ±0.001mm
AT-YHG-TZG004 7~7.999mm 0.001mm ±0.001mm
AT-YHG-TZG005 8~8.999mm 0.001mm ±0.001mm
AT-YHG-TZG006 9~9.999mm 0.001mm ±0.001mm
AT-YHG-TZG007 10~10.999mm 0.001mm ±0.001mm
AT-YHG-TZG008 11~11.999mm 0.001mm ±0.001mm
AT-YHG-TZG009 12~12.999mm 0.001mm ±0.001mm
AT-YHG-TZG010 13~13.999mm 0.001mm ±0.001mm
AT-YHG-TZG011 14~14.999mm 0.001mm ±0.001mm
AT-YHG-TZG012 15~15.999mm 0.001mm ±0.001mm
AT-YHG-TZG013 16~16.999mm 0.001mm ±0.001mm
AT-YHG-TZG014 17~17.999mm 0.001mm ±0.001mm
AT-YHG-TZG015 18~18.999mm 0.001mm ±0.001mm
AT-YHG-TZG016 19~19.999mm 0.001mm ±0.001mm
AT-YHG-TZG017 20~20.999mm 0.001mm ±0.001mm
AT-YHG-TZG018 21~21.999mm 0.001mm ±0.001mm
AT-YHG-TZG019 22~22.999mm 0.001mm ±0.001mm
AT-YHG-TZG020 23~23.999mm 0.001mm ±0.001mm
AT-YHG-TZG021 24~24.999mm 0.001mm ±0.001mm
AT-YHG-TZG022 25~25.999mm 0.001mm ±0.001mm
AT-YHG-TZG023 26~26.999mm 0.001mm ±0.001mm
AT-YHG-TZG024 27~27.999mm 0.001mm ±0.001mm
AT-YHG-TZG025 28~28.999mm 0.001mm ±0.001mm
AT-YHG-TZG026 29~29.999mm 0.001mm ±0.001mm
AT-YHG-TZG027 30~30.999mm 0.001mm ±0.001mm
AT-YHG-TZG028 31~31.999mm 0.001mm ±0.001mm
AT-YHG-TZG029 32~32.999mm 0.001mm ±0.001mm
AT-YHG-TZG030 33~33.999mm 0.001mm ±0.001mm
AT-YHG-TZG031 34~34.999mm 0.001mm ±0.001mm
AT-YHG-TZG032 35~35.999mm 0.001mm ±0.001mm
AT-YHG-TZG033 36~36.999mm 0.001mm ±0.001mm
AT-YHG-TZG034 37~37.999mm 0.001mm ±0.001mm
AT-YHG-TZG035 38~38.999mm 0.001mm ±0.001mm
AT-YHG-TZG036 39~39.999mm 0.001mm ±0.001mm
AT-YHG-TZG037 40.000mm / ±0.001mm
AT-YHG-TZG038 41.000mm / ±0.001mm
AT-YHG-TZG039 42.000mm / ±0.001mm
AT-YHG-TZG040 43.000mm / ±0.001mm
AT-YHG-TZG041 44.000mm / ±0.001mm
AT-YHG-TZG042 45.000mm / ±0.001mm
AT-YHG-TZG043 46.000mm / ±0.001mm
AT-YHG-TZG044 47.000mm / ±0.001mm
AT-YHG-TZG045 48.000mm / ±0.001mm
AT-YHG-TZG046 49.000mm / ±0.001mm
AT-YHG-TZG047 50.000mm / ±0.001mm

Packaging of Zirconia Ceramic Plug Gauge

Each Zirconia Ceramic Plug Gauge is individually housed in a foam-lined plastic case to protect against vibration and impact. For bulk orders, gauges are arranged in dense EVA inserts within reinforced wooden boxes. This ensures them arrive clean, intact, and ready for immediate use.

ADCERAX® Packaging of Zirconia Ceramic Gauge Blocks

Solving Application Challenges with ADCERAX® Zirconia Ceramic Plug Gauge

ADCERAX® Zirconia Ceramic Plug Gauge is engineered to meet the exacting needs of dimensional verification in niche industrial processes where metal gauges fail due to wear, magnetic interference, or chemical instability. Its integration enables higher accuracy, reduced downtime, and longer service cycles across specialized manufacturing workflows.


  • Bore Calibration in Gear Housing Machining in Automotive Final Drive Systems

    ✅Key Advantages

    1. Stable Sizing in Wet Cast-Iron Contact
    ADCERAX® Zirconia Ceramic Plug Gauge resists dimensional change across 20,000+ insertions into cast-iron housings under continuous water-based coolant spray. Its thermal and chemical inertness prevents GO/NO-GO mismatch in day-shift usage.
    2. No Edge Erosion from Metallic Chips
    Repeated bore inspections in chip-contaminated environments typically dull steel gauge edges within 2 weeks. Zirconia edge roundness loss stays under 2 µm after 30,000 uses, maintaining bore reading accuracy.
    3. Reduced Manual Reverification Rate
    In automated automotive lines, steel gauges require pull-and-recheck events every ~500 units. ADCERAX® customers report >90% reduction in manual gauge changeovers across 1,000-unit daily cycles.

    ✅ ️Problem Solved

    A Tier-1 transmission part supplier in Poland replaced steel plug gauges in their gear case line with ADCERAX® Zirconia Ceramic Plug Gauges. Within 60 days, recheck interruptions fell by 88%, and bore rejection due to overused steel gauges dropped from 3.2% to 0.4%. The switch supported continuous operation across 3 shifts without intermediate calibration pause.

  • Inspection of Ceramic Ferrule Sleeves in Fiber Optic Connector Lines

    ✅Key Advantages

    1. Zero Ferrous Particle Contamination
    Steel gauge tips transfer microscopic iron particles that cause polishing defects. ADCERAX® zirconia gauges showed no residue transfer after 10,000 contact events under Class 10k cleanroom audit.
    2. Thermal Drift Immunity in ESD-Sensitive Zones
    Gauge temperature expansion affects fiber alignment bore readings. Y-TZP’s expansion rate (<9.5×10⁻⁶/K) held plug diameter deviation under 0.001 mm across 22°C–28°C ranges.
    3. Sub-Micron Repeatability on Microbores
    GO/NO-GO bore checks at 1.25 mm ±0.002 mm were consistently held over 60,000 insertions with no calibration drift. Steel gauges exceeded ±0.005 mm deviation after just 5,000 cycles.

    ✅ ️Problem Solved

    A Korean optical connector factory saw a 0.3 dB average insertion loss shift traced to bore gauge wear. ADCERAX® Zirconia Ceramic Plug Gauges replaced steel tools, eliminating magnetic contamination issues. Post-implementation, insertion loss variance dropped by 41%, and operator cleaning intervals reduced from 4 times/day to once per shift.

  • Clean Bore Validation in Precision Fuel Injection Nozzle Manufacturing

    ✅Key Advantages

    1. No Oil Requirement for Dry-Fit Validation
    Steel plug gauges must be lightly oiled to prevent seizure in microbores, risking contamination. ADCERAX® zirconia units function dry and retained push-fit smoothness over 25,000 contacts at φ0.4 mm.
    2. Chemical Compatibility with Acidic Baths
    Cleaning stations at pH 4–5 degrade hardened steel in 2–3 weeks. ADCERAX® ceramic showed zero surface etching or dimension shift after 14 days immersion in diluted nitric acid.
    3. Consistent Surface Integrity at Sub-Micron Bores
    Nozzles inspected at φ0.32 mm ±0.001 mm retained pass/fail accuracy across 3x normal use cycles. Zirconia’s non-galling property avoids micro-scratching in final bore pass.

    ✅ ️Problem Solved

    A U.S. Tier-2 fuel injection system supplier replaced stainless steel bore gauges after experiencing a 12% nozzle rejection rate due to bore deformation and post-inspection oil contamination. After switching to ADCERAX® zirconia gauges, defect rate dropped below 1.5%, and ultrasonic cleaning throughput increased by 25% due to reduced residue.

Operational Guide for Zirconia Ceramic Plug Gauge Use in Industrial Inspection

To ensure full performance and long service life, Zirconia Ceramic Plug Gauge users must follow essential handling, calibration, and environment guidelines tailored to the material's unique properties. This guide helps manufacturers, inspectors, and quality engineers maximize repeatability, avoid misuse, and maintain measurement integrity under various field conditions.

  • Handling and Storage Best Practices

    1. Avoid any lateral pressure during insertion. Zirconia ceramic is strong under compression but can chip if twisted or forced into undersized or misaligned bores. Use vertical, gentle alignment with controlled feed rates.
    2. Store gauges in padded, anti-static trays. Avoid contact with metal tools, sharp edges, or vibrating surfaces. Maintaining isolated compartments reduces breakage risk by over 70%.
    3. Do not mark or etch on ceramic surfaces. Identification should use laser codes or external labels only. Ink-based markings can penetrate micro-cracks and reduce surface integrity.

  • Cleaning and Contamination Control

    1. Clean before and after each use with alcohol or DI water. Avoid acidic or alkaline solutions. Residual particles on gauge surfaces can cause up to 5 µm false reading drift.
    2. Use lint-free wipes in cleanroom settings. Fiber residues can obstruct bore entry or misalign contact zones. Dry fully before reuse.
    3. Never use ultrasonic cleaning for chipped parts. This may worsen micro-defects or cause structural delamination in extreme cases.

  • Gauge Calibration and Lifecycle Monitoring

    1. Perform visual inspection after every 500 cycles. Look for tip rounding, cracks, or discoloration. Replace if visual defects appear.
    2. Revalidation against certified reference rings every 3 months. Even ceramic gauges experience contact wear in high-throughput lines. Dimensional drift >2 µm requires immediate gauge replacement.
    3. Track usage cycles per serial ID. ADCERAX recommends digital logging of insertions per gauge to forecast replacement timing.

  • Application-Specific Usage Reminders

    1. Do not use in bores with unfinished inner burrs. Zirconia tips can chip on rough castings or interrupted inner edges. Use pilot deburring first.
    2. In automated lines, ensure proper alignment tooling. Misalignment in robotic loading may reduce gauge lifespan by 50%. Calibrate robotic arms regularly.
    3. Avoid dual-material contact in inspection chains. Switching between steel and zirconia gauges in one line can introduce inconsistent thermal offsets.

FAQs about Zirconia Ceramic Plug Gauge

  1. Q1: Why is Zirconia Ceramic Plug Gauge preferred over steel gauges in wet or coolant-heavy environments?
    A: Zirconia Ceramic Plug Gauge is chemically inert and resists corrosion from coolants, acids, and alkaline fluids. Unlike steel, it does not pit, rust, or require oiling, reducing contamination risk and cleaning time. This makes it ideal for continuous inspection in high-throughput machining environments.
  2. Q2: How does a Zirconia Ceramic Plug Gauge maintain measurement stability under thermal fluctuations?
    A: The material has a low thermal conductivity and a stable expansion coefficient (~9.2 × 10⁻⁶/K), which ensures consistent readings even in environments with fluctuating ambient or part temperatures. This helps eliminate false rejects due to thermal drift.
  3. Q3: Is there any magnetic interference risk when using a Zirconia Ceramic Plug Gauge near sensors or sensitive electronics?
    A: No. Zirconia is a non-magnetic material, making it safe for use in ESD-controlled areas and near electromagnetic sensors. This is especially valuable in electronics assembly or fiber optic inspection lines.
  4. Q4: Can a Zirconia Ceramic Plug Gauge withstand frequent cleaning cycles in cleanroom or sterile environments?
    A: Yes. The mirror-polished surface is highly resistant to wear and chemicals, allowing repeated ultrasonic or alcohol-based cleaning without surface damage or dimensional drift. This ensures gauge reliability in sensitive applications like fuel nozzles and ferrules.
  5. Q5: How does the durability of a Zirconia Ceramic Plug Gauge compare with hardened tool steel gauges?
    A: Zirconia ceramics deliver 8–12× longer wear resistance than conventional steel gauges in repeated insertion tests. This extends the usable life significantly, especially in automated inspection lines with 1,000+ daily operations.

What Industry Leaders Say About Using Zirconia Ceramic Plug Gauge in Real Production

  • ⭐️⭐️⭐️⭐️⭐️
    "After replacing our steel gauges with the zirconia version from ADCERAX, we saw a measurable difference in reliability. No pitting or surface degradation even after 10,000+ insertions in wet lines. The gauge helps us maintain bore tolerances without interrupting production shifts."
    — Marcus V., Quality Control Engineer, Aachen Precision Drives GmbH
  • ⭐️⭐️⭐️⭐️⭐️
    "Our fiber optic ferrule inspection line operates 24/7, and contamination was a constant issue. The ADCERAX gauge solved this with a non-conductive surface that never leaves residue. It fits perfectly with our ESD-sensitive workflow and requires zero oiling."
    — Linda A., Process Supervisor, TekWave Photonics, USA
  • ⭐️⭐️⭐️⭐️⭐️
    "We run high-volume gear housing checks with over 1,200 units/day. The Zirconia Ceramic Plug Gauge holds up where our steel sets kept failing due to coolant exposure. Its dimensional consistency across 3 months of continuous use is unmatched."
    — Kenji T., Manufacturing Engineer, Mikasa Automotive Systems Japan
  • ⭐️⭐️⭐️⭐️⭐️
    "Most of our fuel injector nozzle rejects came from gauge-induced micro-contamination. Since switching to the ADCERAX solution, we've had a 92% drop in pre-assembly cleaning rejections. The zero-lubricant design really helps our cleanroom compliance."
    — Oliver B., Director of QA, Vectronix Engine Components AG
customize size

Customization Services for ZrO2 Plug Gauge

ADCERAX® Zirconia Ceramic Plug Gauge customization ensures each gauge aligns precisely with your inspection environment, part geometry, and production demands. ADCERAX supports flexible adaptations that enhance performance, tool compatibility, and operational efficiency in specialized industries.

Tip Geometry Variations

Custom gauge tips improve fit precision across complex bore profiles.

  • Chamfer Options: Improve lead-in alignment during high-speed insertion.
  • Spherical Ends: Support entry into tapered or non-uniform openings.
  • Flat-Faced Tip: Ensures full wall contact in shallow-depth bores.

Surface Finish Optimization

Different surface treatments minimize wear or contamination in varying workflows.

  • Polished Mirror: Reduce friction and contamination under dry contact.
  • Matte Finish: Prevent light reflection in vision-integrated inspection setups.
  • Low-Adhesion Coating: Assist in anti-smudge inspection environments.

Application-Specific Adjustments

Enhance durability or compatibility in challenging operating environments.

  • Thermal Buffering: Insulate tip from ambient machine heat zones.
  • Anti-Chip Design: Reinforce impact zones for robotic insertion arms.
  • Cleanroom Support: Enable ISO-compliant use in ESD-sensitive stations.

Related Products

ADCERAX - Your Trusted Advanced Ceramics Manufacturing Partner

Direct factory manufacturing with comprehensive ceramic materials expertise and global supply capabilities

Direct Factory Manufacturing

China-based ceramic materials production facility with state-of-the-art equipment

Engineering Team

Experienced professionals in advanced ceramics applications and custom design

Quality Control

Strict quality control standards for technical ceramics manufacturing and quality management

Global Supply Chain

Serving customers worldwide with technical ceramics and rapid response

24/7 Technical Support

Round-the-clock support for ceramic components inquiries and technical assistance

500+ Satisfied Customers

Trusted by global customers for advanced ceramic materials and precision components

Get in touch with us

Our team will be happy to respond to you in less than 24 hours.

Adcerax's factory

Quick Quotation

*Our team will answer your inquiries within 24 hours.

*Your information will be kept strictly confidential.

Ready to Solve Your Engineering Challenge?

Partner with ADCERAX for reliable, high-performance advanced ceramic solutions. Our engineers are ready to discuss your project.

E-mail

info@adcerax.com

Phone

+(86) 0731-74427743 | WhatsApp: +(86) 19311583352

Response Time

Within 24 hours

Quick Quote

The more details you provide, the faster we can quote.

*We respond within 24 hours. All inquiries are confidential.

Download Catalog

Get Your Custom Sulution

The more details you provide, the faster we can respond.

customize size

*We respond within 24 hours. All inquiries are confidential.

Download Catalog