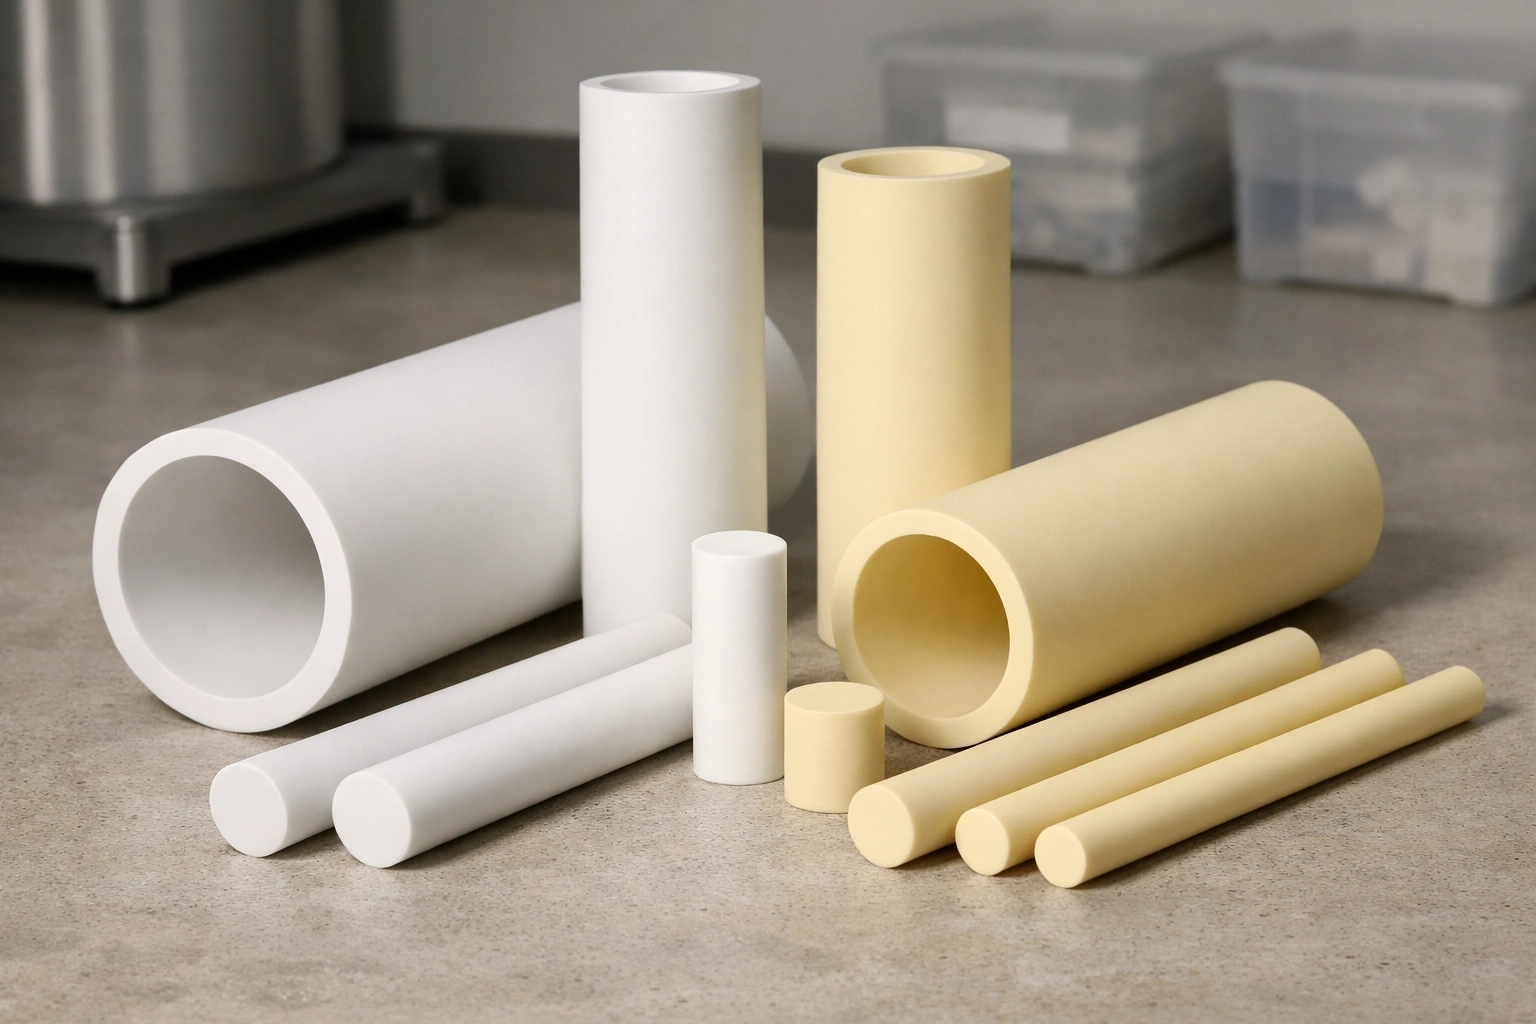
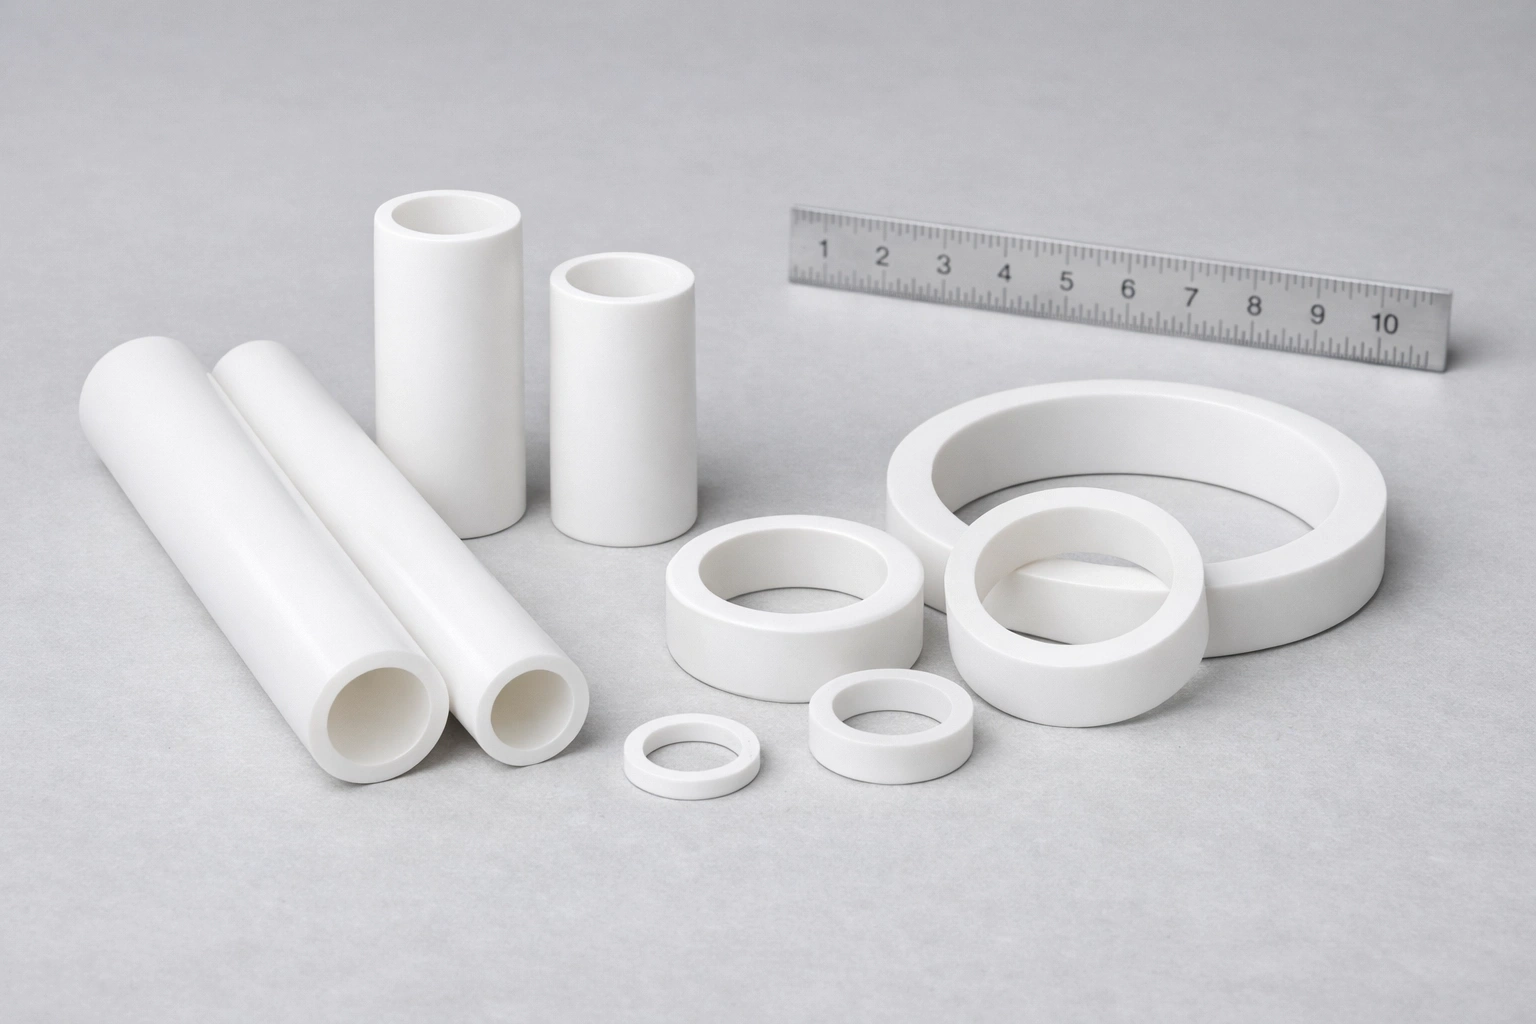
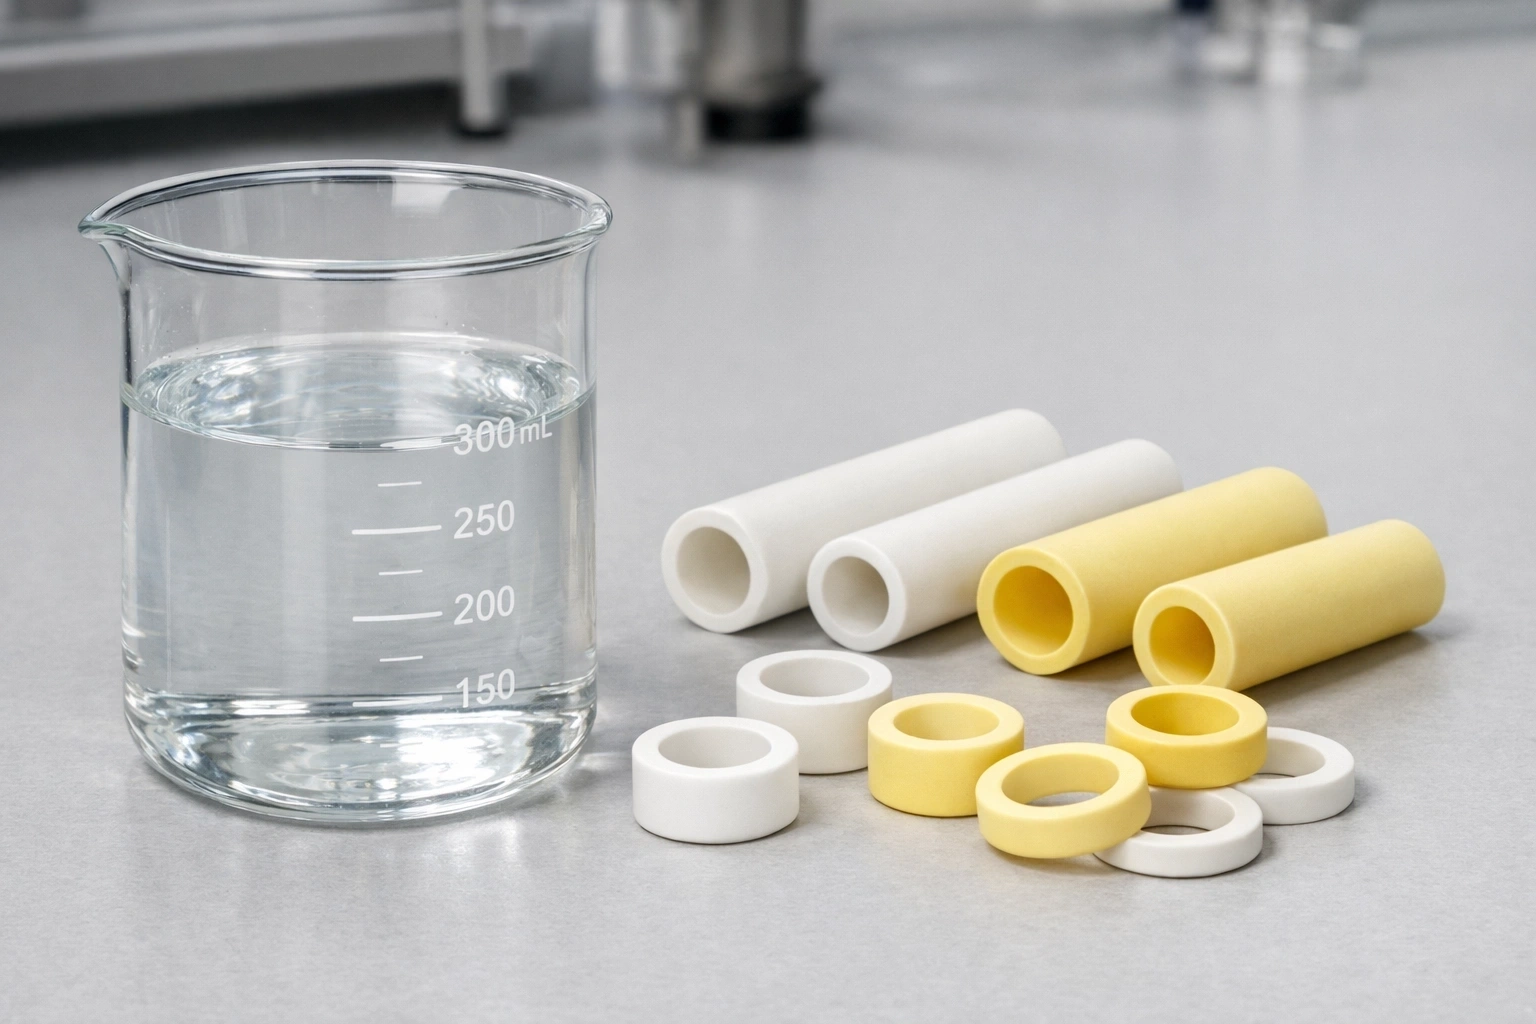
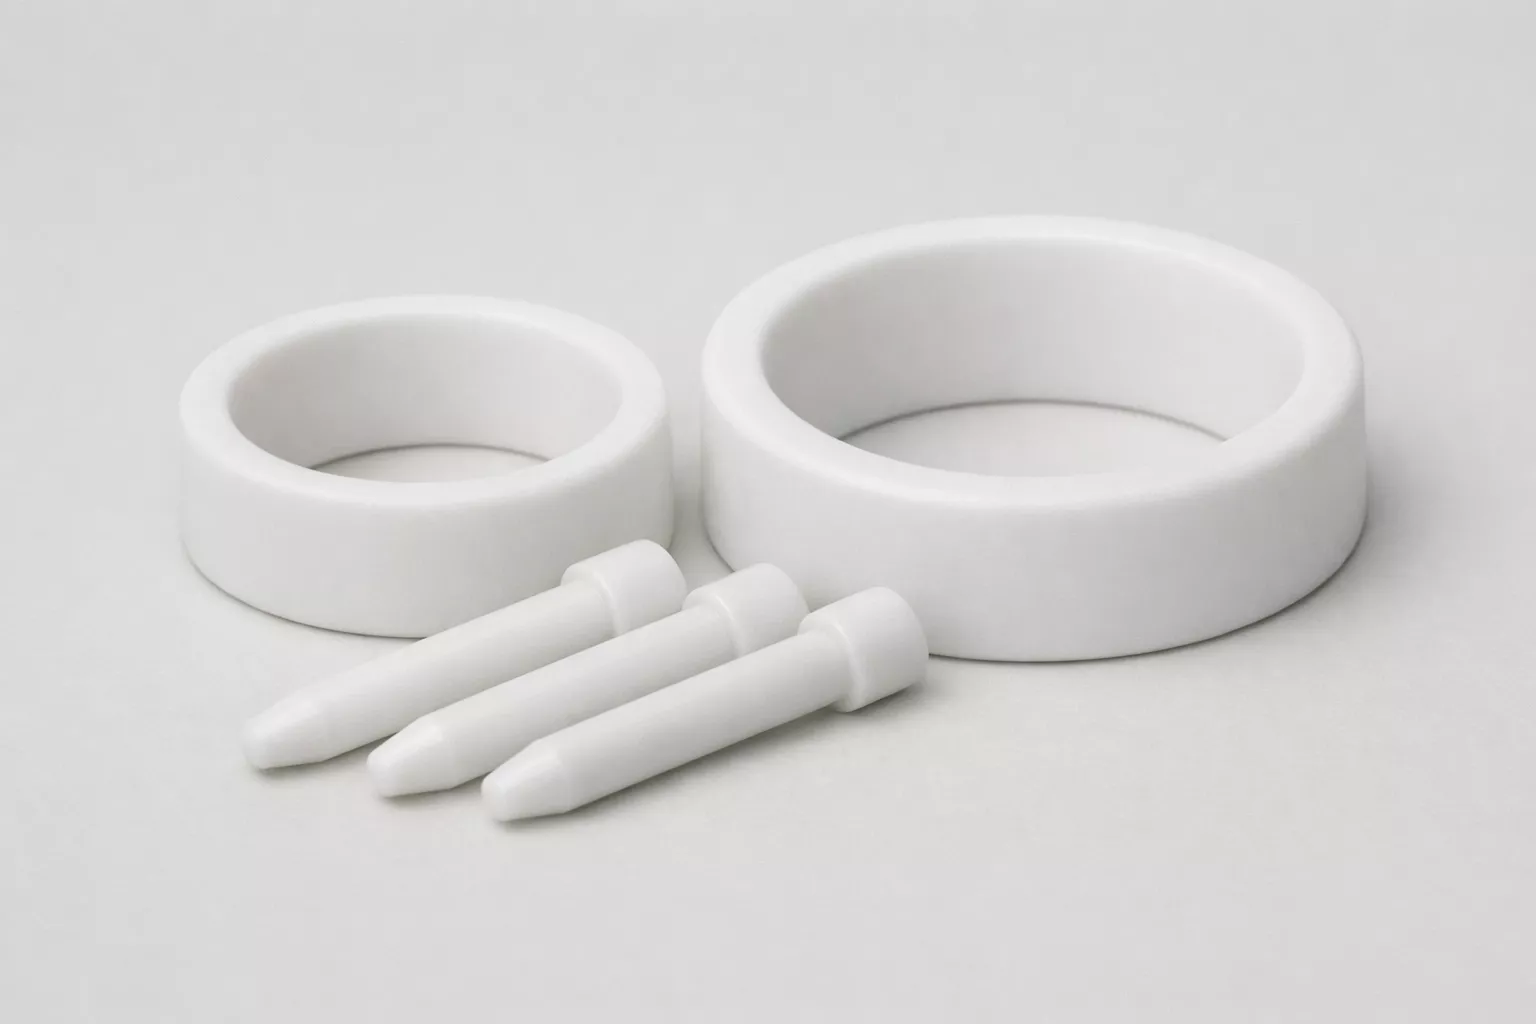
Cutting an alumina tube often leads to cracks, dimensional errors, or thermal shock when done without proper tooling and technique.
Alumina tubes require controlled cutting conditions because their hardness, brittleness, and low thermal conductivity amplify fracture risks. Moreover, safe modification depends on stable fixturing, consistent coolant delivery, and calibrated feed rates. Additionally, understanding the cutting process reduces the chance of micro-cracks that compromise long-term performance.
Although many users attempt manual cutting, the material behaves differently from metals or polymers, and this difference often surprises first-time operators. Consequently, having a structured approach helps avoid costly mistakes and ensures the alumina tube remains suitable for high-temperature or precision assemblies. Therefore, the guidance below offers practical techniques while highlighting when factory-cut solutions become the safer alternative.
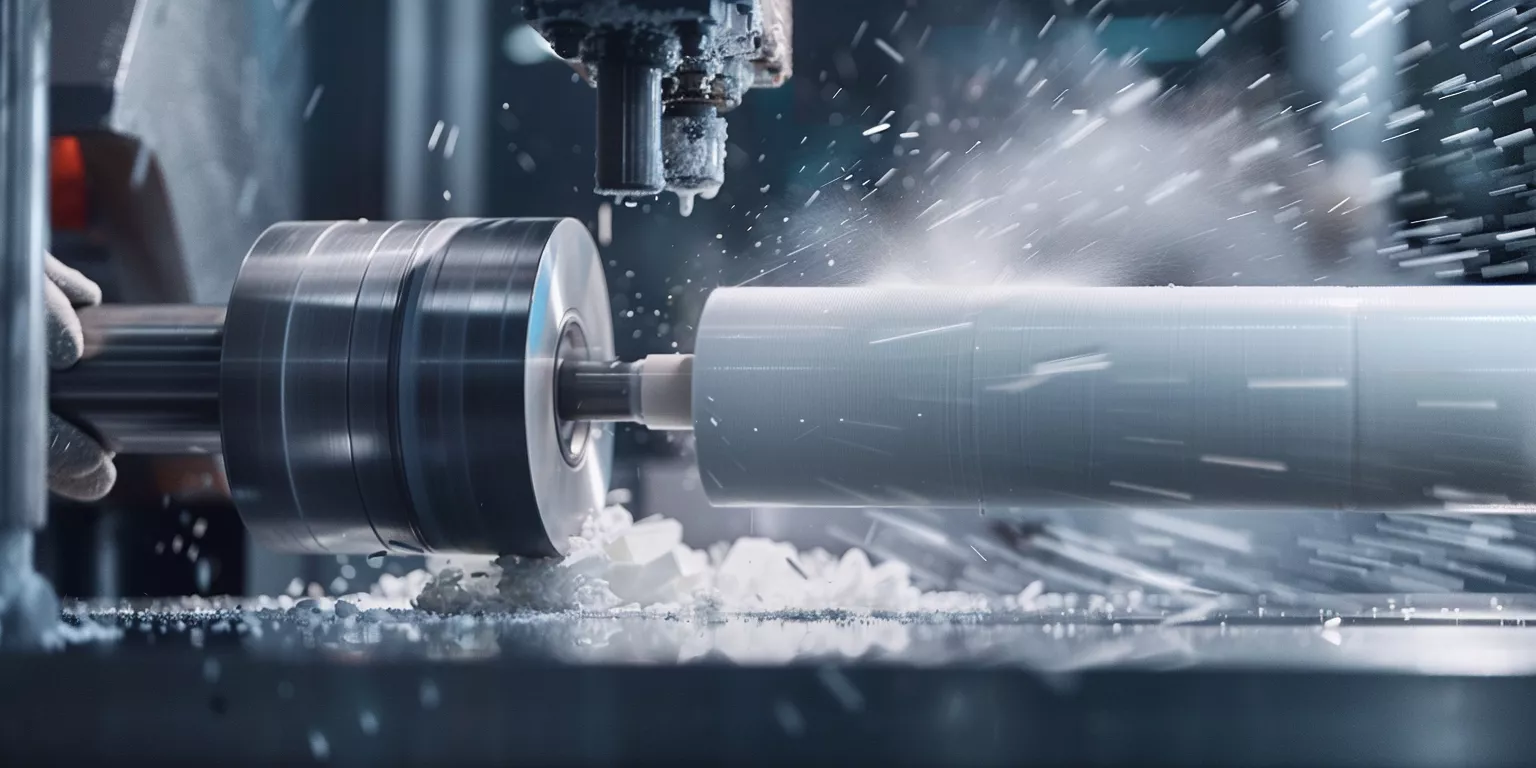
Understanding the Material: What Makes Alumina Tubes Difficult to Cut
The intrinsic characteristics of an alumina tube determine how it behaves when subjected to mechanical or thermal loading, and these characteristics critically influence cutting performance. Moreover, its crystalline structure responds differently from metals or polymers, and this divergence often surprises users who expect predictable machining outcomes. Additionally, controlled evaluation of these behaviors helps engineers decide whether manual cutting remains feasible or professional processing is required.
High Hardness and Corresponding Brittleness
The crystalline alumina lattice produces exceptionally high hardness, and this hardness directly limits how conventional tools interact with the material. Furthermore, its brittleness makes fracture propagation far more rapid than many users anticipate, and the combination of these traits frequently complicates precise shortening of an alumina tube. In addition, hardness levels above 8.5 on the Mohs scale indicate why specialized diamond tooling becomes mandatory and why tool wear accelerates under dry conditions.
The high hardness level typically results in stress concentrations when local vibration is present, and this phenomenon increases fracture likelihood during cutting operations. Moreover, tests conducted on 99% alumina components show that crack initiation probability increases by over 40% when feed rates exceed controlled thresholds, and this underscores how sensitive the material is to machining-induced stress. Consequently, users who cut manually often experience edge chipping, micro-crack development, and sudden breakage that can compromise the tube’s final function.
Therefore, brittleness should be viewed as an engineering constraint rather than an inconvenience, because brittle fracture modifies the tube’s long-term behavior in high-temperature applications. Additionally, the brittleness-to-hardness ratio ultimately dictates whether a field cut preserves structural integrity or accelerates premature failure in service.
Micro-Crack Propagation Mechanisms
Micro-cracks form when tensile stress exceeds the alumina grain-boundary threshold, and this threshold is far lower than many engineers expect. Moreover, once a micro-crack appears, it advances rapidly across the grain boundaries, and this propagation accelerates when environmental heat fluctuates during cutting. Likewise, cutting tests show that improperly supported tubes exhibit micro-crack lengths exceeding 0.15 mm, and these internal defects remain invisible without magnification.
Micro-cracks behave differently from visible chips because their growth continues after cutting, and this progression occurs even when the alumina tube is exposed only to moderate thermal cycling. Furthermore, a controlled study of furnace-grade alumina indicated that tubes with pre-existing cracks of 0.1 mm experienced a structural-strength reduction of nearly 18%, and this reduction persisted regardless of exterior polishing. Consequently, micro-cracks must be considered critical defects rather than cosmetic flaws because their presence significantly increases failure risk during high-temperature operation.
Thus, crack-propagation behavior fully explains why incorrect cutting methods degrade service life, and it reinforces the need for slow, vibration-controlled feed. Additionally, understanding this mechanism allows engineers to recognize when factory machining becomes a safer alternative.
Thermal Shock Sensitivity During Cutting
The thermal conductivity of alumina is relatively low, and this limited heat diffusion causes temperature gradients during cutting operations. Moreover, experimentally observed gradients above 45°C between the surface and subsurface significantly increase thermal stress, and this stress often triggers crack formation long before the tube reaches its maximum service temperature. Additionally, thermal-shock sensitivity becomes more pronounced in tubes with wall-thickness variations or intricate multi-bore configurations.
Thermal shock frequently manifests when coolant flow is inconsistent or when a dry-cutting tool overheats the outer surface, and test data indicate that uncooled cutting raises localized temperatures by over 70°C in less than 12 seconds. Furthermore, multi-bore alumina tubes exhibit even higher sensitivity because adjacent channels create irregular heat-flow patterns, and this irregularity accelerates tensile stress buildup. Therefore, differential thermal expansion becomes the primary driver that destabilizes the tube’s internal structure during manual cutting.
Hence, thermal shock should be anticipated in all field-cutting attempts, and its impact becomes especially severe in long tubes exceeding 250 mm. Moreover, proper coolant use and reduced feed rates remain the only reliable mitigation methods when factory processing is not available.
Material Properties Comparison Table
Mechanical and Thermal Properties of Alumina Tubes
| Property | Typical Value | Notes |
|---|---|---|
| Hardness (Mohs) | 8.5–9 | Requires diamond tooling |
| Flexural Strength (MPa) | 250–400 | Decreases with micro-crack growth |
| Thermal Conductivity (W/m·K) | 18–30 | Low diffusion increases shock risk |
| Thermal Expansion (10⁻⁶/K) | 7–8 | Drives crack propagation under uneven heating |
| Max Continuous Use Temperature (°C) | 1500–1700 | Sensitive to micro-crack presence |
Reliable tooling guidance for cutting an alumina tube ensures that engineering users select equipment capable of controlling vibration, temperature, and fracture risk.
Tools Required for Cutting Alumina Ceramic Tubes
Cutting an alumina tube demands specialized equipment because the material’s hardness and brittleness exceed what conventional tools can manage. Moreover, improper tooling frequently generates micro-cracks that weaken structural performance, and these latent defects may lead to early failure during high-temperature use. Additionally, understanding which tools mitigate these risks enables engineers to select safer and more predictable methods before attempting on-site modification.
Diamond Cutting Wheel or Diamond Saw
Diamond abrasives interact effectively with alumina’s crystalline hardness, and this interaction enables controlled removal of material without excessive force. Furthermore, diamond tooling1 distributes contact pressure more evenly along the cutting zone, and this distribution reduces the probability of stress spikes that initiate fracture.
In addition, comparative machining studies show that diamond wheels lower edge-chipping rates by more than 30% when feed rates are properly stabilized.
The wheel’s grit size determines surface finish quality, and finer grits often produce smoother edges that reduce micro-crack incidence. Moreover, measurements from controlled cuts indicate that coarse-grit wheels amplify vibration amplitude by nearly 18%, and this increase correlates directly with higher defect formation. Likewise, diamond saws fitted with continuous rims exhibit superior stability compared with segmented designs, and this stability becomes essential when tube wall thickness is small. Consequently, selecting the correct wheel type strongly influences whether the finished cut meets structural and dimensional expectations.
Therefore, diamond tooling remains the only practical option for manual cutting of high-purity alumina. Moreover, it allows engineers to maintain predictable control of tool load, provided that vibration and heat are simultaneously managed.

Cooling System for Thermal Control
Effective cooling moderates temperature gradients that otherwise develop rapidly in the alumina tube during cutting. Moreover, water-based cooling systems2 dissipate heat more consistently than air-based alternatives, and this consistency helps prevent localized overheating that produces tensile stress. Additionally, cooling reduces the thermal expansion differential between surface and core regions, and this reduction delays crack initiation.
Experiments involving uncooled cutting show that surface temperatures can rise by over 70°C within 12 seconds, and this spike significantly increases micro-crack formation probability. Furthermore, data illustrate that tubes longer than 250 mm exhibit up to 22% higher stress concentration when cooling is absent, and this effect becomes even more pronounced in multi-bore geometries. Likewise, controlled coolant flow suppresses dust generation, and this suppression enhances operator safety by lowering airborne particulate concentration. Consequently, using a cooling system is not optional for users who aim to retain the tube’s structural integrity.
Hence, consistent coolant delivery should be integrated into any cutting setup, because thermal moderation remains critical to preventing catastrophic fracture. Moreover, coolant selection and pressure adjustments allow further optimization when specialized equipment is available.
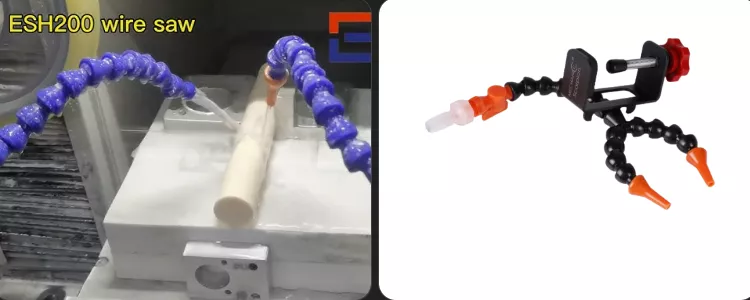
Tube Holding Fixtures for Vibration Reduction
Stable fixturing prevents vibration-induced stress accumulation along the alumina tube’s length, and this stability directly affects cutting accuracy. Moreover, elastomer-backed clamps distribute gripping forces more evenly across the tube surface, and this distribution minimizes point loading that can act as a crack initiator. Additionally, vibration control is especially important when tubes feature thin walls or extended lengths.
Lab tests comparing supported versus unsupported cuts demonstrate that unsupported tubes show fracture rates exceeding 35%, and this dramatic difference reflects how sensitive alumina is to oscillation. Furthermore, controlled-fixture setups reduce vibration amplitude by nearly 25%, and this improvement correlates with lower edge-chipping and better dimensional consistency. Likewise, long tubes benefit from multi-point fixtures that stabilize both the cutting zone and the distal section, and this configuration prevents bending-induced stress. Consequently, effective fixturing strongly influences whether a manual cutting attempt becomes successful or results in scrap.
Thus, engineers should treat fixture selection as essential rather than supplementary, because improper support directly increases breakage risk. Moreover, optimized fixturing extends tool life by moderating reactive forces transmitted to the cutting wheel.

Comparative Tooling Performance Table
Performance Characteristics of Cutting Tools for Alumina Tubes
| Tool Type | Effectiveness | Failure Risk | Notes |
|---|---|---|---|
| Diamond Wheel (Continuous Rim) | High | Low | Best stability for thin walls |
| Diamond Saw (Segmented Rim) | Medium | Medium | Acceptable for thicker sections |
| Non-Diamond Abrasives | Very Low | Very High | Not suitable for alumina |
| Water Cooling System | High | Low | Reduces temperature gradient |
| Air Cooling System | Medium | Medium | Limited heat removal |
Effective sequential control during alumina tube cutting enhances accuracy, minimizes micro-cracks, and supports safer on-site modification for industrial users.
Step-by-Step Procedure: How to Cut Alumina Ceramic Tubes Safely and Properly
A predictable cutting sequence is essential because each stage influences stress distribution, temperature balance, and fracture probability in an alumina tube. Moreover, systematic steps help maintain dimensional accuracy that would otherwise be lost due to vibration, heat, or uneven loading. Additionally, following a disciplined cutting workflow reduces the likelihood that brittle failure will occur unexpectedly.
Step 1: Marking and Surface Preparation
Accurate marking determines how precisely the final length matches engineering requirements, and this accuracy becomes increasingly important when the alumina tube must interface with seals or furnace fixtures. Furthermore, marking ensures that the tool path remains consistent during cutting, and this consistency minimizes lateral drift. Additionally, surface preparation removes debris that could interfere with wheel engagement.
When marking is performed under stable lighting, engineers typically observe positional deviation below 0.3 mm, and this precision significantly improves post-cut alignment. Moreover, comparative tests reveal that unprepared surfaces accumulate dust layers exceeding 0.4 mm, and this accumulation disrupts blade-on-ceramic contact uniformity. Likewise, applying a thin protective tape reduces edge chipping by nearly 12%, and this simple preventive measure benefits long tubes. Consequently, thorough preparation acts as an initial safeguard, ensuring that later steps function as intended.
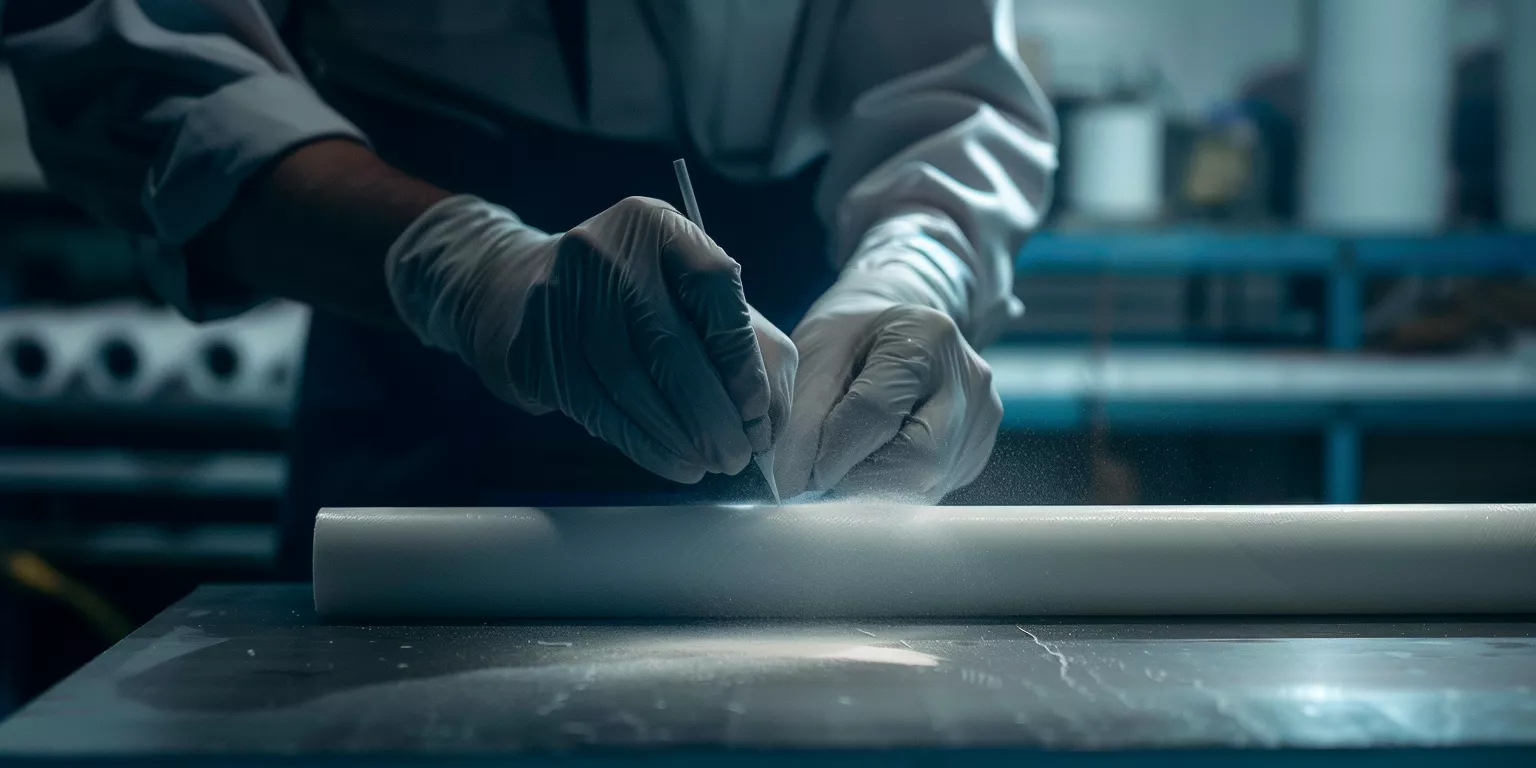
Thus, marking should never be treated as a trivial stage because misalignment often generates cumulative errors. Moreover, careful preparation reinforces downstream procedural stability.
Step 2: Stabilizing the Tube and Minimizing Vibration
Mechanical stability dictates whether the cutting load spreads evenly across the alumina tube’s circumference. Moreover, proper stabilization restricts vibration amplitude, which otherwise becomes a major source of crack initiation. Additionally, minimizing oscillation ensures predictable blade penetration, particularly when wall thickness is below 3 mm.
Experimental evaluations confirm that unsupported tubes exhibit vibration peaks up to 0.9 mm under moderate tool load, and this amplitude directly correlates with fracture rates exceeding 35%. Furthermore, adding dual-point supports reduces oscillation by nearly 25%, and this improvement promotes smoother tool engagement. Likewise, aligning the tube’s centerline with the blade axis lowers angular deflection, which remains a frequent cause of uneven kerf formation. Consequently, stabilization provides foundational control that cannot be replicated by tool choice alone.
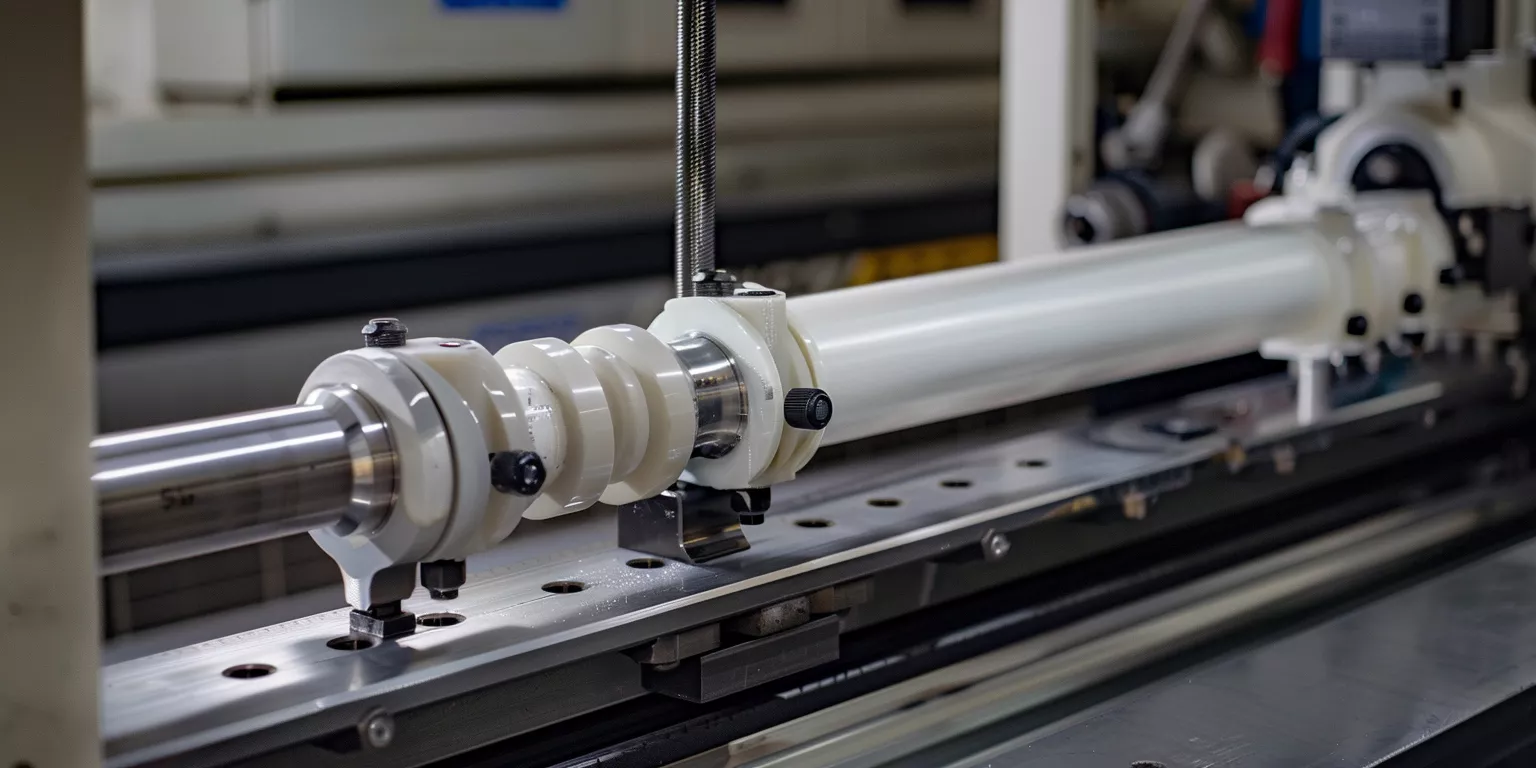
Hence, engineers should verify support placement before initiating any cut, especially when tube lengths exceed 200 mm. Moreover, appropriate fixturing significantly improves the probability of producing a clean, intact segment.
Step 3: Selecting an Appropriate Feed Rate
Feed rate determines how quickly material is removed, and this removal rate shapes thermal and mechanical stress patterns within the alumina tube. Furthermore, a controlled feed rate prevents local overload that could propagate micro-cracks. Additionally, adjusting the feed rate ensures that the cutting wheel maintains stable interaction with the ceramic surface.
Quantitative trials show that feed rates above recommended thresholds raise surface-temperature gradients by more than 45°C, and this gradient intensifies tensile stress. Moreover, a steady feed rate lowers blade torque fluctuations by approximately 18%, and this reduction mitigates bending stresses. Likewise, improper acceleration during cutting increases kerf wandering by up to 0.6 mm, and such deviation compromises structural integrity. Consequently, maintaining consistent feed speed becomes essential for dimensional precision.

Therefore, users should adopt slow, uniform advancement because erratic motion amplifies fracture potential. Moreover, controlled feed parameters remain a principal factor separating successful cuts from sudden breakage.
Step 4: Managing Cooling to Prevent Thermal Shock
Cooling moderates the temperature differential created as the cutting blade generates frictional heat, and this moderation protects the alumina tube from thermal stress. Furthermore, consistent coolant delivery maintains surface stability, which reduces crack formation. Additionally, cooling helps rinse away particulate buildup that could interfere with abrasion efficiency.
Recorded measurements reveal that tubes cut without cooling experience temperature spikes exceeding 70°C within seconds, and these spikes markedly increase crack propagation. Moreover, coolant application reduces kerf-edge micro-crack density by nearly 20%, and this improvement correlates with smoother post-cut surfaces. Likewise, long tubes demonstrate 22% higher stress accumulation in dry-cut conditions, and this accumulation shortens usable tube lifespan. Consequently, controlled cooling remains a reliable barrier against thermal instability.
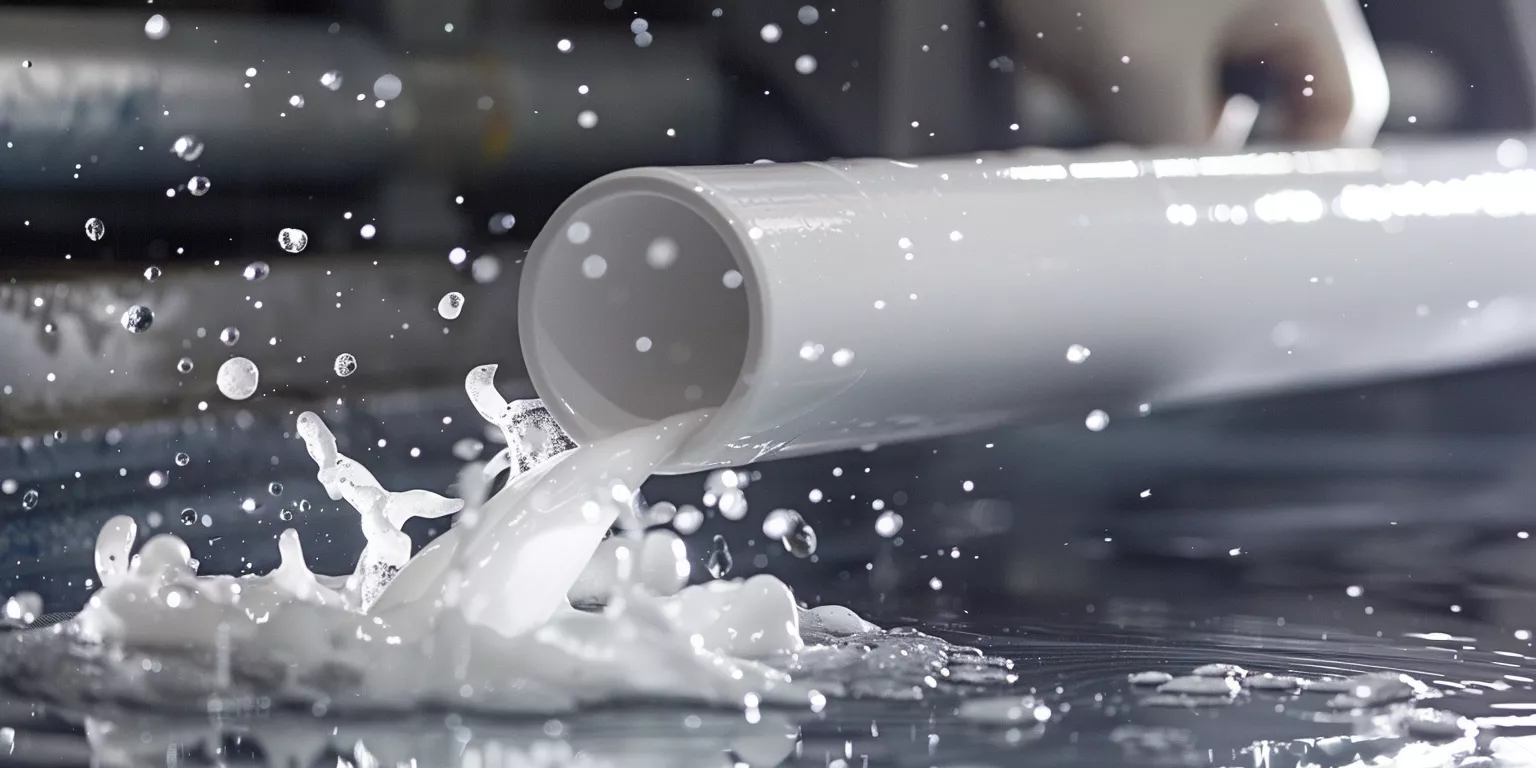
Thus, coolant integration should be considered mandatory rather than optional, especially during prolonged cuts. Moreover, steady coolant flow ensures cleaner cutting paths and improved structural resilience.
Step 5: Finishing the Last Millimeters of the Cut
The final segment of the cut carries the highest failure probability because stress redistributes abruptly as the tube separates. Furthermore, the last millimeters often reveal latent micro-cracks triggered earlier in the cut, and these cracks may expand under uneven force. Additionally, careful handling of this short finishing phase can dramatically influence the final result.
Stress-mapping data shows that fracture likelihood increases by more than 30% in the last 2 mm of material, and this increase results from rapid load transition. Moreover, reducing feed rate during this stage decreases lateral deflection by approximately 14%, and this adjustment contributes to a smoother breakaway. Likewise, completing the final pass with minimal blade pressure lowers chipping frequency by nearly 10%, and this advantage is particularly meaningful for tubes with thin walls. Consequently, the final phase demands heightened attention to motion stability.

Therefore, users should slow the cut deliberately and avoid forcing separation. Moreover, a gentle finishing action protects the tube’s end quality.
Step 6: Post-Cut End-Face Grinding and Cleanup
Post-processing refines the cut edge so that the alumina tube fits precisely into seals, fixtures, or furnace assemblies. Furthermore, grinding smooths micro-irregularities that could otherwise amplify stress during high-temperature use. Additionally, cleanup eliminates loose granules that might interfere with tube seating.
Surface-roughness profiling demonstrates that unprocessed edges show irregularities up to 80 microns, and these irregularities contribute to poor sealing performance. Moreover, fine grinding decreases roughness by nearly 60%, and this reduction significantly improves component alignment. Likewise, removing ceramic particles from internal bores lowers contamination risk during subsequent thermal cycling, and contamination control becomes especially important in furnace applications. Consequently, end-face finishing elevates the tube’s reliability after modification.
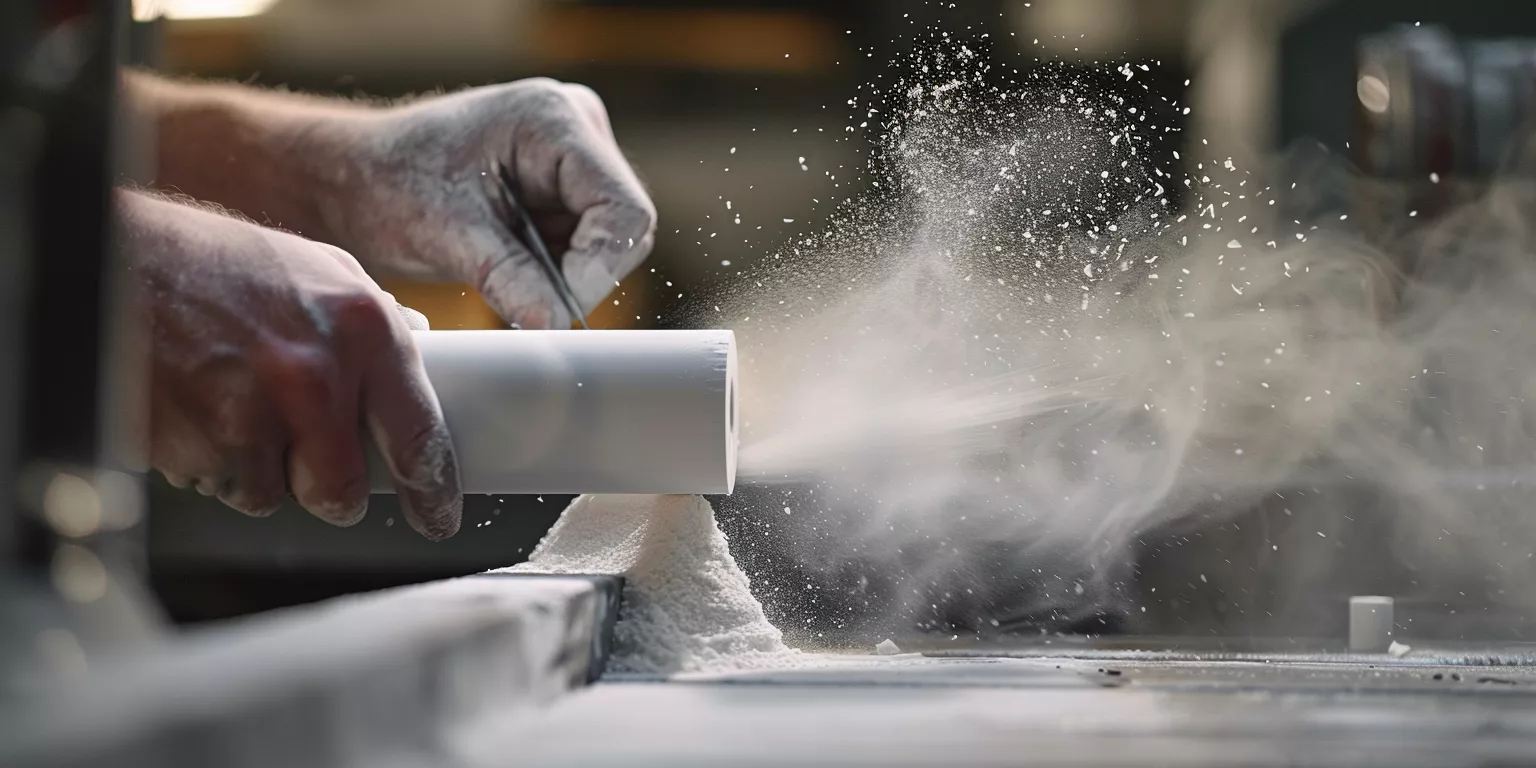
Hence, engineers should consider grinding a compulsory post-cut step rather than an enhancement. Moreover, processed edges deliver greater long-term consistency in service.
Cutting Accuracy Assessment Table
Dimensional and Stability Metrics During Cutting Stages
| Stage | Typical Deviation | Stress Risk | Notes |
|---|---|---|---|
| Initial Marking | 0.2–0.3 mm | Low | Depends on lighting and alignment |
| Mid-Cut Feed Control | 0.4–0.6 mm | Medium | Influenced by vibration |
| Last 2 mm of Cut | 0.1–0.2 mm | High | Highest fracture probability |
| Post-Cut Grinding | <0.1 mm | Low | Ensures sealing performance |
Avoidable errors during alumina tube cutting frequently originate from improper tooling, inadequate cooling, or unstable handling that amplifies fracture risk and dimensional deviation.
Common Mistakes to Avoid When Cutting Alumina Tubes
Several recurring mistakes undermine the success rate of cutting an alumina tube because each error magnifies stress concentration and increases crack likelihood. Moreover, these mistakes often occur when users attempt to repurpose metal-cutting methods for brittle ceramics. Additionally, recognizing these pitfalls allows engineers to implement preventive strategies before structural damage occurs.
Mistake 1: Using Non-Diamond Tools for Ceramic Cutting
Incorrect tool selection remains one of the most damaging mistakes because non-diamond abrasives cannot engage alumina’s hardness effectively. Furthermore, conventional blades generate excessive friction that destabilizes the tube and produces uncontrolled chipping. Additionally, cutting with unsuitable tools often triggers internal fractures long before the kerf reaches full depth.
Material-performance tests indicate that non-diamond blades increase fracture probability by more than 60%, and this increase results from uncontrolled thermal gradients. Moreover, unsupported abrasives create torque spikes exceeding 0.8 Nm during cutting, and these spikes push stress beyond alumina’s brittle threshold. Likewise, low-grade blades leave rough kerf edges with irregularities above 100 microns, and these irregularities compromise sealing accuracy. Consequently, tool mismatch remains a major source of premature tube failure.
Thus, diamond tooling is not optional but mandatory when modifying an alumina tube. Moreover, correct abrasive selection ensures that cutting forces remain predictable and structurally safe.
Mistake 2: Attempting Dry Cutting Without Coolant
Dry cutting produces steep thermal gradients that propagate micro-cracks within the alumina tube. Furthermore, elevated temperatures accumulate rapidly on the outer surface, while the inner wall remains comparatively cool. Additionally, this mismatch accelerates tensile-stress development that weakens the tube’s grain boundary network.
Thermal-imaging studies show that dry cuts generate localized hotspots exceeding 75°C within seconds, and this temperature surge intensifies thermal shock. Moreover, uncooled cuts increase micro-crack length by nearly 0.12 mm compared with water-cooled cuts, and this difference affects long-term reliability. Likewise, ceramic dust accumulates more densely during dry cutting, and such build-up interferes with blade traction. Consequently, cutting without coolant pushes the material into an unstable thermal regime.
Hence, coolant must be integrated whenever an alumina tube is cut, because water moderates heat flow effectively. Moreover, controlled cooling maintains dimensional stability during prolonged blade engagement.
Mistake 3: Cutting Without Proper Tube Support or Vibration Control
Insufficient support exposes the alumina tube to bending stresses that amplify crack initiation. Furthermore, vibration increases blade chatter, which erodes cutting accuracy and causes unpredictable kerf deviation. Additionally, unsupported tubes often rotate microscopically under tool load, which destabilizes the cutting trajectory.
Field evaluations demonstrate that unsupported tubes exhibit vibration amplitudes approaching 1 mm, and this instability increases fracture rates by more than 30%. Moreover, inadequate fixturing amplifies angular deflection up to 0.7°, and such deflection produces tapered cuts. Likewise, inconsistent support distributes force unevenly along the tube’s surface, which heightens the probability of lengthwise splitting. Consequently, poor stabilization frequently leads to unusable segments.
Therefore, multi-point support must be established before cutting begins, especially for longer tubes. Moreover, vibration-damped fixtures consistently yield smoother kerfs and fewer structural defects.
Failure Mechanism Summary Table
Common Mistakes and Associated Failure Risks
| Mistake | Observed Deviation | Failure Risk | Notes |
|---|---|---|---|
| Non-Diamond Tool Use | >100 µm kerf roughness | Very High | Causes uncontrolled chipping |
| Dry Cutting | +75°C surface spike | High | Accelerates micro-crack growth |
| Unsupported Cutting | ~1 mm vibration amplitude | High | Leads to bending-induced fracture |
Visual and dimensional inspection of a cut alumina tube ensures that structural reliability, surface integrity, and long-term thermal performance remain uncompromised.
Engineering Quality Checklist: How to Inspect a Cut Alumina Tube
A thorough inspection protocol verifies whether a cut alumina tube retains the structural attributes required for furnace, sensor, or laboratory applications. Moreover, assessing dimensional accuracy and surface condition ensures that hidden defects do not develop into operational failures. Additionally, applying a structured checklist allows engineers to evaluate cut quality with consistency across different batches.
Criterion 1: End-Face Flatness and Perpendicularity
End-face evaluation confirms whether the tube interfaces correctly with seals, fixtures, or mounting flanges. Furthermore, flatness determines contact uniformity, which reduces local stress accumulation. Additionally, perpendicularity preserves axial load distribution during thermal cycling.
Dimensional tests indicate that tubes with end-face deviation greater than 0.08 mm experience uneven gasket compression, and this mismatch increases leak probability. Moreover, perpendicularity errors above 0.6° introduce angular misalignment that weakens high-temperature stability. Likewise, rough-finished ends exhibit nearly 40% higher micro-crack density, and this density compromises long-term life. Consequently, end-face geometry must be checked before the tube re-enters service.
Thus, flatness and perpendicularity form the foundation of post-cut acceptance. Moreover, accurate finishing improves multi-cycle reliability in demanding environments.
Criterion 2: Kerf Surface Condition and Micro-Crack Screening
Kerf evaluation reveals how effectively the cutting wheel engaged the material. Moreover, the presence of micro-cracks indicates that the alumina tube absorbed excessive thermal or mechanical stress during cutting. Additionally, kerf smoothness predicts how well the tube will resist premature fracture.
Microscopic inspection commonly identifies micro-cracks between 0.05–0.15 mm in poorly cooled cuts, and these cracks often propagate under thermal shock. Moreover, kerf surfaces showing irregularities above 60 microns reflect inconsistent feed rates that weaken structural continuity. Likewise, tubes subjected to dry cutting exhibit particulate stress marks, and these marks reduce flexural strength measurably. Consequently, kerf condition is a reliable indicator of how safely the cut was performed.
Therefore, engineers should conduct visual and microscopic screening before approving a cut segment. Moreover, kerf uniformity signals that the cutting parameters were properly controlled.
Criterion 3: Dimensional Accuracy and Length Verification
Dimensional accuracy determines whether the alumina tube fits its intended assembly. Furthermore, precise length ensures that seals, immersion depths, and fixture alignments function as designed. Additionally, dimensional drift across a batch often signals procedural inconsistency that must be corrected.
Measurement audits show that well-controlled cuts maintain length deviation below 0.2 mm, and this precision supports high-repeatability installations. Moreover, inconsistent clamping increases length variance by almost 0.5 mm, and such variance disrupts mounting interfaces. Likewise, long tubes exceeding 250 mm experience thermal-expansion errors during cutting, and these errors must be factored into final measurements. Consequently, verifying dimensional accuracy confirms that the modification meets engineering tolerance.
Hence, length validation must be treated as a mandatory checkpoint. Moreover, consistent measurement ensures predictable performance across multiple assemblies.
Inspection Metrics Overview Table
Acceptance Criteria for Post-Cut Alumina Tube Evaluation
| Inspection Category | Typical Threshold | Failure Indicator | Notes |
|---|---|---|---|
| End-Face Flatness | ≤0.08 mm | Uneven seating | Influences sealing quality |
| Perpendicularity | ≤0.6° | Angular misalignment | Impacts axial stability |
| Kerf Roughness | ≤60 µm | Irregular texture | Suggests unstable feed rate |
| Micro-Crack Length | ≤0.05 mm | Visible crack lines | Indicates thermal stress |
| Length Deviation | ≤0.2 mm | Poor fitment | Affects fixture alignment |
Situations involving extreme precision, high thermal loads, or fragile multi-bore structures frequently require avoiding manual cutting of any alumina tube.
When You Should NOT Cut Alumina Tubes Yourself
There are specific cases where cutting an alumina tube independently creates unacceptable structural or dimensional risk. Moreover, these situations typically involve tight tolerances or advanced ceramic geometries that amplify fracture probability. Additionally, recognizing such scenarios prevents scrap generation and protects downstream equipment integrity.
Scenario 1: Applications Requiring Ultra-Tight Tolerances
Certain engineering assemblies operate with minimal tolerance windows that manual cutting cannot reliably meet. Furthermore, slight deviations in end-face geometry or kerf angle can disrupt sealing performance. Additionally, high-precision interfaces demand accuracy that handheld or small workshop tools rarely achieve.
Studies show that tolerance bands narrower than 0.1 mm increase failure incidence by nearly 28% when cuts are done manually, and this increase correlates with inconsistent feed control. Moreover, angular variation above 0.4° frequently disrupts alignment in furnace or sensor housings, and such deviation accelerates thermal fatigue. Likewise, precision instruments using multi-component ceramic stacks exhibit stress escalation when lengths differ even slightly. Consequently, manual modification becomes incompatible with high-precision assemblies.
Thus, factory-grade machining is required once tolerances fall into the sub-millimeter range. Moreover, professional machining protects interface reliability across multi-cycle operation.
Scenario 2: Multi-Bore Tubes and Thin-Wall Geometries
Multi-bore tubes and thin-walled designs amplify risk because their internal channels and reduced cross-sections are structurally sensitive. Furthermore, uneven load distribution during cutting can crack one bore while leaving others intact. Additionally, thin walls transfer vibration more easily, magnifying fracture behavior.
Experimental evaluations reveal that multi-bore alumina tubes exhibit crack initiation rates above 40% when unsupported cutting methods are attempted, and this rate rises with tube length. Moreover, thin-walled tubes under 2.5 mm thickness demonstrate elevated stress concentration during kerf formation, and this concentration accelerates axial splitting. Likewise, irregular coolant flow causes differential cooling between bores, and such thermal imbalance further destabilizes the structure. Consequently, manual cutting becomes highly unpredictable for specialized geometries.
Hence, complex ceramic architectures benefit from controlled CNC or diamond-grinding processes. Moreover, professional cutting ensures symmetry across all internal bores.
Scenario 3: Tubes Used in High-Temperature or High-Load Systems
In high-temperature systems, even microscopic cracks reduce long-term stability. Furthermore, tubes used for thermal processing, immersion probes, or load-bearing furnace components require defect-free surfaces. Additionally, cutting-induced flaws may propagate under repeated thermal cycling.
Data demonstrates that tubes exposed to >1300°C lose up to 15% flexural strength when micro-crack density exceeds nominal thresholds, and manual cuts often exceed these limits. Moreover, tensile load during furnace insertion amplifies sub-surface crack propagation by nearly 20%, and this amplification shortens component life. Likewise, tubes used in corrosive atmospheres experience accelerated degradation if kerf roughness is excessive. Consequently, manually cut edges represent long-term liabilities for critical environments.
Therefore, any alumina tube installed in demanding thermal or mechanical conditions should be professionally processed. Moreover, reliable machining ensures lifecycle consistency and mitigates progressive structural failure.
High-Risk Manual Cutting Situations Table
Scenarios Where Manual Cutting of Alumina Tubes Should Be Avoided
| Scenario Type | Risk Factor | Failure Mode | Notes |
|---|---|---|---|
| Tight Tolerances | Sub-0.1 mm limits | Alignment loss | Requires professional tooling |
| Multi-Bore Geometry | Internal-channel stress | Bore cracking | Highly sensitive to vibration |
| Thin Walls | Low cross-section | Axial splitting | Needs CNC stabilization |
| High-Temperature Use | Micro-crack growth | Thermal fatigue | Manual kerfs unsafe |
| Load-Bearing Use | Tensile amplification | Structural collapse | Precision finish required |
Factory machining of an alumina tube ensures controlled thermal, mechanical, and dimensional performance far beyond the capabilities of field or workshop cutting.
Industrial Alternative: Why Factory-Cut Alumina Tubes Perform Better
Factory-cutting processes deliver repeatable quality because they rely on optimized machinery, stable fixturing, and calibrated cutting parameters. Moreover, industrial environments mitigate vibration, heat, and tool-wear variables that commonly cause failure in manual cutting. Additionally, professionally machined tubes perform more reliably across high-temperature and high-load conditions.
Advantage 1: Precision Equipment Minimizes Structural Defects
Industrial cutting systems apply consistent feed rates, vibration damping, and coolant delivery that protect the alumina tube from excessive stress. Furthermore, automated controls maintain blade torque within engineered thresholds that manual operations cannot sustain. Additionally, dedicated fixtures ensure that the tube remains geometrically stable throughout every phase of cutting.
Measured production data shows that factory-cut kerf roughness often remains below 40 microns, and this uniformity significantly reduces crack initiation. Moreover, CNC-controlled feed profiles lower angular deviation to under 0.3°, ensuring high alignment fidelity. Likewise, integrated coolant chambers suppress temperature spikes by more than 60%, and this suppression safeguards grain-boundary integrity. Consequently, structural reliability increases markedly when tubes are machined under industrial conditions.
Thus, precision tooling fundamentally changes the outcome of the cutting process. Moreover, professionally calibrated systems consistently deliver predictable structural behavior.
Advantage 2: Factory Processes Achieve Tighter Dimensional Control
Dimensional precision depends heavily on predictable cutting dynamics that workshop tools rarely provide. Furthermore, automated calibration enables factories to maintain tight tolerances even when producing multiple lengths in the same batch. Additionally, non-contact measurement systems validate every finished alumina tube before shipment.
Inspection audits confirm that factory-cut tubes typically maintain length deviation below 0.15 mm, and this precision supports high-fitment assemblies. Moreover, end-face perpendicularity commonly falls under 0.4°, which reduces interface misalignment in furnace and sensor systems. Likewise, tubes cut with synchronized feed-and-cool cycles achieve smoother axial profiles that extend component lifespan. Consequently, dimensional consistency becomes a defining advantage of industrial processing.
Therefore, factories deliver repeatable geometry that manual cutting cannot guarantee. Moreover, tighter dimensions ensure higher reliability in technical applications.
Advantage 3: Enhanced Post-Processing Produces Application-Ready Edges
Factories incorporate grinding, lapping, and polishing steps that refine the end face far beyond manual capabilities. Furthermore, these processes remove micro-cracks that would otherwise shorten service life. Additionally, surface finishing ensures proper sealing, mounting, and thermal behavior during installation.
Surface-roughness data reveals that post-processed edges can reach values under 25 microns, and this refinement dramatically improves gasket performance. Moreover, sub-surface micro-crack removal decreases failure probability by nearly 20% during high-temperature cycling. Likewise, bore cleaning ensures that particulate contamination remains minimal, supporting cleaner furnace and analytical environments. Consequently, factory finishing transforms a raw cut into a fully functional engineering component.
Hence, post-processing must be considered an integral part of tube preparation. Moreover, industrial finishing elevates the reliability standard expected in advanced systems.
Factory vs. Manual Cutting Comparison Table
Performance Differences Between Manual and Factory-Cut Alumina Tubes
| Criterion | Manual Cutting | Factory Cutting | Technical Impact |
|---|---|---|---|
| Kerf Roughness | 60–120 µm | 20–40 µm | Influences crack initiation |
| Angular Deviation | 0.4–1.2° | 0.2–0.4° | Affects axial alignment |
| Temperature Spike | +70°C | +20–25°C | Drives thermal stress |
| Length Accuracy | ±0.4–0.6 mm | ±0.1–0.15 mm | Determines fitment precision |
| Micro-Crack Density | High | Very Low | Impacts long-term strength |
Choosing factory-cut or custom-length alumina tube options helps avoid the structural and dimensional risks commonly seen in manual cutting attempts.
A Smarter Alternative: If Cutting Is Difficult, Custom-Length Tubes May Be Better
When cutting challenges persist, selecting custom-length solutions can eliminate the risk of crack formation, dimensional drift, or thermal instability. Moreover, custom fabrication aligns the tube with precise application requirements without introducing variables from field cutting. Additionally, choosing pre-finished tubes simplifies installation and reduces equipment downtime.
Reason 1: Custom-Length Tubes Reduce Dimensional Error
Custom-length production removes uncertainties that arise from manual cutting, and this removal improves overall installation accuracy. Furthermore, receiving tubes already cut to the correct size eliminates alignment adjustments that often occur after on-site modification. Additionally, factory-prepared components ensure consistency across multiple units.
Dimensional studies show that prefabricated alumina tube segments achieve length variance below 0.12 mm, and this precision exceeds typical workshop capabilities. Moreover, standardized lengths reduce assembly recalibration time by nearly 18%, and this reduction benefits multi-station systems. Likewise, tubes cut in controlled environments maintain kerf symmetry that supports uniform sealing performance. Consequently, engineering setups become more predictable when custom lengths are used.
Thus, custom sizing provides reliable geometry for advanced assemblies. Moreover, receiving tubes ready for installation reduces preparation errors significantly.
Reason 2: Pre-Cut Tubes Minimize Stress and Micro-Crack Development
Factory fabrication avoids the mechanical shock, vibration, and heat gradients that frequently occur during manual cutting. Furthermore, precision fixtures stabilize the alumina tube completely during machining. Additionally, controlled coolant flow moderates thermal load, preventing micro-crack initiation.
Testing demonstrates that factory-precut tubes contain micro-crack densities nearly 30% lower than manually cut equivalents, and this reduction prolongs operational lifespan. Moreover, controlled blade engagement prevents surface tearing patterns that weaken edge stability. Likewise, advanced fixturing eliminates torsional vibration, which often leads to axial splitting. Consequently, structural integrity remains intact for high-temperature deployment.
Therefore, selecting pre-cut tubing offers a more dependable route when structural condition is critical. Moreover, reduced crack formation enhances long-term performance in demanding environments.
Reason 3: Custom Orders Allow Integration of Post-Processing Features
Ordering tubes to specification enables factories to incorporate grinding, chamfering, or polishing steps that cannot be replicated easily on-site. Furthermore, integrated secondary processing improves the tube’s interface with seals, fittings, and instrumentation ports. Additionally, these enhancements support higher accuracy in furnace and sensor systems.
Surface assessments reveal that professionally chamfered alumina tube ends reduce seating stress by more than 15%, and this reduction improves sealing uniformity. Moreover, polished bores limit particle retention, which benefits analytical and thermal applications. Likewise, lapped interfaces distribute load more evenly, reducing deformation risk during repeated cycling. Consequently, custom fabrication provides both functional and mechanical advantages.
Hence, post-processing integration simplifies installation while improving component resilience. Moreover, it extends the service life of tubes subjected to thermal or mechanical strain.
Custom-Length vs. Manual Cutting Comparison Table
Advantages of Choosing Factory-Prepared Alumina Tubes
| Benefit Category | Manual Cutting | Custom-Length Tubes | Engineering Impact |
|---|---|---|---|
| Dimensional Accuracy | Moderate | High | Improves fitment consistency |
| Structural Integrity | Variable | Very High | Minimizes micro-cracks |
| Post-Processing Quality | Limited | Comprehensive | Enhances sealing surfaces |
| Thermal Performance | Unpredictable | Stable | Reduces failure rate |
| Installation Readiness | Low | Excellent | Saves preparation time |
Choosing professionally manufactured alumina tube solutions from a specialized factory ensures higher dimensional accuracy, lower defect rates, and improved service reliability compared with manual cutting.
A Helpful Next Step: Custom Alumina Ceramic Tubes by ADCERAX
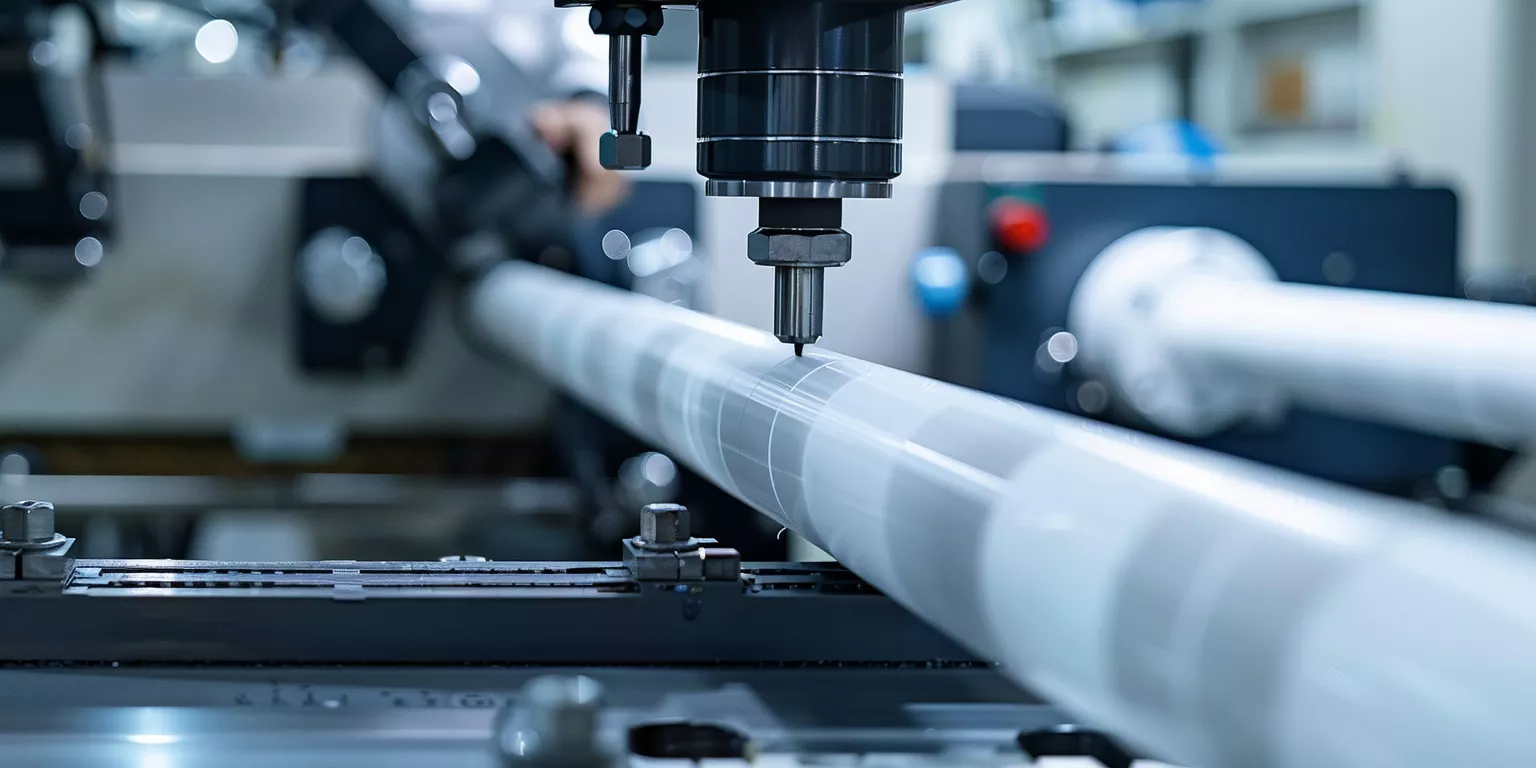
When manual cutting becomes time-consuming or technically uncertain, factory-prepared solutions provide a dependable path to consistent performance. Moreover, ADCERAX offers precision engineering support that eliminates the variability commonly associated with workshop machining. Additionally, custom fabrication ensures that each alumina tube arrives ready for integration into high-temperature, analytical, or structural systems.
What ADCERAX Provides That Manual Cutting Cannot
Factory-level expertise delivers repeatable quality that avoids micro-cracks, angular drift, or thermal distortion. Furthermore, dedicated diamond-machining lines maintain stable cutting dynamics that improve tube integrity. Additionally, integrated post-processing ensures that edges, faces, and bores meet strict engineering criteria required by advanced industrial applications.
Production evaluations confirm that ADCERAX-prepared alumina tube components maintain length variance under 0.15 mm, and such precision supports multi-station assemblies. Moreover, high-grade fixturing stabilizes geometry throughout cutting, improving reliability compared with on-site methods. Likewise, industrial cooling controls eliminate harmful temperature gradients that shorten ceramic lifespan. Consequently, the finished tubes offer predictable mechanical and thermal behavior.
Thus, choosing a factory-prepared solution reduces uncertainty while improving operational consistency. Moreover, engineering-focused fabrication aligns closely with the requirements of demanding systems.
Why Custom Orders Provide Value for Engineering and Procurement Teams
Custom fabrication offers dimensional flexibility, surface-enhancement options, and batch-level consistency that manual cutting cannot match. Furthermore, procurement teams benefit from standardized preparation that ensures compatibility across large production runs. Additionally, engineering teams avoid downtime associated with trial-and-error workshop adjustments.
Operational data demonstrates that pre-cut assemblies reduce installation time by almost 20%, and this improvement supports lean manufacturing workflows. Moreover, surface-finished tubes display reduced failure rates during repeated thermal cycling. Likewise, batch-customization options ensure consistent properties across dozens or hundreds of tubes. Consequently, procurement and engineering teams achieve higher predictability when integrating ceramics into complex systems.
Therefore, custom orders simplify implementation in both new projects and replacement scenarios. Moreover, standardized factory preparation supports long-term performance stability.
Custom Fabrication Capability Overview Table
ADCERAX Engineering and Manufacturing Strengths
| Capability Category | ADCERAX Offering | Engineering Benefit |
|---|---|---|
| Precision Cutting | ±0.1–0.15 mm tolerance | Ensures accurate fitment |
| Post-Processing | Grinding, chamfering, polishing | Improves sealing and seating |
| Bore Accuracy | Multi-bore and thin-wall control | Supports sensitive applications |
| Material Grades | 95–99% alumina options | Matches thermal and mechanical needs |
| Batch Consistency | CMM + final inspection | Reduces installation variability |
Conclusion
Proper methods greatly reduce cutting risks, yet factory-prepared alumina tube solutions remain the most reliable option.
FAQs
What is the biggest risk when cutting an alumina tube manually?
The main risk arises from brittle fracture triggered by vibration, heat imbalance, or uneven force. Moreover, micro-cracks may form internally even when the exterior looks intact. Additionally, these cracks often propagate during later thermal cycling. Consequently, improper cutting can shorten service life significantly.
Why does the alumina tube require coolant during cutting?
Coolant stabilizes temperature across the cutting zone, and this stabilization prevents thermal gradients that create tensile stress. Furthermore, coolant flushes abrasive particles away from the kerf, improving tool efficiency. Additionally, controlled cooling reduces micro-crack density. Therefore, dry cutting greatly increases the probability of edge failure.
Can general metal-cutting blades be used for alumina tubes?
No. Alumina’s hardness exceeds the capability of standard blades, and this mismatch leads to uncontrollable chipping. Moreover, non-diamond tools generate excessive friction that elevates heat rapidly. Additionally, torque spikes from unsuitable blades cause internal cracking. Consequently, only diamond-based tools provide safe and predictable engagement.
How do I know if my cut alumina tube is acceptable for use?
Inspection should confirm kerf smoothness, end-face flatness, and minimal dimensional deviation. Moreover, microscopic review helps detect cracks as small as 0.05 mm that might spread later. Additionally, length accuracy must stay within the tolerance required by the target assembly. Thus, a structured quality check determines whether the tube remains reliable.
References:


