A ceramic failure investigation begins before anyone cleans, matches, marks, repairs, or discards fragments. Assign incident and part IDs, photograph the as-found condition, map and protect every fragment, freeze the drawing and batch records, and reconstruct the operating timeline. Record measured loads, temperatures, rates, pressure, media, vibration, maintenance, and abnormal events. Keep verified facts, observations, and suspected causes separate. This form assesses whether the evidence can support an investigation; it does not diagnose root cause.
Preserve the Evidence Before Cleaning or Disassembly
The first action is evidence control, subject to site safety. Photograph the ceramic before changing its position when possible. Capture equipment, assembly, and damage views with orientation, load or flow direction, mating parts, supports, and scale.
Number fragments on packaging or a nonfracture exterior. Do not write, scratch, tape, or apply adhesive to fracture surfaces. Package pieces separately. Retain small chips, deposits, wear debris, and relevant foreign objects when permitted.
Do not scrub, sandblast, ultrasonically clean, repeatedly test-fit, or glue the pieces before technical review. If corrosive, toxic, radioactive, biologically hazardous, or otherwise controlled material is present, follow the site’s EHS, isolation, and decontamination rules. Safety takes priority over evidence retention. Photograph the part before unavoidable decontamination when safe, and record the chemical, temperature, exposure time, rinsing, and mechanical action used.
ASTM C1322-25 provides a consistent approach for locating and characterizing fracture origins in brittle advanced ceramics. It focuses primarily on test specimens, although its concepts can support component analysis. The standard also emphasizes comparable specimens and relevant fabrication and service history.
Use custom ceramic engineering support when the returned part may require failure review, replacement, or redesign.
Immediate Preservation Checklist
- Stop operation and record the shutdown time.
- Establish the required safety or exclusion controls.
- Photograph the installed and as-found condition.
- Record component orientation and load, motion, or flow direction.
- Assign an ID to every recovered fragment.
- Prevent fracture faces from rubbing against each other.
- Package fragments separately in protected containers.
- Retain deposits, debris, small chips, and relevant foreign objects.
- Record any cleaning or decontamination already performed.
- Identify everyone who removed, handled, or repackaged the part.
- Preserve mating components and known-good parts where practical.
Actions Requiring Control
Do not clean fracture faces, rub matching surfaces together, mark the fracture, apply adhesive, cut through a possible origin region, or mix fragments from different parts without an approved plan. Do not assume the largest piece contains the origin. Record any unavoidable action before and after it occurs.
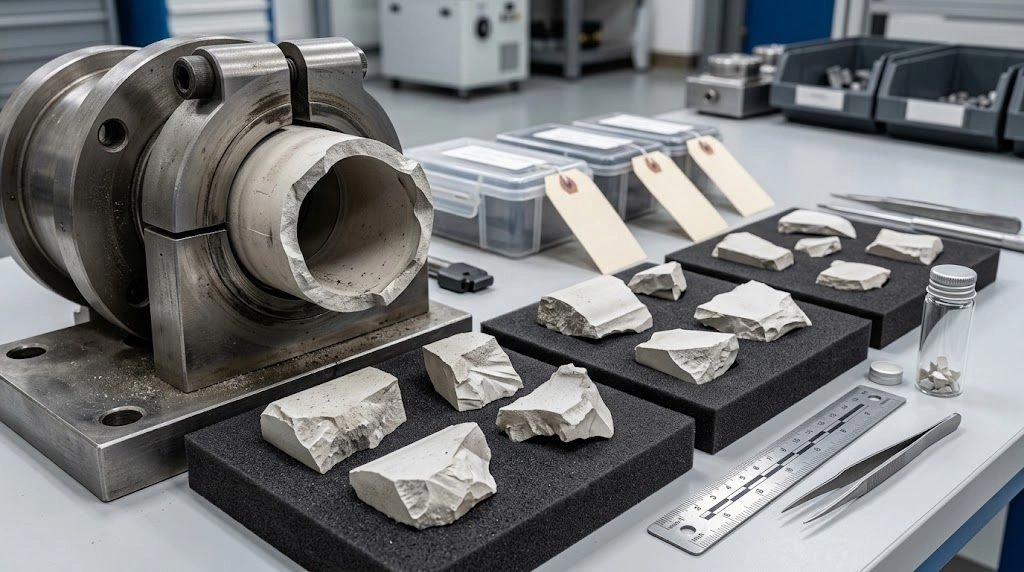
The as-found assembly, fragment map, and protected fracture surfaces should be documented before cleaning or reconstruction.
Identify the Exact Component, Material, Batch, and Assembly
Connect the component to a controlled identity: part numbers, drawing revision, ordered grade, manufacturer, batch, manufacturing and installation dates, and service duration. Attach available certificates, inspection records, and approved deviations.
Generic material names can cover multiple grades and routes. Record the full ordered designation and approved substitutions. If material or batch is uncertain, write “unknown”; color is not identification.
Record how many parts were installed or affected, their batches, and prior failures. Secure an unused same-batch, earlier-batch, or known-good operating part when available. Comparison can show whether a feature is unique or typical.
Describe actual constraint, not only drawing intent. Record supports, clamp load, torque sequence, interference, seal compression, bonds, housing, mating materials, and alignment. Photograph correct and as-found configurations and note point loading, hard contact, cocking, or field modification.
ASM’s overview of ceramic failure analysis describes the investigation as gathering information about design, manufacture, transport, and service. That is why a useful intake package must consider each category before assigning responsibility. Link the failed tube, sleeve, seal, plunger, setter, or insulator to the correct family of custom technical ceramic parts without assuming that part geometry alone explains the event.
| Identity area | Information to record |
|---|---|
| Incident and equipment | Incident ID, machine, production line, and physical location |
| Controlled part | Part name, customer and supplier numbers, drawing revision |
| Material | Full grade, specification, certificates, and substitutions |
| Traceability | Manufacturer, batch, manufacturing date, and deviations |
| Service population | Installed quantity, affected quantity, hours or cycles, prior failures |
| Installation | Date, orientation, tools, sequence, torque, supports, and alignment |
| Interfaces | Mating materials, gaskets, bonds, interference, and contact zones |
| Comparison evidence | Unused same-batch, known-good, and earlier-batch components |
Reconstruct the Service History and Failure Timeline
The event timeline should begin before the visible fracture. Record commissioning, start-stop cycles, cleaning, maintenance, recipe or material changes, abnormal noise, leakage, jamming, impact, vibration, pressure excursions, and previous cracks or chips. Identify the last known normal condition and the first confirmed abnormal condition. “Unknown” is better than an invented time or operating value.
Replace qualitative language with measured values or defensible bounds. For temperature, record continuous, peak, minimum, gradients, heating and cooling rates, and sensor location. For pressure, record the normal range, pulsation, vacuum condition, and excursion. For chemicals, state composition, concentration, pH, contaminants, and cleaning agents. Mechanical records may include static load, contact force, torque, speed, frequency, vibration, impacts, and accumulated cycles.
List each value’s source: historian, controller, alarm, recipe, instrument, maintenance record, observation, calculation, or estimate. Preserve original files and distinguish measurements from setpoints and later estimates.
Record cumulative exposure as well as the final event. Total hours, batches, thermal cycles, cleaning cycles, starts, stops, and earlier excursions can distinguish a one-time overload from progressive degradation. Note process changes even when they occurred well before failure, and retain the previous qualified operating recipe for comparison.
| Variable | Normal condition | At failure | Worst known excursion | Evidence source |
|---|---|---|---|---|
| Temperature and gradient | Sensor, logger, or estimate | |||
| Heating and cooling rate | Recipe or historian | |||
| Pressure or vacuum | Transmitter or estimate | |||
| Mechanical load | Calculation or setting | |||
| Speed or cycle frequency | Controller | |||
| Vibration or impact | Monitor or observation | |||
| Process medium | Batch record | |||
| Concentration or pH | Laboratory or process record | |||
| Solids or abrasives | Process sample | |||
| Atmosphere | Gas record | |||
| Electrical condition | Control log | |||
| Cleaning chemistry | Maintenance record |
Build a sequence that includes installation, last maintenance, last normal operation, first abnormal signal, failure detection, shutdown, removal, and initial examination. For each entry, list the source and whether the time or condition is confirmed or estimated. This structure helps separate a primary service event from damage created during shutdown or removal.
Record What Is Visible Without Declaring the Root Cause
Describe damage with neutral, located language. Record where cracks, chips, wear, deposits, discoloration, leakage, scoring, or dimensional change appear. Count the recovered fragments and describe apparent crack paths. Note whether damage intersects a ground edge, bore, hole, mounting point, seal face, bond, coating, or material transition.
Do not label an area “the fracture origin” until appropriate examination supports that conclusion. The first crack noticed by an operator may not be the first crack formed. A large fracture surface may be secondary, and removal or transport can create new chips. Locating a fracture origin is also not the same as identifying root cause. An origin feature must still be evaluated with the stress state, assembly, environment, geometry, processing, and history.
The 2026 NIST Recommended Practice Guide: Fractography of Ceramics and Glasses, 4th edition applies fractography to laboratory fractures and service failures. Fracture markings can help an experienced investigator assess crack direction, sequence, origin, and loading, but interpretation depends on preserved surfaces and their spatial relationship.
| Record type | Appropriate entry | Premature conclusion |
|---|---|---|
| Verified fact | The pump stopped after a recorded high-pressure alarm | Excess pressure broke the ceramic |
| Observation | A radial crack intersects the ground OD near the clamp | Grinding caused the crack |
| Measurement | Three fragments and four small chips were recovered | Every fragment was recovered |
| Hypothesis | Clamp contact may have increased local tensile stress | Installation error is the root cause |
| Data gap | Actual installation torque is unknown | Torque was normal |
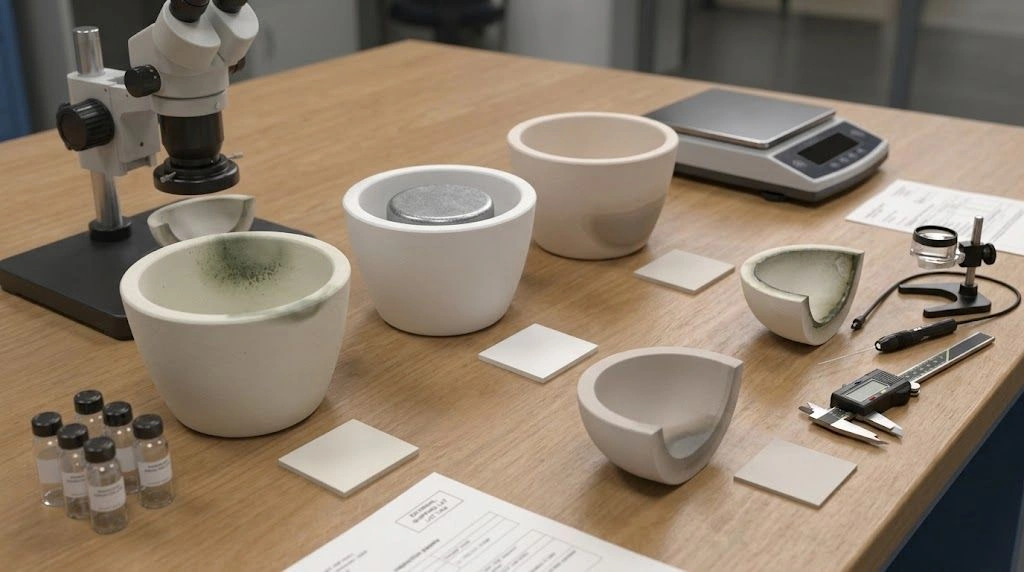
Photographs should include the complete equipment location, installed orientation, mating components, the whole failed part with a scale, both sides of every fragment, close views of fracture faces, and edges, holes, ground zones, deposits, and contact marks. Add the known-good comparison part and final packaging. A high-magnification image without orientation or component context may have limited diagnostic value.
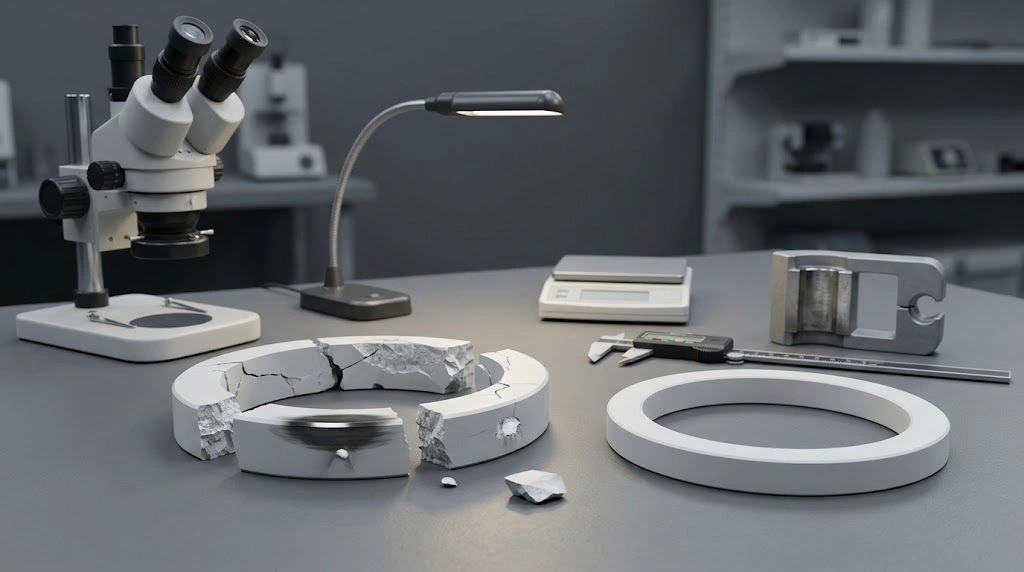
Observation records should locate cracks, contact marks, deposits, and handling damage without converting them into an unsupported root-cause claim.
Submit the Evidence Package and Define the Investigation Question
State the decision the investigation must support: confirm material, locate a likely origin, distinguish impact from wear, evaluate mounting constraint or service excursion, or guide replacement design. A defined question is more actionable than “find the cause.”
Begin with photography, visual examination, document review, dimensional checks, and other nondestructive work. Optical microscopy may guide the next step. Scanning electron microscopy and energy-dispersive X-ray spectroscopy can add surface or compositional evidence when appropriate, but they do not replace service and assembly records. Cleaning, coating for microscopy, sectioning, chemical dissolution, and mechanical testing can change or consume evidence. Require explicit authorization before irreversible preparation.
Define specimen ownership and return requirements before work begins. Identify which fragment must remain intact, whether a representative section may be removed, who can approve additional preparation, and how unused material will be stored. If several analyses compete for the same small origin region, agree on their sequence before any sample is consumed.
If litigation, insurance, or a regulated investigation is reasonably anticipated, stop the ordinary commercial-return workflow and use the applicable professional procedure. ANSI/ASTM E860-22, as listed by NIST, concerns examining and preparing items that may enter civil or criminal litigation. It should not be presented as mandatory for every routine ceramic return, and this form is not legal chain-of-custody advice.
Reference the ceramic quality assurance process when requesting material records, dimensional reports, traceability, and comparison samples. Review advanced ceramic manufacturing capabilities when a corrective action changes forming, sintering, grinding, lapping, or finishing. A technical cause assessment, contractual responsibility, and warranty decision are separate outputs.
| Readiness status | Meaning | Next action |
|---|---|---|
| Ready | Identity, timeline, operating data, photographs, and samples support the question | Begin the scoped review |
| Conditionally ready | Gaps remain, but limited questions may be answerable | State the limitations before work |
| Hold for information | Missing records prevent a useful comparison | Recover logs, drawings, or controls |
| Evidence compromised | Cleaning, loss, or handling altered important surfaces | Continue only with explicit limitations |
| Escalate | Safety, regulatory, insurance, or legal issues apply | Use the controlled site procedure |
Submit the completed form, controlled drawing, photographs, logs, certificates, failed fragments, and available comparison parts. Ask the reviewer to return the examination scope, evidence limitations, authorization points, report type, and any additional samples required. One broken part may support useful findings, but it does not automatically prove a material defect, universal design problem, supplier responsibility, or warranty outcome.
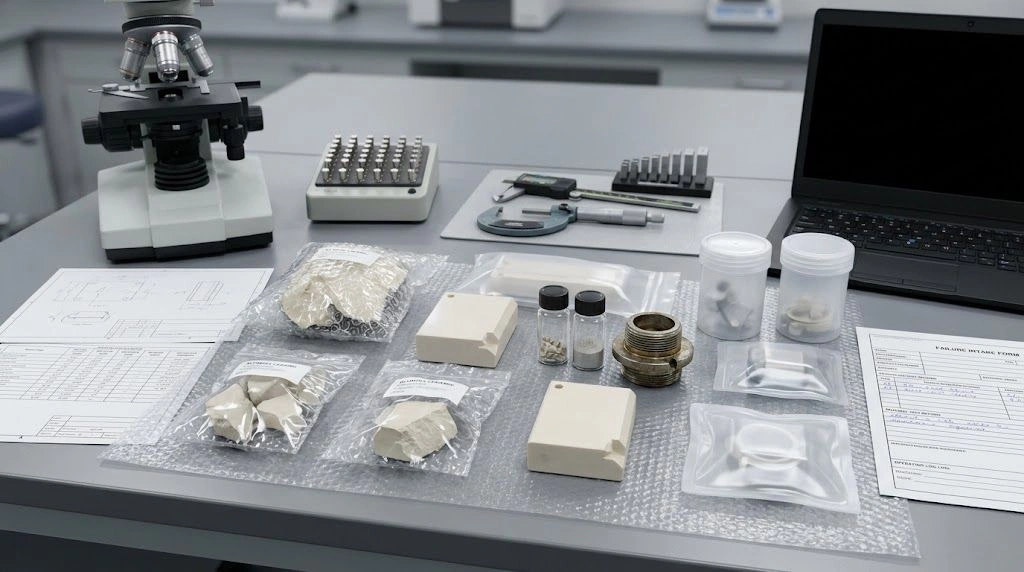
A complete submission connects preserved specimens with drawings, operating records, comparison parts, and clearly authorized examination steps.
Copyable Ceramic Failure Information Collection Form
A. Incident Control
| Field | Response |
|---|---|
| Incident ID | |
| Date and time discovered | |
| Site and equipment location | |
| Reporter name and role | |
| Equipment status | Running / stopped / isolated |
| Immediate safety risk | |
| Production impact | |
| Other parties notified | |
| Legal, insurance, or regulatory hold | Yes / no / unknown |
B. Failed Component Identity
| Field | Response |
|---|---|
| Component name | |
| Customer part number | |
| Supplier part number | |
| Drawing revision | |
| Ceramic material and grade | |
| Manufacturer | |
| Lot or batch number | |
| Manufacturing date | |
| Installation date | |
| Total service hours or cycles | |
| Quantity installed | |
| Quantity affected |
C. Assembly and Installation
| Field | Response |
|---|---|
| Mounting orientation | |
| Support and contact points | |
| Fasteners and specified torque | |
| Actual torque, if known | |
| Clamp or spring load | |
| Interference or clearance | |
| Mating materials | |
| Gasket, adhesive, braze, or bond | |
| Installation procedure | |
| Modifications or field adjustments | |
| Prior assembly problems |
D. Service Conditions
| Field | Normal | At failure | Maximum or minimum excursion | Evidence source |
|---|---|---|---|---|
| Temperature and gradient | ||||
| Heating rate | ||||
| Cooling rate | ||||
| Pressure or vacuum | ||||
| Mechanical load | ||||
| Speed or cycling frequency | ||||
| Vibration or impact | ||||
| Process medium | ||||
| Concentration or pH | ||||
| Abrasive solids | ||||
| Atmosphere | ||||
| Electrical condition | ||||
| Cleaning chemistry |
E. Event Timeline
| Date, time, or cycle | Event | Evidence source | Confidence |
|---|---|---|---|
| Installation | Confirmed / estimated | ||
| Last maintenance | Confirmed / estimated | ||
| Last normal operation | Confirmed / estimated | ||
| First abnormal indication | Confirmed / estimated | ||
| Failure detected | Confirmed | ||
| Shutdown | Confirmed | ||
| Component removed | Confirmed | ||
| First photographed | Confirmed |
F. Physical Observations
| Observation category | Description | Photograph reference |
|---|---|---|
| Crack or fracture location | ||
| Number of fragments | ||
| Chips or missing material | ||
| Wear or erosion | ||
| Deposits or discoloration | ||
| Contact or impact marks | ||
| Ground or polished surface condition | ||
| Coating, glaze, or metallization | ||
| Mating-component condition | ||
| Removal or handling damage |
G. Evidence Handling
| Field | Response |
|---|---|
| Person who removed the part | |
| Cleaning performed | |
| Decontamination method | |
| Fragments individually identified | Yes / no |
| Fragments separately packaged | Yes / no |
| Small chips and debris retained | Yes / no |
| Comparison part available | Yes / no |
| Packaging photographs recorded | Yes / no |
| Storage condition | |
| Transfer and receipt record |
H. Available Documents
- Current drawing and 3D model
- Earlier drawing revision
- Material certificate
- Incoming inspection report
- First-article report
- Dimensional and surface-finish reports
- Manufacturing or supplier deviation
- Installation procedure and assembly photographs
- Maintenance history
- Process trend data
- Alarm and controller logs
- Previous failure report
- Known-good part data
I. Facts, Observations, and Hypotheses
| Category | Statement | Evidence or reason |
|---|---|---|
| Verified fact | ||
| Physical observation | ||
| Working hypothesis | ||
| Contradictory evidence | ||
| Important data gap |
J. Investigation Request
| Field | Response |
|---|---|
| Primary question to answer | |
| Required business decision | |
| Requested completion date | |
| Nondestructive examination allowed | |
| Destructive examination allowed | |
| Approval required before sectioning | |
| Samples that must be returned | |
| Required report format | |
| Corrective-action owner | Customer / supplier / joint team |
Frequently Asked Questions
What should I do immediately after a ceramic part breaks?
Make the equipment safe, stop further disturbance, record the time, and photograph the installed and as-found condition. Identify and separate every fragment so fracture surfaces cannot rub. Preserve debris and mating parts when permitted, then freeze the drawing, batch, operating, and handling records.
Can I clean a ceramic fracture surface?
Avoid cleaning before technical review because scrubbing, ultrasonic treatment, chemicals, and repeated fitting can alter fracture evidence. Site safety overrides preservation. If hazardous contamination requires decontamination, follow the approved EHS procedure, photograph the part beforehand when safe, and record the exact treatment used.
How is a ceramic fracture origin identified?
An experienced investigator examines preserved fracture markings, crack direction, branching, geometry, and possible origin features, then compares them with loading, processing, and service evidence. The first visible crack or largest fragment is not automatically the origin. Locating an origin also does not by itself establish root cause.
Can photographs identify the root cause of a ceramic failure?
Photographs can document orientation, fracture relationships, contact marks, deposits, and handling damage, but they rarely prove root cause alone. Useful analysis also needs controlled part identity, assembly details, measured operating history, preserved specimens, comparison parts, and appropriately scoped microscopy or testing.
Should I submit a known-good comparison part?
Yes, when one is available and its identity is controlled. An unused same-batch part, earlier-batch part, or known-good operating component can show whether dimensions, microstructure, surface condition, deposits, or manufacturing features are unique to the failure. Record its batch and service status separately.
What documents should accompany a failed ceramic component?
Provide the current drawing and revision, material certificate, inspection reports, approved deviations, installation procedure, assembly photographs, maintenance history, controller and alarm logs, process trends, earlier failure reports, and comparison-part data. Mark unavailable records as data gaps instead of reconstructing unsupported values.